Jump to navigation
Jump to search
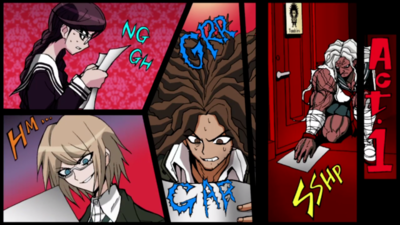
Part 1[edit]
- Use Aoi's Account to shoot the only reason you have.
- Use Pocket Trash to shoot I never saw her.
- Choose "when Sakura got that candy."
- Choose "on the magazine shelf."
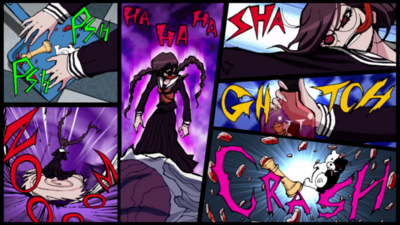
- Absorb magazine shelf and shoot Ogre's body was discovered.
- Final Strike: Kyoko's Examination Summary
- Choose "why the magazine was hidden."
- Choose "Toko."
- Use Kyoko's Examination Summary to shoot just once.
- In the Hangman's Gambit, spell "CHESS PIECE."
- Choose "it was broken."
- Select Monokuma Bottle Experiment.
- Choose "Sakura's second attacker."
- Final Strike: Locker Handprints
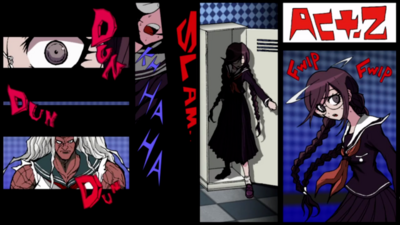
Part 2[edit]
- Use Status of Sakura's Body to shoot in front of the shelf.
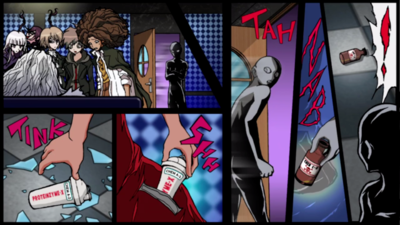
- Select the Magazine Shelf Bloodstain.
- Choose "I saw it for myself."
- Use Monokuma File #4 to shoot the shot to her head.
- Choose "Section A."
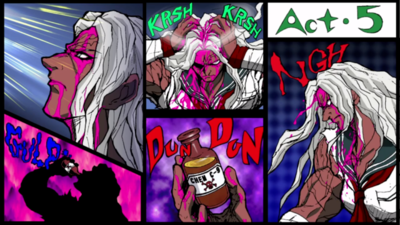
- In the Hangman's Gambit, spell "PROTEIN DRINK."
- Choose "a protein drink."
- Select Footprints in the Powder.
- Choose "Makoto and Hina."
- Use Footprints in the Powder to shoot from Section C to Section A.
- Choose "the rec room window."
- Choose "Section A of the shelf."
- Use Empty Protein Drink to shoot the rec room was unlocked.
- Choose "Sakura."
- Final Strike: Yellow Powder
- Select Sakura Ogami.
- Choose "Sakura wanted to create the locked room."
Conclusion[edit]
Closing Argument
-
(1) Byakuya reads the letter.
-
(2) Toko steps into the locker.
-
(3) The Monokuma bottle holding the knight chess piece is smashed and (4) "Toko" is written in the magazine.
-
(5) A nervous Toko steps out of the locker and (6) the magazine is placed in the shelf upside-down.
-
(7) The Monokuma bottle holding the queen chess piece is smashed.
-
(8) Sakura holds the bottle of poison with bloody fingers.
-
(9) The culprit picks up the bottle of poison and (10) takes out the protein drink.


