Day 1[edit]
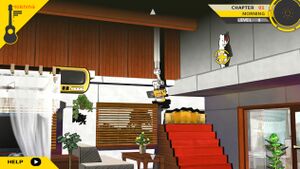
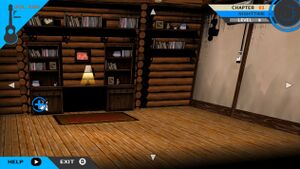
After Monokuma's announcement, find Hajime's cottage by opening the map. In the morning, Monokuma will tell Hajime about the Hidden Monokumas scattered around the island. Hidden Monokuma #1 can be found high on the wall to the right. Examine it to be granted permission to exit by Monokuma. Upon exiting, Hajime is greeted by a hysterical Kazuichi. Peko instructs him to meet with the others at the hotel restaurant, so enter the hotel lobby. Hajime can speak with Chiaki before taking the stairs to the restaurant. After the discussion, speak to the other characters before speaking to Byakuya to advance the plot. Afterward, only Gundham and Akane remain in the restaurant, so feel free to speak to them before leaving. If you exit through the lobby, you can speak to Sonia and Mahiru. Kazuichi is by the cottages.
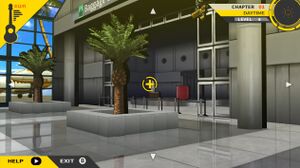
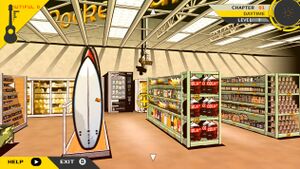
After exiting the hotel site, return to Jabberwock Park via the bridge to Central Island. Speak to everyone before examining the timer at the center of the area. After the scene will be the first instance of Free Time, in which you can speak to any of the characters to bond with them, though you can only select two for now. Check out the characters page for the correct answers to questions that may be asked and find out their favorite presents, and check the presents page to find out what other presents they like. At the beach, you can try your hand at the MonoMono Yachine on the palm tree, which will give you a random present (though you must increase the amount of coins you put in as you collect more presents, otherwise the machine is likely to give you a present that you already have). You can also take this opportunity to find the remainder of the Hidden Monokumas of the chapter, whose locations can be seen in the accompanying images (Hidden Monokuma #2 is in the airport and Hidden Monokuma #3 is in Rocketpunch Market).
After the announcement from Monokuma, return to Jabberwock Park (you can speak to Peko standing outside beforehand). Speak to everyone to increase your level before speaking to Fuyuhiko to advance the plot. After some scenes, the second day will begin.
Day 2[edit]
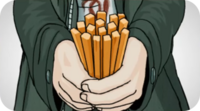
You can speak to Nagito outside the cottage, Hiyoko, Mikan, and Mahiru outside the hotel, and Ibuki and Chiaki in the hotel lobby. Speaking to Mahiru with the aforementioned present now will unlock a bonus scene. Once everything is taken care of, enter the hotel restaurant for a big discussion. Monomi grants the students access to the old building, and Nagito prepares a drawing with chopsticks to determine who will be on cleanup duty. A Free Time opportunity follows, so speak to any two students (except for Fuyuhiko and Nagito, who are unavailable) before the plot picks back up. Ibuki, Mikan, and Peko can be spoken to outside.
Enter the old building to be greeted by Byakuya. Hajime notices metal cases that Byakuya has set aside; one is intended to store any dangerous items that the students might attempt to bring in, and the other is for "emergencies only," whatever that might mean. Proceed around the corner and examine the first door on the right to enter the office. Here you should find Hidden Monokuma #4; only one more to go! Exit the office and proceed down the hallway. You can speak to Nekomaru and Sonia in the hallway before entering the kitchen to speak to Teruteru. Finally, enter the dining hall.

At the party site, examine the table at the front and the back of the room, dishes to the left and right, iron plates on the back wall, and the A/C remote control on the right wall. Then, speak to all students present. Mahiru points out that the gaps between the floorboards are wide enough to create a hazard, but the carpet that Nagito rolled out covers up most of them at least. Once everyone is spoken to, Byakuya will enter the room.
After the scene, speak to Byakuya outside the dining hall. Byakuya will lead Hajime into the kitchen. Speak to him again and examine the kitchen's contents: the knife set, the equipment list, and the dishes. The equipment list seems to indicate that an item is missing from the kitchen, but the investigation concludes when Teruteru enters. After the scene, exit the old building to find Chiaki and Monomi. Back in the dining hall, examine the table at the back for a horrifying discovery.


