After launching the S.O.S. beacon, you're called to the bridge deck to help fix the communication array. When you arrive, Kendra will inform Isaac that the USM Valor as arrived, but you're unable to communicate due to the comm station being offline.
The Bridge[edit]
The bridge is similar to what was left off in Chapter 4, with only a biomass blocking one of the elevators.
When you enter the bridge, the biohazard quarantine activates, forcing you to engage a wave of enemies. First will be about five exploders, with the last three having a tendency to bunch together. A mix of slashers and leapers follow, with the first approaching from the direction of the Bench.
When all enemies are slain, enter the elevator and head to the third floor.
Contact the Military Ship[edit]

The first room of the third floor is empty, but has a few containers that you can open.
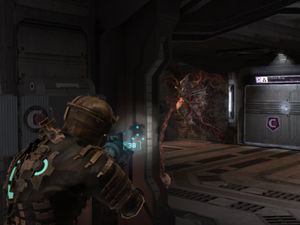
Once you exit the first room and turn the corner, you will see a guardian. As usual, aim for the tentacles that are anchored on the nearby walls, and cut the pod's tentacle when they're thrown. The left side of the door has a second guardian that also needs to be destroyed in the same way, although there may be a few pods already launched. Clean up all reamaining pods and go through the door.

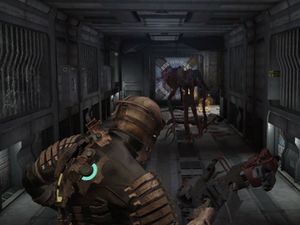
Enter the door, and you will see a new enemy - the divider. While it is easily killed, it will split into smaller segments that jump around and inflict harm. The plasma cutter can destroy a limb with its segment, although the flame thrower can damage the divider and its segments all at once. After collecing the superconductor, continue to the next room, ride the elevator up and go through the door in the left. Look for the power node on the left before going on the tram.
Ride the tram to the communication array, but watch for the floating body. The PA will announce the comm array is damaged, which you will have to fix. Collect the Medium Air Can schematic, enter the door, collect the power node, and proceed to the zero-gravity environment to fix the array. You will first have to eliminate the leapers, in the room, although they're easily handled as they have difficulty attacking from the ledge ahead of you.
To fix the comm array, you need to get the working array modules (shown in green on the board) into one circle. Although any of the three circles will do, it's easiest to move the three undamaged arrays from the outer circles, and have them replace the damaged ones. Return to the control room and activate the comm array. You will hear the USM Valor responding to the distress signal and retrieved escape pod, but the warning message to the USM Valor is blocked. You need to head to a defense gun to unblock the blast doors.
Clear the Blast Doors[edit]

Head through the tram again, watching for a creature running on the wall. Approach the lift, watching for the slasher that's taking a trip up. Go down the elevator, return to the L-shaped room, and enter the elevator.
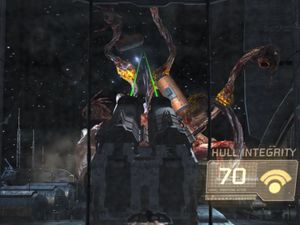
The elevator is simply one room away from the defense gun. Mount it, and aim for the yellow weak points on the target's tentacles.
Once all five tentacles on the slug detach, you will watch the USM Valor collide with the Ishimura. After the collision, the captain responsible for the mission calls an abort, and needs you to retrieve a singularity core.
Head to the Cargo Deck[edit]
The trip back to the main tram will have a second divider in the main bridge. If you go to the bench, you will also encounter a pregnant. These two enemies may be evaded, as quarantine is not active.