Deriju Town[edit]

The armory here offers practically all the best equipment in the game here for a hefty price, some are minor upgrades to your current equipment so make the choice of what to get for whom.
Armory
Hammer, Flame Whip
Shield Ring, Magic Shield, Heat Armor, Full Plate
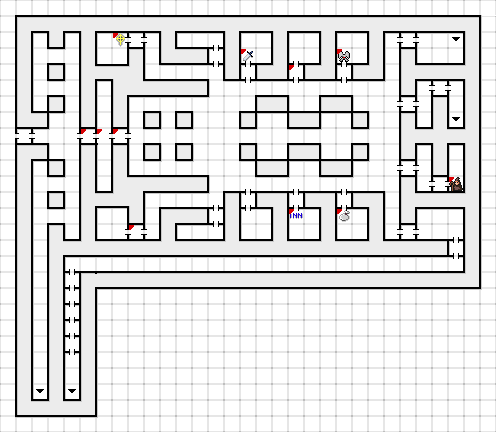
Currently, you can only access two ladders other than the one you came from. The ladder below the one leading to the cave leads back to a previously inaccessible part of the first floor of the Cave. In here, you can talk to the blacksmith if you have both the Metal and Decayed Sword to get him to repair it for you (go kill some time after giving him the items, check out the castle if you want). Offer a Prayer at the Temple to receive Holy Water. The other ladder (which is reached by going east of the Item Shop) leads you back to the first floor of the Underground Market in a previously inaccessible part. From here, you just have to walk east to reach a ladder back up to a part in Deriju that grants you access to the Castle.
Information 1: You can't enter the castle from the front. Search out a hidden entrance.
Information 2: You can help an ill-minded person by giving them some Holy Water.
Information 3: Leave this town to the north, then take the stairs down. Go to the east 16 paces, and look at the south wall. There's a shortcut to Aisle.
Castle level 1[edit]

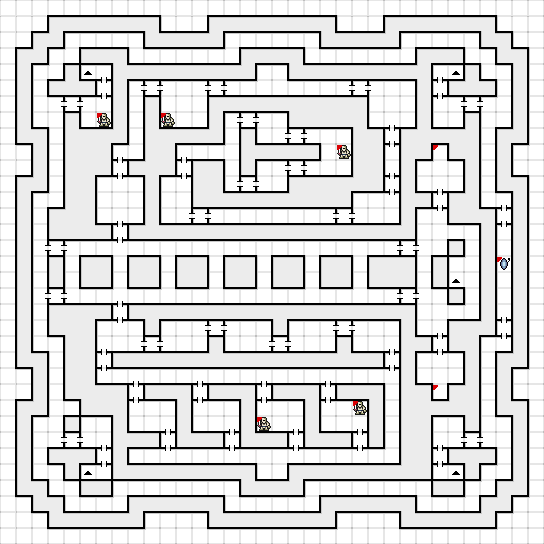
Give the Letter you received from an NPC in an earlier dungeon to the guard at one of the nearby doors and the guard will disappear allowing you explore this floor.
Using Armor and Storm is recommended in every encounter. You may wish to use Acid on the Bodyguards due to their high defense. Finally you must use magic on the Golems in order to defeat them. Storm will usually hit and defeat them outright. Dragons are particularly dangerous when they breath fire and damage your entire party for massive damage. The Wraiths are annoying due to their evasion and their propensity to cast Drain which takes away about 30 MP from one of your party members.
As long as you don't use the two western stairs, you will be able to explore all of the 2nd floor.
Castle level 2[edit]

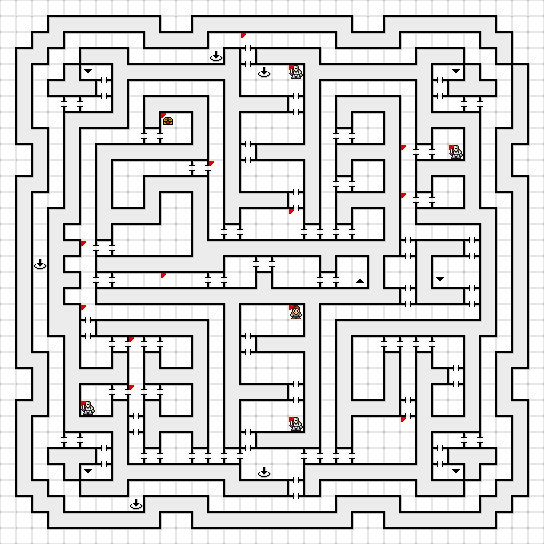
The symbols with an arrow pointing down into a circle are what they appear to be: traps that drop you to the first floor.
First, make your way around the perimeter avoiding the holes to the south door and go north until you reach the NPC in a dead end. Give him Holy Water and he will give you the Crystal Key. Going back south, you can go east to the Princess's Room but there does not seem to be anything there. West you will find some barracks. Make your way north to the chest icon which you must examine to obtain a Carpet. Go south past the room marked Storage to the unmarked door and go up to the stairs to the 3rd Floor.
The message in the hallway leading to the stairs going to the 3rd floor hint that you need a light and dark orb which you should have obtained in previous dungeons.
Castle level 3[edit]

You will start running into more dangerous varieties of the monsters here. They are dangerous even at level 25 and can one shot your Wizard if you're not lucky. Continue to use Storm and Armor with your best equipment as well as Acid on the even stronger variety of Bodyguards. The Red Dragons are very dangerous boasting the 2nd highest attack only behind the final boss as well as attacking your entire party all at once with massive damage.
Go east where you come out to a locked door that you must use the Crystal Key on. There you will find a king who gives you a Necklace. He also tells you how to find the Carpet downstairs without a guide. Make your way to the red mark in the NE area of the map to find a flame. Hold your Large Sword in the Flame and it becomes the Seal Sword. Use a circlet and try to escape the dungeon and rest at the inn and save your game.
Return to the 3rd floor and make your way to the center of the map with the red mark and up arrow. It says that there is a hole in the ceiling. Use the Carpet to get to the 4th floor.
Similar to the guards near the beginning of the Tower, there are 4 spiked squares with easier enemies from this floor near where you must use the carpet to go up to the 4th floor. In the room where you must use the carpet, they are at the entrances to the dead ends at the north and south ends of the room. The other 2 spiked squares are in the connected room beyond the 2 adjacent doors in the 1 square dead ends at the north and south ends of the room. You can encounter up to 3 rows of Bodyguards and Hipriests. The Hipriests may cast Flame which might hurt some but you should be able to survive near level 25. Unfortunately you cannot keep rexamining a spiked floor here, so you must go up to the 4th floor and go down the trap hole in the center of the main hallway to respawn the 4 spiked squares. It shouldn't take very long to get up to level 25. When you have reached level 25, attempt to use a Circlet to escape the Castle. Sell all your Circlets and buy a bunch of Sumuru Spirits/Nuts at the shop. Rest and save at the inn and make your way back to the 4th floor.
Castle level 4[edit]
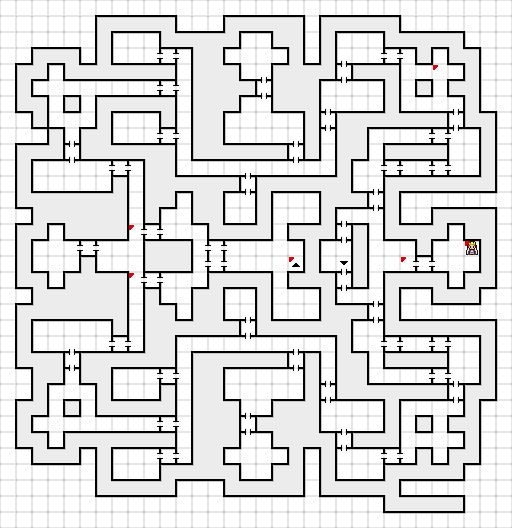
Your mirror will only give you direction similar to deep enough in the Cave, but here you do not need a Lamp. Go out into the main hallway and a figure will give you a hint that doesn't make a lot of sense. Continuing straight will allow you to drop down to the 3rd floor again. Turn right instead and enter the door straight ahead. You will warp back to seemingly the same place you started but the figure will not be there. Continue entering the same door in the hallway, but when you warp, spin around and see if the wall behind you is a space away. If not, go out into the main hallway and enter the same door again. If you see that the wall is back one space, spin until you see a new door. Go through it. (If you go towards the dead end you will warp to the beginning of the floor having to start over.)
Turn to face left to reveal a hallway. You should be facing West. Turn the corner by going forward one space and turning right (N). Next just go straight until you hit the wall with a door in front of and to your right. Turn right and go forward one space and turn left to face the door. Heal your HP/MP as much as you can before the Nuts/Spirits break, then enter the door. Put the Slab / Stone Slate into the hole in the next door. You will immediately enter battle with Princess Leeza! Use the Necklace on her and defend with your other characters. She might get in a weak attack, but the Princess will come to her senses and take the Necklace from you. Suddenly a voice threatens you and you enter battle against Deathmaster!
Deathmaster hits hard, so definitely Armor up all your party members and attack with the Seal Sword and heal whomever is attacked. You can Drain his MP. Defeating him lets you see the Ending. Congratulations!