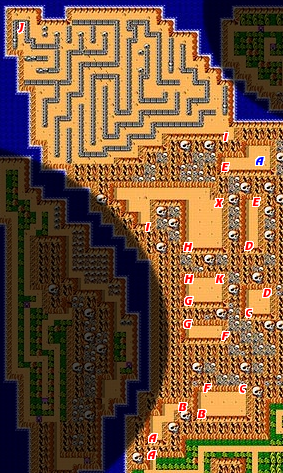
- Red letters indicate action zones. Blue letters indicate shops or help.
Main objectives[edit]
- Pass through tunnels A, B, C, D, and E to reach the hut (blue A).
- Pay 200 gold, and defeat the demon to collect the second devil pass.
- Return through tunnels E, D, C, and pass through F, G, H, and I to reach the north west skeleton maze.
- Defeat the wandering enemies around the skeleton maze to reach gate J.
Walkthrough[edit]
Compared to the first devil pass, the second one will be comparatively easier and faster to get. You will begin exploring the north western region of the map. This region operates a little differently. Instead of zones along a pathway, the region is connected by a series of tunnels that lead to small valleys surrounded by mountains. In order to advance through the region, you must navigate the correct sequence of tunnels until you reach a destination. Your first goal is to collect the devil pass.
Devil Pass[edit]

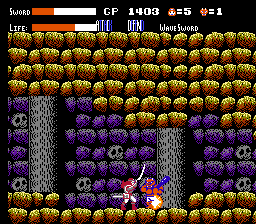
The two remaining devil passes are actually in close proximity to one another, and you can collect one just as easily as the other. However, this walkthrough will focus on collect each one as they are needed. In order to reach the second devil pass, you must pass through the gates to enter tunnel A. All of the tunnels in this region feature a side scrolling action sequence that is identical to Zone O on the first overworld map. That is, they are tunnels with no gaps or breaks, and they are only occupied by club wielding demons. Once you exit tunnel A, you can immediately head through tunnel B. On the other side of tunnel B, you will have a choice. You first need to take tunnel C, but you will eventually come back to take tunnel F after you have the pass. Pass through tunnels C, D, and E, and you will eventually reach a hut.

When you enter the hut, the demon inside will inform you that it will cost you 200 gold if you would like to obtain the pass. Even though you agree to pay the price, you will still be challenged to a fight. The demon that you must challenge is identical to the demon that you had to fight for the first pass. Presumably, you are a little stronger now, so it shouldn't be too difficult to win the battle. Nevertheless, remember to stay away from the sides of the screen, and bring a vial of Medicine along with you just in case. Once you have the pass, you have no alternative but to double all the way back through tunnels E, D, and C until you return to the first branch.
To the gate[edit]

Now that you have the devil pass, take tunnel F to tunnel G. Beyond tunnel G, you will reach another fork. Tunnel K will lead you on to the location of the third devil pass, so take tunnel H for now. When you reach the other side of tunnel H, the valley here will be a bit bigger than usual. The staircase at the location marked X is actually a trick; entering it will take you all the way back to the starting location when you began a new game. If you take it, you will have to backtrack all the way to the gate that leads to tunnel A in order to resume your search for the second sword. Avoid it, and travel through tunnel I instead.
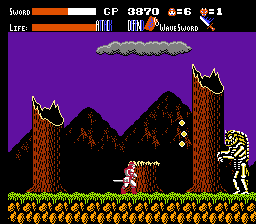
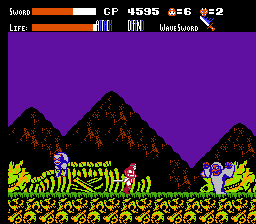
On the other side of tunnel I, you will reach another skeleton maze, this time made from dragon skeletons. The random encounters that you find here are nearly identical to the ones you encountered in the previous skeleton maze. However, as you get closer to the gates at J, you may notice a slightly different background than usual. The setup is exactly the same, starting you in the middle of the zone, and forcing you to choose left or right to escape. Beware, you will run into three worms if you travel to the left. Once you reach the gates at J, pass through the tunnel to reach the island where the second Hadouken Sword is found.