Score[edit]
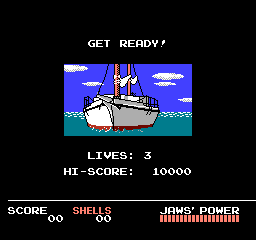
Except for the final battle, your score is constantly visible in the bottom left corner of the screen. Just about everything you collect or shoot through the game will increase your score, but a high score is worth no more than bragging rights.
Shells[edit]
Next to your score, you will find your collected shell statistic. The most important item in the game, shells allow you to purchase equipment and upgrades throughout the game.
Power[edit]
As your power level increases, the number of hits Jaws (and Jaws only) can withstand decreases dramatically. Don't try to finish the game until your power level is at least 3. You begin at the power level of 1, but you may trade conch shells at the sea ports to increase your levels. You may increase your power level to a maximum of 9. Of course, each new power level requires more conch shells to excel. Below are the shell requirements for each level:
- Default
- 3 shells
- 5 shells
- 7 shells
- 10 shells
- 15 shells
- 20 shells
- 25 shells
- 30 shells
You may not advance your power level until you have purchased the receiver, which you lose when you die, so when this happens, you must collect the receiver again before gaining any more levels. After the maximum power level 9, you may collect bonus strobes, used in the final battle with Jaws, for 10 shells a piece.
Jaws' Power[edit]
The 20 bars of power at the bottom of the screen indicate Jaws' power level. When these bars of power are completely diminished, you will fight Jaws in the final battle. These power bars remain depleted after an encounter with the shark, but every time you resurface (whether or not you were battling Jaws), he heals himself 4 bars.
Lives[edit]
You begin the game with 3 lives, and they are all you'll have through the game, so be careful not to die.