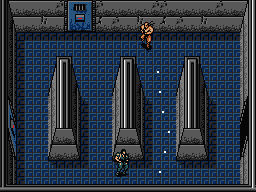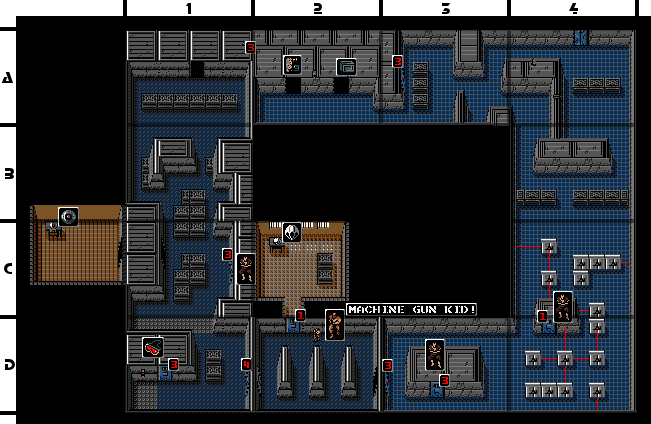
A4: You will see two cameras panning back and forth in this room. You can choose to head west to A3 or south to B4. However, to the south is a trap that you need a certain item to safely pass through, and that item can be obtained by heading west. To reach A3, you have two choices. If you found the box on the third floor, you can use it to hide from the north camera (hold still when it passes by you) and go straight to the next room. If you don't have the box, hide between the crates and the right wall until the other camera moves up. Then head down to B4. Attack the guard that patrols the room (he tends to fall asleep), and then continue back up through the left passage and over to the west.
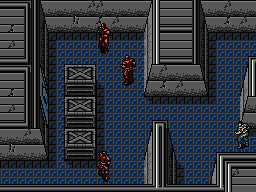
A3: Three guards patrol this room, making access to the left side of the room difficult. Before you worry about the door, first consider whether you are in need of more ammo or plastic explosives. If the answer to either one is yes, you will want to take the lower passage to A2. If the answer is no, focus on the door. To reach either one, you will need to take out the guards. Collecting the silencer from the third floor makes this much easier since you can instantly shoot them without alerting the other guards. Start by taking out the right-most guard when he is facing north, and the other two guards are further left. Then take out either of the two remaining guards by staying to the right and letting them approach you from the top or bottom. Once a path to your destination is clear, head for it. If you're using the door, activate card 3, and continue reading in room A2.
A2: If you took the door from A3, you will notice that this is simply a passage way to A1. Below the crates, however, are ammo and plastic explosive. In order to get these, you must approach them through the doors by taking the lower passage from A3. A camera roams back and forth, from which you should easily avoid detection if you collected the box. The right door is the easier of the two to access and contains ammo. If you need more plastic explosives, you'll have to approach the left door when it is safe, and you'll also have to be careful exiting the door so that the camera does not notice you. Once you're done collecting supplies, return to A3 and access the passage through the door, and proceed to A1 by using card 3.
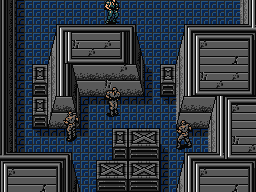
A1: When you enter through the passage from A2, you will notice barrels rolling back and forth in this room. They always start going to the left, so if you don't hesitate, you will have enough time to run out to the middle of the room and head south to the door. If you did hesitate, return to the passage and re-enter the room so that you have enough time to safely avoid the barrels. Exit the room through the south, and you will find a single guard patrolling below some crates. Choose a side to come down, and wait until he faces away from you. Then remove him, or simply slip by him, and head south to room B1.
B1: Three guards patrol this cramped area. The walls and crates give you ample cover to sneak up to each of the guards and punch them out before they notice you. Continue south to room C1.
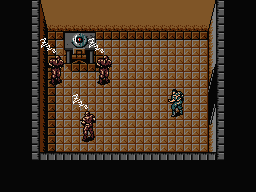
C1: You will see two guards when you enter this room from above. There's an open door to the left and a locked door to the right. If you slip inside the open door, you will find three sleeping soldiers situated around a set of land mines. If you have less than the maximum number of land mines for your class (5 for one star, and 10 for two stars), carefully approach the mines to collect them without waking up any of the soldiers (alternatively, you can punch them out, or shoot them if you have the silencer). You'll have to deal with the right guard if you wish to examine the locked door. Prepare card 3 and enter. You'll find a prisoner who will tell you that you need to use a parachute from the roof in order to reach the courtyard. Head south to room D1.
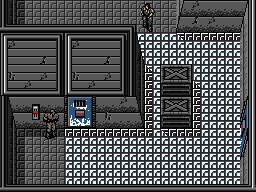
D1: A guard patrols the southern region of the room. If this guard notices you, the first thing he will do is activate the electric grid on the floor, making it difficult for you to approach the door. If he does this, you'll need to use a missile to knock out the panel powering the grid. However, you can avoid all of this simply by removing the guard before he notices you. Hug either side of the crates, stand just above the guard, and wait for him to approach you. Punch him out or shoot him, and then proceed to the southern door. Open it with card 3, and step inside to find the IR goggles. With these goggles, you will be able to see the outlines of the infra-red laser traps which sound alarms if the laser beams are ever interrupted. When you exit the room, the guard won't return. You cannot open the east door with any of the cards that you currently have.
Your only choice at this time will be to retrace your steps all the way back to A4, and start making your way south to B4.
B4: As stated above, the only threat in this room is a single guard who has a tendency to fall asleep. Wait for him to do so, and then make your way south to room C4.
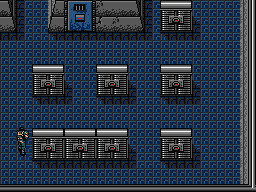
C4: You won't find any guards here, just strange looking boxes. If you brashly charge through this room, you are very likely to set off an alarm and attract a lot of unwanted attention. The boxes in this room are in fact part of the infra-red laser beam security system. Assuming you went to the trouble to collect the IR goggles from D1, now is the time to activate them. When you do, most of the room will appear gray, but the laser beams emitted by the boxes will be boldly visible in red. Now you can determine a safe passage through the room, and make your way south to room D4.
D4: With the goggles still activated, you will notice that this room, too, is booby trapped with infra-red laser beams. Simply make your way around the little maze they create, and head up to the door in the room, which can be opened with card 1. Inside, you will find another prisoner with no particular information. Step back outside (put the goggles back on if you forgot the layout of the lasers) and proceed west to room D3.
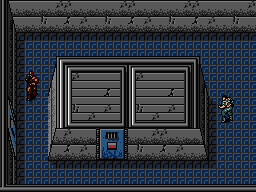
D3: As a guard proceeds up the left side of the room, approach the door in the center, and open it with card 3. You'll find another prisoner to rescue, who will inform you that Dr. Pettrovich should be in a cell in the courtyard. Additionally, if you've rescued every prisoner in the walkthrough thus far, you will be promoted to the rank of three stars. Your health meter will fill to approximately 75% and your carrying capacity will be increased. Exit the room and approach the west door. Either wait for the guard to return to the bottom and take him out, or simply sneak your way past him and open the door with card 3 to access room D2.
D2: As soon as you arrive in the room, the mini-boss inside will announce that he is Machine Gun Kid. He will attack you until one of you is defeated.
Once Machine Gun Kid is out of the way, approach the north door with card 1, and examine the room inside. You will find a parachute on the desk. Collect it and return outside. The door to the left is locked with a card that you do not have yet, so your only choice is to backtrack to the elevator room in A4. Be sure to activate your IR goggles when necessary so that you don't trip any alarms, and ride the elevator up to the rooftop.
