< Metroid
Jump to navigation
Jump to search
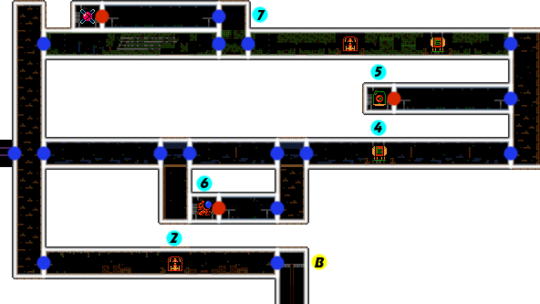
Samus' mission begins in an area of tunnels called Brinstar. Here the tunnels are composed mainly of stone and there are long shafts leading up and down. Prepare to meet many dive-bombing Skrees and Rios as you search for Power-Up options. This is the easiest area of the planet to clear, so use it to learn all of Samus' moves. Remember that blue doors must be fired upon to open them.
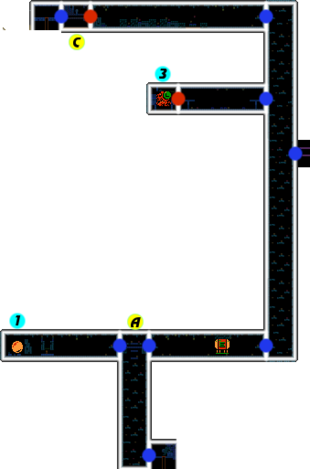
Brinstar is very wide. As a result, it has been split up into two parts so that it can fit inside most browser displays. There is an east portion and a west portion, and they are connected by the bridge that straddles the two long vertical columns found on either side. You begin the game just to the right of label 1 on the map.
Points of interest[edit]
- 1) A rolling start
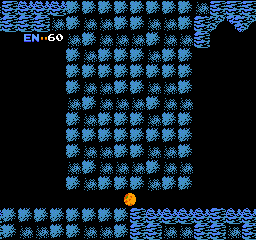
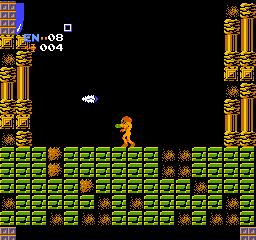
- If you begin by running to the right, you will eventually be blocked by a wall with a passage that is too small for Samus to run through. She will need a way to shrink down in size and squeeze through the passage. Instead, start by running to the left. After jumping over the large outcropping, you will find the Maru Mari (Round Ball), a modular expansion to Samus' armor that allows her to safely roll up into a small ball. As a ball, she can roll right though low passageways with ease. Now you can progress to the long vertical shaft at the other end of the corridor.
- 2) Your first rockets
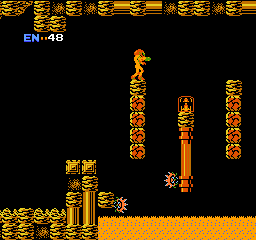
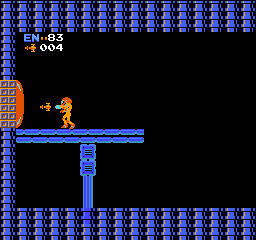
- Before you can collect any key Power-Ups, you are going to need some missiles, and the easiest ones to collect is the pack found in the bottom passage of East Brinstar. You'll need to climb up the first vertical shaft to reach the bridge that connects East and West Brinstar. Then drop all the way down to the bottom of the second shaft to reach the door. As you run to the missiles, watch out for Skree that drop from the ceiling and the Zebs that appear from the pipes. They will fly right into you without a second thought. Once you collect the missiles, you will want to double back. But remember this location well; the elevator to Norfair is a short distace away.
- 3) Fire farther
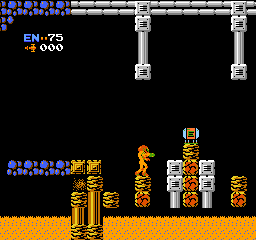
- While not required by any means, the Long Beam is such an essential upgrade that you should seek to collect it as soon as possible. And since you've just collected some missiles, you're ready. Head back across the bridge to West Brinstar, and start climbing again. Take the next door that you find to the left. In addition to the Rios and Zoomers that occupy this room, you may have to watch out for the swarming Mellows that descend on Samus when she enters. At the other end of the room is a red door. Red doors can only be opened by shooting five missiles at them. Once opened, they remain open forever. Blast the door down with your missiles and step inside to collect the first Chozo statue protected Power-Up, the Long Beam.
- 4) More energy is better
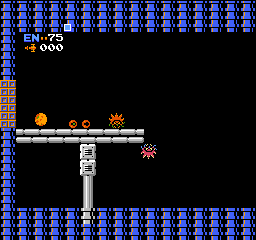
- Hopefully, you aren't having too much trouble keeping your energy levels up. Whether you are or not, having more energy is always a good thing, so let's collect the first Energy Tank. Run back across the bridge, and enter the door immediately across from the exit. In this new section, you'll have to dodge the weaving Wavers and stay out of the burning acid below. If you find yourself taking an acid bath, try not to panic and move as quickly to a low-lying platform as you can. Jump out as soon as you can. You'll have to cross two small bridges over acid lakes before you reach the segment that contains the tank. You won't have to do anything special to collect it, just watch out for any Rios that wait overhead for hapless victims to approach.
- 5) Bring on the bombs
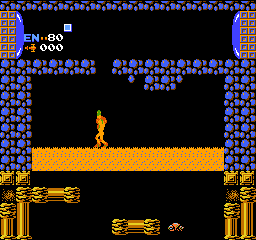
- You're already headed in the right direction for the next power-up. As a ball, Samus doesn't have any offensive power. It would be nice to change that, so keep running to the right. You will reach another vertical chamber. Jump from platform to platform until you reach the next door on the left. Pass through it, and you may be reminded of the Long Beam chamber. Run to the end and blast the red door open (hopefully you were able to restock your five missiles by now.) Head inside to get the next Power-Up: The Bombs. You can set a bomb by rolling up into a ball and pressing
 .
.
- 6) The trouble with ice
- The ice beam is a handy weapon to have, but it can be difficult to collect and continue without the High Jump boots (although not impossible.) If you intend to visit Norfair immediately after completing Brinstar, you may wish to skip this particular Ice Beam in favor of a much easier one in Norfair. You should only collect the Ice Beam now if you intend to battle Kraid (it's not a requirement, but it can be helpful), or if wish to collect the Varia Power-Up (number 7) right away. If you would like to collect it now, return to where you collected the first Energy Tank, and pass through the door to the left. A portion of the bridge over the acid can be bombed, allowing you to drop through. You may be surprised to find that the acid is really just an illusion and doesn't hurt you at all. Beneath it is another series of platforms. At the bottom is a chamber, and at the end of that chamber is the Ice Beam. So far so good, but the problem is getting out. Samus can stand on a portion of the "acid" below the section of bridge that can be destroyed. To get out without the High Jump boots takes careful timing. You must shoot the section of the bridge, and wait until one second before the block reappears. Jump at the last second so that Samus' feet get caught in the reappearing block. She will take damage, but she will also be prevented from falling down again. Of course, if you can get the Waver to sink down into the hole, you can also freeze it with your newly acquired Ice Beam and use it as a platform. Another trick with your newly acquired Bomb is shoot the block above, and immediately morph, lay a bomb, get up, and as soon as you get to the highest point jump and you should make it.
- 7) Boost your defense
- For this to work, you either need the Ice Beam or the High Jump boots. The High Jump boots make it easier, but the Ice Beam method can save you a lot of time and running around. To reach the high blue door at point seven with only the Ice Beam will take a lot of work. When you enter the narrow corridor with a single Waver between two blue doors, there is a single column of blocks in the ceiling that can be destroyed. Shoot these blocks when the Waver is in the process of traveling up, and can pass through the hole that you create. Help the Waver reach the chamber above, but do not kill it. Once the Waver is high enough, follow it by shooting the column and jumping up when the blocks are about to reappear. When you are in the upper chamber along with the Waver, freeze it when it is halfway between you and the blue door, and use it as a platform to reach the door. Enter the chamber beyond and shoot the red door at the end with five missiles to gain access to the most powerful defensive tool in the whole game: the Varia Suit. Now you will only take half as much damage as you did normally. Don't forget to collect the Missile Pack and the Energy Tank at the right end of this passage. To reach them, you will have to find a way to get beyond the apparent dead-ends by shooting various sections of the walls, or even jumping above them.
Destinations[edit]
- A) Dropping in on Kraid
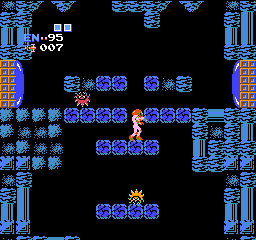
- Now that you have the Bombs, you have the necessary equipment to access the first Hideout, the lair of Kraid. If you're ready to investigate it (although you want to visit Norfair first for more missiles and Energy Tanks and more powerups like Screw Attack, High Jump and Wave Beam), return to the first room that you entered right after you started the game. You'll notice that most of the blocks that compose the bridge are the kind of blocks that can easily be destroyed by bombs. So roll into a ball and lay a few bombs around the bridge to create an opening that you can fall through. At the bottom of this shaft is a door, and beyond the door is an elevator that leads directly to Hideout I.
- B) The fiery home of power
- If you think the Power-Ups that you collected in Brinstar were something, wait until you see Norfair. Some of the best Power-Ups in the game can only be found in its scorching chambers, not to mention the several caches of Missile Packs. Run to the end of the corridor where you collected your first Missile Pack to find the elevator that will lower you into the depths of Norfair.
- C) The statues don't lie
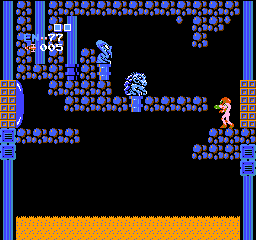
- If you climbed all the way to the top of West Brinstar and followed the long corridor to the left, you may be surprised to find an unusual chamber that contains statues in the forms of the two mini-bosses, Kraid and Ridley, along with an uncrossable chasm over an acid lake. If you haven't defeated either boss, the statues will remain dormant. If you have defeated one or both, then shooting the corresponding statue will cause it to rise. When both statues rise off the ground, a bridge is formed that will allow you to proceed to Tourian, the home of Mother Brain.
Notes[edit]
- Next to the Ice Beam chamber
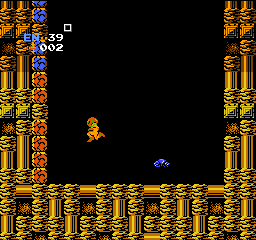
- You may think to yourself, if you could blow up a hole on the bridge that leads to the Ice Beam chamber, perhaps you can blow up a hole on the identical bridge to the left. The fact is that you can and in exactly the same position. However, this bridge covers a chasm holds nothing of value, and features an annoyingly difficult method of escape involving a series of destructible blocks along the left wall. In short: avoid it completely.
- A shortcut to the Varia Suit
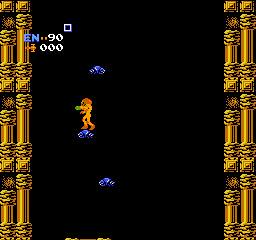
- After you collect the Ice Beam, it's possible to approach point 7 through the door on the right, instead of the door on the left. If you return to door that lead to the chamber where you collected the Bombs, you can climb up a few more platforms, and fire your Ice Beam at the Rippers and Wavers that float around in the portion of the shaft that contains no platforms. If you time your shots right, you can turn the Rippers and Wavers into frozen platforms that will help you rise through the shaft and reach the door at the very top, saving you some time in the process. It is possible that the Waver may not be present when you reach this section of the shaft, in which case you will not be able to proceed.
- A difficult Energy Tank
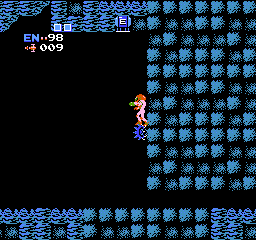
- As you can see on the map, there happens to be an Energy Tank hidden right in the corridor next to the one you start from. However, it is located in the ceiling, and it extremely difficult to reach. The easiest method to collect it involves the Ice Beam and the High Jump boots. Follow a Zoomer that is crossing the ground to the left, and watch it as it climbs the walls, and up to the ceiling, where it will proceed to move right. Wait until it reaches the overhang near the hidden tank, and let it come down close to you. When it is a little less than half way off the ground, freeze it and use it as a platform to jump from and reach the Energy Tank. This can be accomplished without the High Jump boots, but its rather difficult. You can also however freeze a Rio as well.
