Scene 9A/9B[edit]

| Clear condition | Enemy revival | Enemy appearance |
|---|---|---|
| Bonus | Never | Eyeballs, Lightning Boys |
Regardless of whether you took the upper A route exit, or the lower B route exit from scene 8, the 9th scene is the same for either path. It is a bonus stage, and your objective is to reach the exit before time runs out in order to receive a weapon boost.
You start out in the lower right corner. From there, you must clear the eyeballs, and make your way up to the middle of the scene. Then you must traverse to the left, making your way out of the pit along the way, and climb up the left side of the scene. You will start to encounter the Lightning Boys in the top half of the scene. Use bombs to clear the Lightning Boys away as you make your way back to the right.
If you have succeeded in completing the previous two bonus stages and have the bombs, you are given a fireball weapon. It works just like the fireball items that you can collect in a scene, but it lasts for 40 seconds. You can also switch to another weapon while it's activated. Once time runs out, you lose the fireballs until you clear another bonus stage.
Scene 10A[edit]
| Clear condition | Enemy revival | Enemy appearance |
|---|---|---|
| Exit | Never | Bat, Spider, Giant Daruma Doll Mini Dragon, Giant Skeleton Demon |
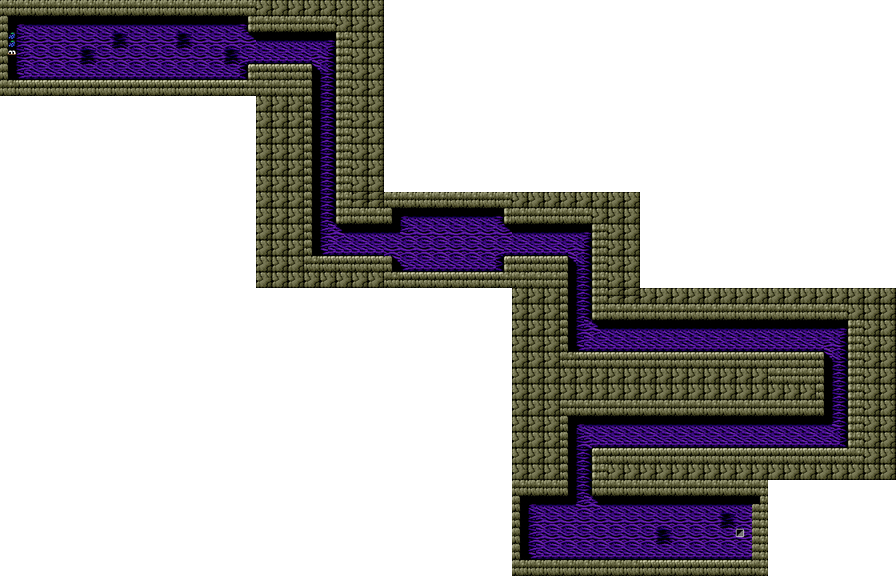
As soon as you arrive in this scene, you will fall down the highest shaft on the map. If you just obtained the fireball, be sure to press up and switch to a different weapon so that you don't waste any of the 40 seconds that you get to use it for.
If you are curious, you can actually wall bounce your way back up to the top. In the highest corridor, you will encounter a group of bats, leading up to one of the toughest enemies in the game, a Giant Skeleton Demon. This enemy should only be dealt with if you have fireballs. It's difficult to defeat this creature with bombs, and nearly impossible to defeat it with anything else. All that you will gain for the difficult battle is access to three bonus point items along the back wall.
From the original starting point, a Giant Daruma Doll will bounce your way from the right. Destroy it with a couple of bombs, and proceed. After dropping down the next shaft, you will encounter bats and large spiders. Use your bombs to clear a path ahead of you whenever an enemy approaches. Drop down the next shaft. As you walk to the right, you will meet the first Mini Dragon.
It's important to remember that Mini Dragons can't kill you, but they can slow you down. When they see you, they want to run up and investigate you. Getting hit by them when they reach you will stun you. You can avoid this by jumping just before the reach you. You can get around them by jumping on their heads. Keep an eye out for more bats as you proceed.
After getting through the corridor with the Mini Dragon, drop down the next shaft, where you will find two Giant Daruma Dolls bouncing around. Be very careful not to land between them, or in a place where you are likely to get squashed. Get to a safe place as soon as possible, and take each doll out, one at a time. The exit from the scene will be to your right.
Scene 10B[edit]
| Clear condition | Enemy revival | Enemy appearance |
|---|---|---|
| Exit | Always | Piranha, Octopus, Demon Fish Dragon Child, Water Flea |
Apart from the background, and being a tad shorter, this scene is virtually identical to Scene 5, including the bonus items found near the end. Follow the same strategy to clear this scene, and you will be fine.
Scene 11A[edit]

| Clear condition | Enemy revival | Enemy appearance |
|---|---|---|
| Exit | Always | Bats, Eyeballs, Skeleton Neck, Half Catfish, Skeletons |
You will begin on the far left side of this very long scene. From the start, you must advance to the right through a cavern whose floor varies in height as you proceed. Your first and only threat for a long time will be bats. The biggest problem with the bats are not their numbers, but the fact that they blend in so well with the inky black background, making all but their eyes very hard to see. Throw a constant stream of bombs in front of you, and behind you if necessary, to keep the bats at bay.
Eventually, you will begin to see eyeballs. Try to remove them before they have a chance to stun you. After you've encounter the eyeballs, a new enemy will begin to appear. The long Skeleton Neck monsters hover through the air. They are easily removed, but they are long, and somewhat fast, so be prepared to toss a bomb at them as soon as you see them. All the while, bats and eyeballs will continue to appear, so you can't let your guard down.
After a while, the bats and eyeballs will stop while the Skeleton Necks continue to appear. Soon enough, another new enemy will appear on the ground. A large blue creature, called a Half Catfish, will run up to you when you get close enough. Be sure to blast it with a bomb before it gets too close to you.
After a few Half Catfish, you will arrive at the top of a shaft. It's probably not worth the effort, but if you wish to, you can jump over the shaft and continue to the right. You will have to battle your way through many more bats and Half Catfish. At the end of the path, you will find three bonus point items, and have to double back to the shaft.
Drop down to the bottom of the shaft (press jump at the last minute to try for a 1000 point landing bonus). After walk right, you will see another shaft leading up. The path will continue right, but it only leads to a Giant Daruma Doll and another Half Catfish, so stop below the shaft. Jump up to the higher platform on the right, and wall bounce you way up the shaft. If you climb the left wall up to the first corridor where skeletons are pacing, you can find a fireball item, but it's generally more trouble to get than it's worth.
Clear away the skeletons that patrol the upper path and continue wall bounce up the left side. Two more skeletons wait for you near to top, one protecting a bonus item. When you reach the top and start moving right, bats will appear along with more skeletons. Just before you reach the exit, you will see another Half Catfish. Drop a bomb on it from above to clear it out safely and escape the scene.
Scene 11B[edit]
| Clear condition | Enemy revival | Enemy appearance |
|---|---|---|
| Defeat enemies | Never | Lion Dance |
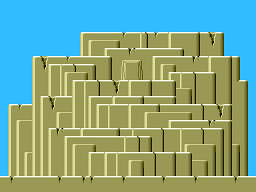
Like route C in the beginning of the game, this stage is reminiscent of the original Ninjakun game, although the scene is wider than usual. The stage consists of nothing but Lion Dance enemies. Lion Dances spit balls of flame at you. If you intercept them with your own weapon, the flames stop advancing, but they remain on the screen, and must be avoided.
If you received the Fireball weapon from the last bonus stage, you can use it at this time to wipe out a considerable number of enemies before you should switch to another weapon so that you don't run out of fireballs (you're going to need it again shortly.) Pick off the remaining Lion Dances with bombs to be on your way to the next scene.
Scene 12A/12B[edit]
| Clear condition | Enemy revival | Enemy appearance |
|---|---|---|
| Bonus | Never | Skeletons |
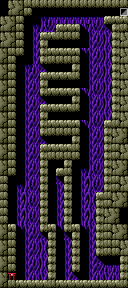
Like all bonus stages, this one is the same regardless of which route you took. The stage is infested with Skeletons. While you shouldn't be focused with defeating all of them, there are a few in particular which you may need to clear out in order to create a safe passage to the exit.
You start off in the lower left corner. The exit is high above in the upper right corner. The stage is divided by a tall structure in the middle. You only need to bounce up the left side and then hop over to the right side, bouncing off the walls near the top to reach the stairs. If you fall down the left side, you'll have a much harder time making it back up, as there are many more skeletons to hassle you. On your way up the left side, you'll have to clear out a few that wait for you in the alcoves, but don't let them slow you down if you can avoid dealing with them.
If you clear this bonus stage, and still have the fireball weapon in your possession, it will appear as if you don't gain a weapon, but in fact you do. This is probably the best weapon upgrade of all: the number of weapons that you can throw on the screen simultaneously increases from two to three. This will come in handy throughout the rest of your adventure.
Scene 13A[edit]
| Clear condition | Enemy revival | Enemy appearance |
|---|---|---|
| Exit | Always | Kuroku, Piranha, Octopus, Demon Fish Dragon Child, Water Flea, Spiders, Mini Dragon |
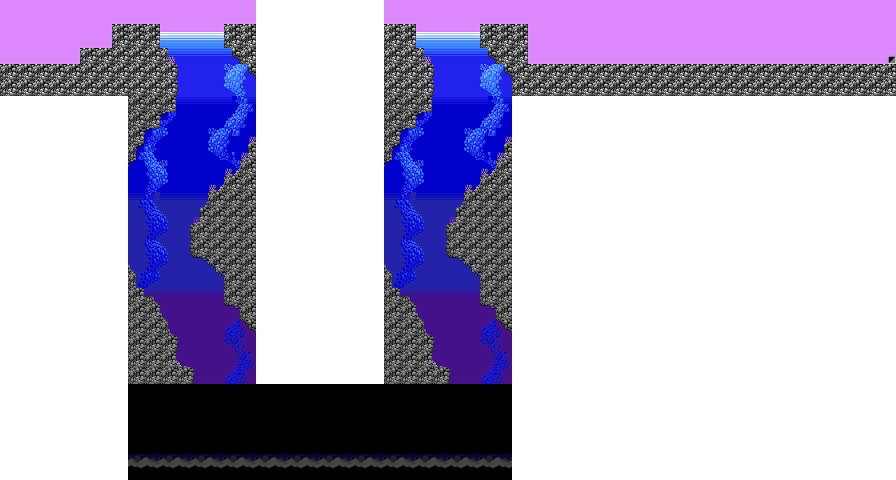
This is another swimming stage, but you start out on dry land. You must fight past two Kuroku ninjas to reach the water. Then you must start diving down and swim to the very bottom. Along the way, you will see several Piranhas, Octopus, and Water Fleas. In general, you should stay to the right, and swim as fast as you can through the water, veering only to avoid enemies.
You won't see any Giant Demon Fish, or a Dragon Child until you reach the lowest depths of the water. Once the background becomes black, you must begin to swim to the right. Eventually, the scene will stop scrolling right, and you must then begin to swim all the way back up. Once you reach the very top, jump up to the wall on the right and climb out of the water.
Once you make it to the surface, you will have to clear away several large spiders as you approach the scene exit. The only thing standing between you and the exit is a semi-harmless Mini Dragon. Since there are no more enemies to be concerned with, getting stunned by the Dragon causes little harm.
Scene 13B[edit]

| Clear condition | Enemy revival | Enemy appearance |
|---|---|---|
| Defeat enemies | Never | Giant Skeleton Demon |
Route B will conclude in a single room scene with your first fight against a Giant Skeleton Demon. If you still have the fireball weapon, then this monster will be a breeze. If you don't, then you may find this enemy a bit more difficult to deal with.
If you have fireballs, activate them and begin firing them immediately. You will still need to stay out of the range of the skeleton's sword; if he swings it and it comes down on your head, you will lose a life. Keep your distance and let the fireballs reach out to destroy him.
If you don't have fireballs, you'll need to rely on Bombs. Star or crescent blades will take too long, and eventually, the skeleton will push you off the platform and into the lava. To win with bombs, you must stay relatively close to the skeleton, and hit him with bombs as fast as you can. If his sword comes down, you can survive by standing between his feet and his hand, but it's difficult to pull this off since you will get pushed back if you bounce off his feet. Hit him enough with the bombs, and he will be destroyed.
Scene 14[edit]
| Clear condition | Enemy revival | Enemy appearance |
|---|---|---|
| Exit | Always | Bats, Mini Dragon, Half Catfish Skeleton Necks, Giant Demon Skeleton. |
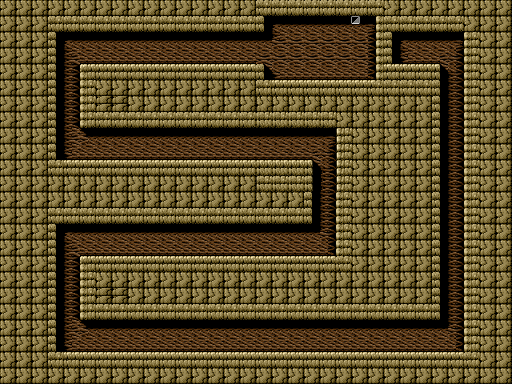
This scene will test all that you have learned to this point. You will have to prove your wall bouncing skills, and you knowledge of enemies like Mini Dragons and Half Catfish. It will all culminate in a battle against a tough Giant Demon Skeleon. To start, you must dive off the platform and drop down the shaft to the floor below. You will be greeted by a curious Mini Dragon.
You must walk along the lowest floor, dealing with the ever curious dragon, who will run to chase after you and try to stun you. Danger comes in the form of the Half Catfish that also line the floor. You must be sure to throw a bomb at them and destroy them before they notice you and run up to you, and before the Mini Dragon catches up to you and stuns you. You will know you reached the end when you encounter a second Mini Dragon on the left.
Bounce off either Mini Dragon's head to wall bounce up the next shaft to the ledge above. Another Mini Dragon will appear there. Jump on its head to get to the other side of it, and head to the right. You'll only have to deal with one Half Catfish along the way, before you reach the next shaft. Wall bounce your way up, but watch out for the bats that begin to appear.
At the top of this shaft, you will find another Half Catfish, followed by another Mini Dragon and a second Half Catfish. Carefully remove the Half Catfish and wall bounce your way to the highest and final corridor. Skeleton Necks will begin to appear here, so be sure to toss bombs out around you to get rid of them. As you reach the room at the far right, bats will also appear.
In the final room awaits a Giant Demon Skeleton. This may be your first time encountering one of the hardest enemies in the game. If you still have the fireball weapon, you'll want to activate it immediately and use it constantly until the skeleton is defeated. If you don't have fireballs, it's possible to rely on bombs, but it's very difficult. Stay away from the sword at all costs. For more tips on dealing with Giant Skeletons, see scene 13B above.
Once the skeleton is defeated, make your way to the far right wall, and wall bounce off of it to reach the exit above.
Scene 15[edit]

| Clear condition | Enemy revival | Enemy appearance |
|---|---|---|
| Bonus | Never | Eyeballs, Half Catfish. |
This very small room is another bonus scene. Groups of eyeballs occupy the space between the columns, and the section above. You can use bombs to clear away the eyeballs beneath you. It is highly recommended that you use a fireball to remove the Half Catfish above you when you are halfway across the stage. it is far easier to deal with it this way then to try and fight it off when you climb up to the top.
Once you reach the far right side of the screen, you must wall jump your way up to the platform at the very top. You can grab on to the right edge of the platform and climb your way up. If you did not remove the Half Catfish with a fireball earlier, you're going to have to make sure that you have bombs ready, and that you throw them as quickly as you reach the top. From there it should be simple to walk to the left, collect the bonus items, and exit the scene.
Scene 16[edit]

| Clear condition | Enemy revival | Enemy appearance |
|---|---|---|
| Exit | Always | Kuroku, Bats, Eyeballs, Skeletons, Lightning Boys, Half Catfish, Armors, Giant Daruma Doll Skeleton Necks, Mini Dragon, Piranhas, Water Fleas, Giant Demon Fish, Giant Demon Skeletons |
This scene is, by far, the largest scene in the game. You start out by walking to the right as you battle your way past some Kuroku ninjas. You will reach the entrance to a cavern. As you enter, bats will fly along, blending into the background. A few eyeballs await you in the middle, followed by more bats.
You will come to a differently colored section. Your goal here is to drop all the way down until you reach water. You may see a few skeletons along the way, but they can be safely ignored. Once you reach the water, swim down until the screen scrolls to the left. You must watch out for Piranhas and Giant Demon Fish. Two demon fish will appear while you make your way to the left.
You will know you reached the end when you see two blue blocks at the top of the screen. Swim as far to the left as you can before the screen stops scrolling, or you will not be permitted to jump out of the water. Use the blue blocks to begin your wall climb up to the platform above the water. You may have to watch out for a Skeleton on the right throwing knives at you.
Once you're out of the water, start making your way up the platforms, and wall bounce to the top. Walk left along the corridor, but be prepared; a Half Catfish will appear on the left. Because the ceiling is so low, it will be difficult to throw bombs out ahead of you, so you must make sure that you catch the catfish in a bomb's explosion before it reaches you. It's easier than it sounds. Beyond the catfish are a few spiders. Use the same technique to remove them.
Then you will drop down to a platform containing a skeleton and a Mini Dragon. Beyond them is a long shaft that you must drop down to the very bottom of. You will arrive in an area that contains lava. This area is patrolled by many Lightning Boys. You should use bombs to rid the platforms ahead of you of their occupants before trying to move on to the next one.
As you cross the Lava area, Skeleton Necks will start to appear, and fly around the area. Your bombs should be able to take care of them. Eventually, you will land on a low platform, and on the high platform to the right, you will see a Giant Skeleton Demon. Normally, this is a fearsome foe, but from this position, you have the advantage. You can safely jump up and hit the skeleton with bombs until it explodes. From there, continue your journey to the right, removing any more Lightning Boys in your way.
You will reach the end of the lava section. Some bonus items lie tantalizingly just above the lava, but they're not worth risking your life for. Instead, start making your way out of the section by leaping up to the platforms above. A few skeletons will try to slow you down. You must begin wall bouncing to make your way to the very top. Along the way, you'll see an opportunity to collect a fireball item, but it's next to useless. By the time you reach the top and can use it, time will have almost run out. So ignore the item and continue bouncing your way to the top.
When you reach the top of the shaft, there will be Half Catfish on the ledges above you that you'll have to clear away in order to progress. Once you reach the very top, you must walk to the left. You won't encounter any dangers until you start seeing groups of Armors jumping around the platforms. Even bombs or fireballs won't harm Armors unless they are stunned. There are quite a few of them, so you have to chose which strategy to take; deal with them and take them out one by one, or try to avoid them entirely and make your way up to the top as quickly as possible. Because the scene is so long and time is at a premium, you may with to try and quickly blast your ninja past them.
Once you make it to the top, it's a short trip to the right before you fall back down again. This time, you're back in water. You must swim past the Piranhas and Water Fleas until you reach the bottom. Once again, not one but two Giant Demon Fish will be patrolling the area at the bottom. Swim to the right until you can start to swim up again. Make it safely to the top and jump out of the water to the platform on the right.
Once you drop down from the platform, you will be met by a curious Mini Dragon. As you make your way to the right, you will begin to feel the earth pounding of a Daruma Doll; the last enemy that stands between you and the exit from this very long scene. Remove the doll from the safety of the higher ledge before dropping down to the ground below, and make your way to the exit.
