Welcome to Patapon 3. This walkthrough will explain everything needed to complete the game from the beginning to the end. In this walkthrough section you will get only what is absolutely necessary to complete the game, all of the side quests are (will be) listed in the appendix section.
Let us dive right in then, shall we?
The Pledge[edit]
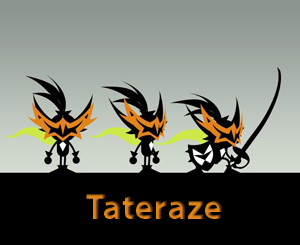
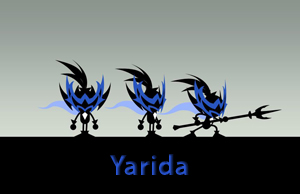
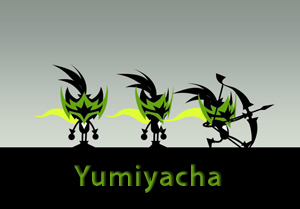
After the initial cutscenes you will see the pledge. Sign it (in order to move the pen use your joystick). You will be asked if you want to import data from the previous game. If you decide to import your save data, it gives you a bonus helmet called Shubaba Gale Kabuto, which gives your Patapon bonus attack speed superior to any other piece of headgear in exchange for some defense and health,(additionally, some minor bonuses are later unlocked in the game) so choose the import option if you do have a Patapon 2 save file and continue. The strange light will ask your name, and then he will immediately give you a choice of 3 classes:
Once you've made your choice you will be given the drums, 3 of them anyway.
you will see another cutscene of the patapons being frozen into stone. The game will display a quick tutorial and then give you the fourth drum. After completing the level, you will be brought to your hideout by Silver Hoshipon.
From there, go to the Master Obelisk, and choose the first quest: Advance! Attack!


