Encounter[edit]
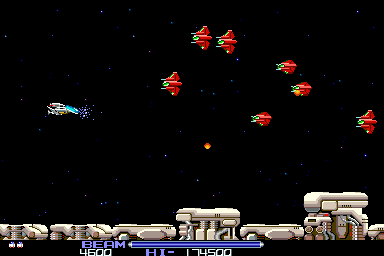
As the stage begins, you will be attacked by two small waves of red, followed by brown ships that fly a snake formation. At the same time these ships appear, the first walking ground mech will appear. Take out the flying squadrons with a fully powered Wave Beam. Then the screen will fill with red ships for some time until the first power-up transport appears. It will land on a ledge, and then fly back to the right if you don't shoot it. Inside will be a Reflection Laser weapon upgrade, but since this is your first power-up, all it will do is summon the initial Level 1 Force. Let the Force fly to the right as a large hovering armored mech appears on the screen. Shoot it with a few fully charged Wave Beams while the Force collides with it. Around the same time, a walking missile launcher will appear on the ground. Take out any ground troops, but watch out for mechs that appear from the left. A few more brown ships will fly near the top of the screen. As you approach the base entrance, a walking mech will drop down from the top.
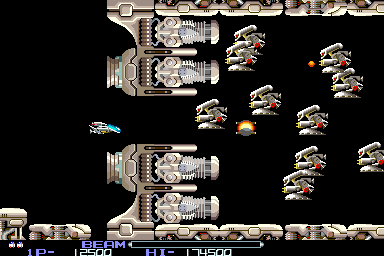
Fly through the narrow entrance to the base beyond. As you do, a large group of alien mechs will fly over in an effort to ambush you. Keep the Force ahead of you and let it take out most of the enemies. Fire Wave Beams at the remainder who fit through the gap to wipe them out quickly. Further in, a few tank pods will be mounted to the floor and ceiling. Remove them if you can without endangering yourself. As the background begins to light up, a walking missile launcher will take position on the floor while the next power-up transport appears. It will contain a Speed Up. Another transport will appear almost immediately after. It will contain another Reflection Laser. Collect it to power your Force up to Level 2. Now it will be able to fire short Reflection Lasers and take out the missile launcher on the floor, as well as the pod tanks on the ceiling.
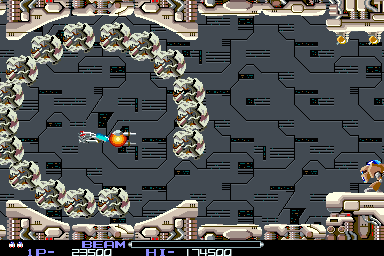
Next up, you will approach a rotating ring of turrets. Enter when the gap is exposed on your side, wait for the ring to turn around, and exit on the right. Each turret fires bullets at you, which you should attempt to absorb with the Force, and each one can be destroyed by the Reflection Lasers. However, you can destroy them all simply by shooting the blue-colored one. Beyond the turret, a few red ships will fly toward you and a few ground mechs will appear on the bottom. Pod tanks will be attached to the ceiling. Two power-up transports will fly in. The first one contains a Bit, which will take position above your ship. The next one contains the Anti-air Lasers. Collecting this one will not only upgrade your Force to Level 3, it will enable the Bit you just collected to fire an extra laser beam. A long stream of brown ships will fly in from the ceiling.
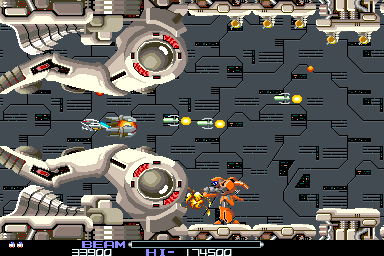
As another narrow path appears on the screen, a new power-up transport will appear, with a Missile upgrade. Be sure to collect it as you fly through the gap. On the other side, there are a few tank pods attached to the ceiling. A large hovering mech will appear and land on the ground. Just before it leaves the ground again, it fires four missiles from its back which slowly home in on the R-9a. The missiles are easily shot down, as is the mech itself. A power-up transport will appear, containing a Reflection Laser. At the same time, a second hover mech will appear. As you destroy it, the background will begin to fade out.
Boss: Dobkeratops[edit]
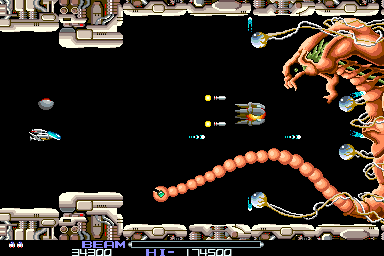
The first boss is a giant alien creature that is attached to support pods on the right wall. It has two forms of attacks; a tail that waves around the screen, and a small face which appears from the abdomen of the creature, and releases a stream of projectiles that bend in the R-9a's direction. The tail is easily avoided by sticking to the left side of the screen. The projectiles can be avoided by moving to the extreme top and bottom of the stage. However, the only vulnerability on the boss is the small face which appears and withdraws into the center. You must shoot it until the boss is defeated. Over time, the boss will disconnect from the back wall, and begin to advance to the left, so destroying the boss quickly is important. The best strategy to employ against the boss is to send the Force to attack it while you park the R-9a in a safe location like the top of the screen. Send the Force into the center of the boss where the face appear, and fire constantly. The Force should be able to do enough damage to the boss before it even detaches from the wall and starts to advance.
Stage notes[edit]
Powerups[edit]
- Blue, after a few waves of ships.
- Speed, after entering the base.
- Blue, just before the ring.
- Option, after the ring - this appears first.
- Red, after the ring - this appears second.
- Missile, at the small area.
- Blue, after the small area.
Checkpoints[edit]
When you are killed, you lose a life and will return to a check point. Aside from the start of the level, there are a few checkpoints:
- Just before the base entrance
- Just after the ring of turrets, where enemies approach from above.
Loop 2[edit]
Enemy move faster and take more shots to destroy. The rotating ring of turrets fires a lot more shots, the blue weak spot needs hitting twice. Dobkeratops fires a shot from its tail - look out!