Island 1: Insect Island[edit]
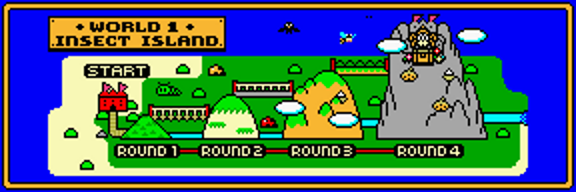
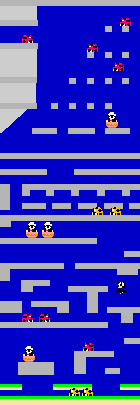
You begin your adventure on Insect Island. The enemies on Insect Island often begin by minding their own business until they've been on the screen long enough to get angry at you. This gives you plenty of time to set them up in just the right way so that you can crush them with rainbows and earn small diamonds from them. Attack as many enemies as you can in order to powerup your rainbow creation abilities quickly.
Maps[edit]
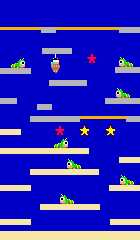
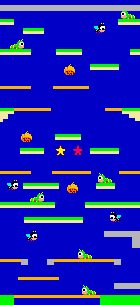
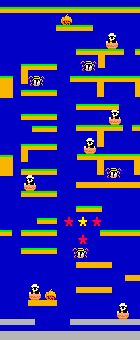
| Round 1 | Round 2 | Round 3 | Round 4 |
|---|---|---|---|
|
|
|
|
Enemies[edit]

Boss: Spider[edit]
Like it's smaller brethren, the giant spider will bounce around, to the left and to the right, in an effort to get closer to Bubblun or Bobblun. It will try to land where you are standing, so be sure to move out of the way once it leaves the ground. You can attack it with rainbows by standing next to where it will land. But you will do much more damage if you manage to crush it with rainbows instead.
Island 2: Combat Island[edit]
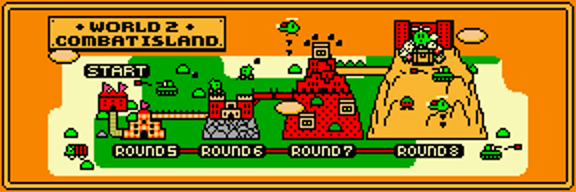
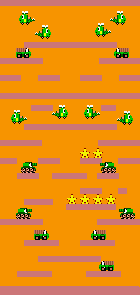
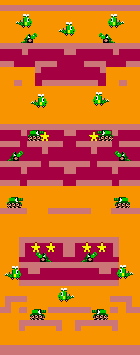
You most likely won't find Combat Island to be a huge increase in difficulty over Insect Island. However, do expect enemies to be a bit more aggressive, and fire projectiles at you. It's still relatively easy to plan your effort to collect the small diamonds in order, but you can't waste as much time as you could on the first island. There are also stretches where it is impossible to jump and reach the next platform without using your rainbows to advance higher first.
Maps[edit]
| Round 5 | Round 6 | Round 7 | Round 8 |
|---|---|---|---|
|
|

|

|
Enemies[edit]
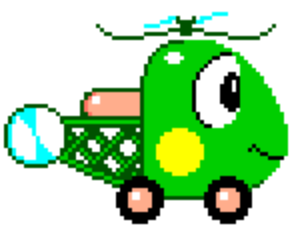
Boss: Helicopter[edit]
The giant helicopter will behave very similarly to its smaller cousins, flying back and forth while occasionally changing altitude. It particularly likes to drop down to whatever level Bubblun is at. However, this helicopter borrows a talent from the bombers, and drops a steady stream of bombs down to the ground while it flies around. Crushing it with rainbows will kill it faster, so try to lure it to the bottom of the screen, and then jump up to the top and drop rainbows on it as quickly as possible.
Island 3: Monster Island[edit]
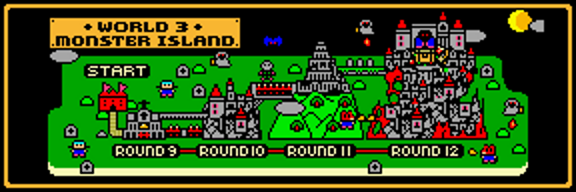
For many beginners, the third island represent a significant increase in difficulty. The enemies become a bit quicker and more aggressive, leaving you with less time to coordinate your attacks if you are trying to collect the small diamonds. The stretches where there are no platforms to jump on become longer, forcing you to use rainbows in order to advance. When in doubt, focus on your survival first and item collection second.
Maps[edit]
| Round 9 | Round 10 | Round 11 | Round 12 |
|---|---|---|---|

|

|

|

|
Enemies[edit]

Boss: Dracula[edit]
At first, the Dracula boss may seem quite tough. It moves rather freely around the screen, albeit slowly. When he stops, he releases a large number of bats that radiate outward from him in an arc. The truth is, however, that all of the bats are susceptible to your rainbows, so if you arrived with fast triple rainbows, you can take all of them out in one fell swoop. In fact, with that kind of power, it's easy enough to lay a bunch of rainbows out and wait for Dracula to stop right in the middle of them before jumping on them and crushing Dracula with all of the rainbows you created. With that strategy, you should be able to take him out pretty quickly. If you didn't arrive with triple rainbows, you'll have a tougher job ahead of you, but it's still possible as long as you stay out of his way while he's moving around the screen.
Island 4: Toy Island[edit]
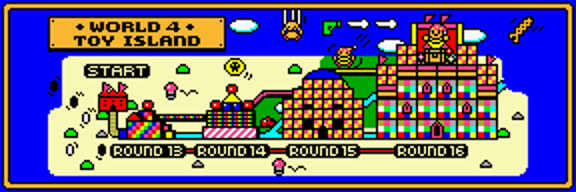
The madness continues on Toy Island. Naturally, the aggressive level set by the enemies on the previous island will continue here. On top of that, the enemies can be a little less predictable, forcing you to deal with them immediately instead of trying to plan out your attack. Large gaps occur between sets of platforms. If you can make it through this island in one piece, you will have learned valuable lessons on how to deal with tricky situations that will benefit you throughout the rest of the game.
Maps[edit]
| Round 13 | Round 14 | Round 15 | Round 16 |
|---|---|---|---|

|

|

|

|
Enemies[edit]

Boss: Clown[edit]
Compared to the previous boss, the Clown is much easier to defeat. He bounces around the room at 45 degree angles, and releases up to four smaller clowns to help him attack you. But none of the clowns move with any purpose, and they're very predictable. Prioritize your safety by making sure you don't stand where any of the clowns are going to move to. Then create as many rainbows all around as you can in order to attack the clowns, and crush the boss with as many rainbows as possible.


