Stage 13[edit]
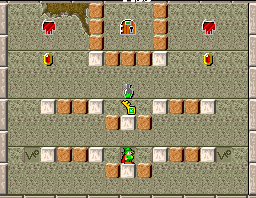
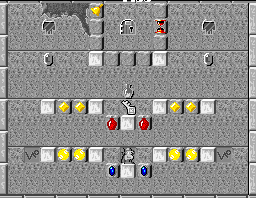
This is a nothing level. Move quickly straight to the key and keep going up. Depending on how fast you are, you may have to take out one of the blocks in the floor at the key level to stop demonheads reaching you. Otherwise, just get the secret bell and get out.
Stage 14[edit]
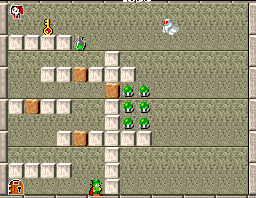
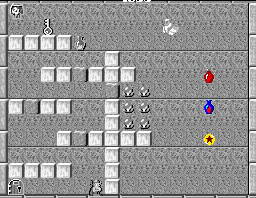
Be quick! Immediately create a block to your left and jump up onto the white blocks. Then create another block and get up to the next level of white blocks. Take out the brown block in the floor before a salamander gets to you.
Now, move back left until you are standing under the brown block in the third level of white blocks. Time it so no salamanders are around and take it out by head butting it. Put a block directly underneath where that block was. If done correct, the salamanders will now all fall into that gap and can't harm you.
Now go back right and up. Go through the brown block to get to the green jewels. Continue up and left until you get to the green jar and key (avoiding the ghost and timing it to avoid the salamanders coming out of the mirror). You can cast a spell on the key to go to a secret level. Then go back the way you came and exit.
Hidden 2[edit]
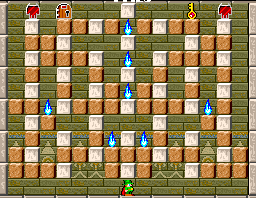
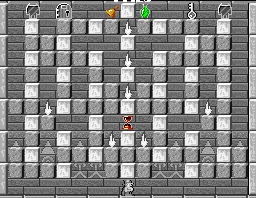
There are multiple ways to complete this level so trial and error should be the key. Demonheads will appear but they are predictable in their movements and easily avoidable. It is easier if you can find a way to trap the demonheads so that they are not a threat. There are several ways to do this -- by shepherding them in a particular direction and then trapping them in a space (like you did to the salamanders in the previous level).
You need to go up the right side to get the key, come back down the right side, and then go up the left side to exit.
Stage 15[edit]
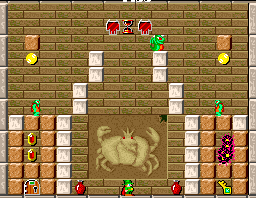
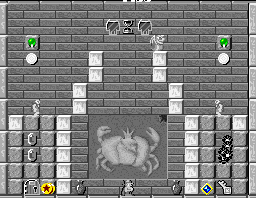
This is the first, really tricky level.
Build immediately to your right and jump up. Do it again. Now build to your left and jump up. Do it again. You should be directly above where you started but four levels up. Salamanders will drop from the mirrors. Let them fall past you. As soon as they have fallen past you immediately build right and up then build left and up. A new set of salamanders will come. Let them pass. Then build left and up and then right and up. More salamanders. Let them fall past you. Then jump up to the white block on the right.
The next move is very tricky because you have to be very quick. Move as far as you can to the left of the white block you are standing on without falling down, then kneel and create a block. This block should be under the hour glass timer but at the same level as the white blocks you are standing on. Then avoid the wyvern, move right and drop down to the next set of white blocks. (If placing the block under the glass timer is too tricky because of the timing you could do it later -- see below).
Now time it to jump down to the level where the goblin is walking around and when he is walking away from you or running toward you and is on the left brown block, destroy that block to kill him. Replace that block.
Now the idea is to create a vertical stack of blocks starting from the block above the trapped spark balls and reaching up to the yellow jewel. Get that jewel and put a block in its place. Then create a horizontal line of blocks going left until you reach the top white block. You will need to avoid the wyvern when making the horizontal line by turning him around (i.e. placing blocks in front of you to protect you).
You could at this point put down the tricky block referred to above.
Then go back right and fall down so that you are standing on the far right white block. Face left. Take out the brown block, walk left and then replace that brown block. You should now be in a little room created by you safe from all monsters.
Walk left and then turn around and face right. Take out the block directly above the trapped spark balls. They will still be trapped. Walk left, and stand on the white block. Face right. Create a block and climb onto it. Take out the brown block directly above the trapped spark balls. Now the spark balls are free, but you are safe in your little room. Wait for all the spark balls to leave and then quickly drop down and get the key. Then go back up quickly.
As fast as you can get back up to the horizontal level of brown blocks that you created and jump across to the "tricky" block that you put in place under the hour glass timer. Standing here you are safe from spark balls. You are, however, on the level of the wyvern, but you can easily jump over him each time he comes around.
When you think that there are no spark balls on the left hand side, jump down to the level of the goblin on the left side. Remove a block under him to kill him. Get the items and get out.
You will likely need several attempts to complete this level as it is quite tricky.
Stage 16[edit]
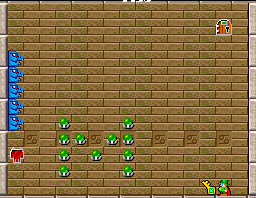
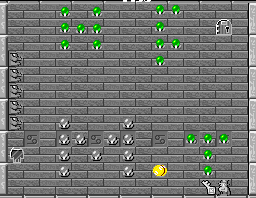
No magic to this level. Just get the key and get out. Move to the centre of the level and then move up and right to get out.
Obviously with fireballs being shot at you from the left as you move up, you need to put a block behind you each time you move up. Put it to the left when you move up (and if you have time also put a block behind you and underneath you to the left).
Stage 17[edit]
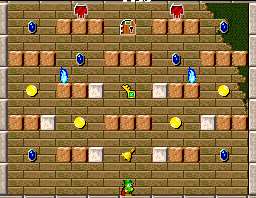
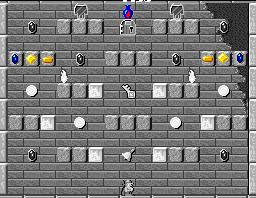
Again, no magic to this level. Just get out.
Get the key first as the monsters are slow to appear. Then you can concentrate on getting out. There are multiple ways to do this. Although there are different types of monsters around (i.e. demonheads and salamanders), they are all very predictable in their movements.
Just make sure that you isolate yourself (so they can't get you from either left, right, above or below) and you can slowly and surely inch yourself to the exit.
I usually go up the left side, but the right is equally acceptable. Probably harder to try to go up the centre but could be doable.
Stage 18[edit]
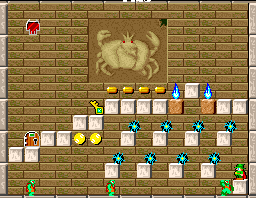
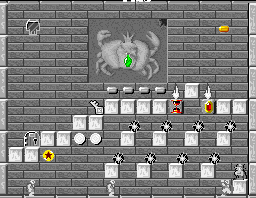
This is a boring level because it is slow and you have to wait, wait, wait. There is nothing particularly tricky here.
You don't ever go down to the level with the goblins. Wait until the spark balls are on the bottom of the white blocks and then put a block to your left and jump up. Put blocks to your left and right to protect you from other spark balls (which should eventually move away and out of danger).
When the immediate danger has passed, remove the left block and when the remaining spark balls are on the bottom put a block in the gap in the floor between the white blocks and stand on it. Again put blocks to your left and right to protect you from other spark balls (which should eventually move away and out of danger). Keep going with this process until you have freed the last spark ball, and then you should be able to climb up and head right (avoiding stray spark balls).
Remove the blocks holding the flames, put in new blocks and climb up and out to safety.
Stage 19[edit]
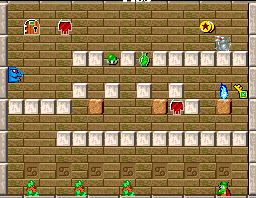
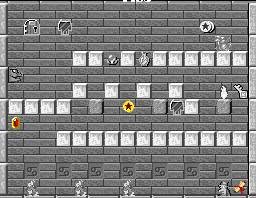
Move quickly at the start by creating a block to your left and right and jumping up onto the block on the right. Then immediately create another block to your left and jump up. Now you should be safe from the fast moving goblins below.
Build blocks to stand on and move left (to the very end). There will be demonheads falling down to the blocks you have created. As long as you aren't standing under them when they fall down you will be ok (as they disappear almost as soon as they fall down and won't hurt you). Time it to make your way up to the white blocks and jump over any other demonheads that come towards you. Head to the far right.
Put a block two spaces under the key then destroy the block holding the flame. Cast a spell on the flame to reduce its height and then jump over it onto the block you created. Get the key and move up to the next level of white blocks. Now move left cautiously, timing it to put blocks in front of you to protect from fireballs shot at you from the left panel monster. The panel monster's fireballs are slow and infrequent so you should be able to get all the way to the left-end of the white blocks and then build blocks to get up to the exit (also watching out for fireballs from the gargoyle on your right).
Slimes will come out of the mirror and you need to be wary of them. Most times they move harmlessly away, but sometimes they may move into your path (when you are moving toward the panel monster), and if so you will need to lure them away -- by jumping down to the level of the demonheads and making them drop down to follow you. You can then make your way back over the flame and try to head left again.
Stage 20[edit]
Hidden 3[edit]
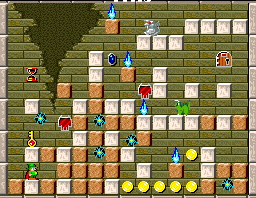
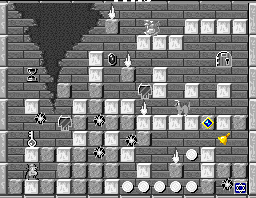
Head right, releasing the first spark ball and letting it fly away. You can decide if you want to get the star bonus item (but that will mean releasing another spark ball) or ignore it. Either way, put a block under and to the right of the block with the flame. Then destroy the block holding the flame, cast a spell on the flame to shorten it and jump up to the block you just created. Get the bell then head left and release the next spark ball. Trap it in the area where the bell was located. Keep heading left and release the next spark ball. Avoid it and continue left putting a block behind you so that the spark ball does come back to get you.
Get the key (avoiding or sending away the spark ball that is in close proximity) and then climb to the level just above the one where the green dragon is walking back and forth. Jump up and remove the block holding the flame, and then put another block back in its place (after the flame has fallen). Go left and up until you are standing on the two white vertical blocks. Let the gargoyle shoot flames and destroy the block holding the other flame. Then inch as far across to the right as you can whilst still standing on the white block and put a block next to the white block the gargoyle is standing on. When he moves onto the block you created then destroy it causing the gargoyle to fall down and die. Then proceed normally to the exit.