| Protoss mission 3: Higher Ground | |
|---|---|
| Location | Aiur |
| Special Units | None |
| New Units | Protoss Scout |
| New Enemy Units | None |
| Objectives | |
| Destroy the Zerg colonies. | |
Establishing the base[edit]
Following the pattern developed in the previous campaigns, you are allowed to climb just a little bit further up the tech tree in this mission. Specifically, Stargates are available for warp-in this time around, which means you can build Scouts. Before you start building a victory fleet of Scouts, though, you've got some infrastructure to take care of.
Both Zerg bases (there's one directly to the north of your starting position and one in the left side of the map) will airdrop units on your base fairly often, so build a Forge and work on warping in some Photon Cannons, making sure all sides are protected (this includes the ridge to the north). Then build two Gateways—you'll be pumping out units much faster—to make some Zealots. Now you're pretty much set against enemy attacks. Zealots murder Zerglings, Cannons are good against Hydralisks, and the Scouts that you start with will kill enemy Overlords in just a few volleys of their powerful missiles.
Now you can start working towards a strike force. Build a Cybernetics Core to unlock the Dragoons, and start upgrading as well as making units; ideally, you'll have every available upgrade done when this is over, but for now get Singularity Charge (Dragoon range) at the Core and the Shield upgrade at the Forge.
Expanding[edit]
This is still pretty early on in the campaign, so you have more than enough resources in your base to beat this mission. However, to make the process of building an army go faster, you can make an expansion base in the bottom left corner of the map and harvest from the large deposits there.

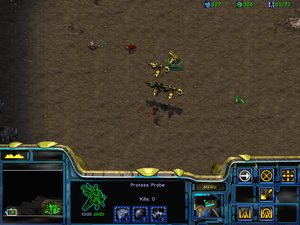
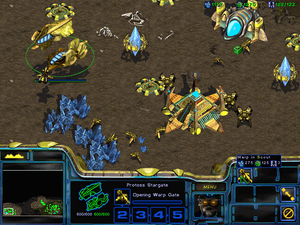
Once you have a sufficient defense of Cannons and units back in the main, take the Scouts and a Probe to the expansion location (see screenshots for clarification). There will be some burrowed Zerglings near the minerals, but you can lure them out of hiding by sending the Probe forward. Then have the Probe run away while the Scouts shoot the Zerglings (repeat until they're all dead).

While the Nexus is warping in, it would be a wise move to set up Pylons and Photon Cannons in a defensive formation. Also, build your Stargate here, and defend this base with reinforcements from the main.
Attacking the White base[edit]
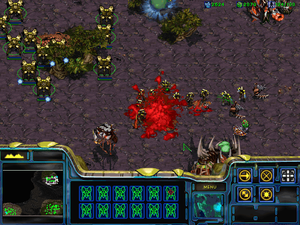
Build up your forces until you have 12 Zealots, 12 Dragoons, and 6 Scouts (keep making more of all these units for defense and reinforcements). Then, take the group and march to the top right corner of the map, destroying the burrowed defensive units as you go. This Zerg base is enclosed in a walled area, with an entrance to the south and another to the northwest. Your Scouts aren't going to be much use here, as the base is lined with Spore Colonies and numerous Scourge; so you should attack with the ground units, and attack from the northwest entrance where there are less Sunken Colonies.

Rush in with the Zealots, taking out the Sunken Colonies as quickly as possible while the Dragoons deal with enemy units. Once the Spore Colonies around here have been taken out, the Scouts can come in to help with enemy Mutalisks (do remember to use the Hold Position command so they don't chase targets and get smoked). Take out the unit-related auxiliary buildings (Spawning Pool and Hydralisk Den in this case) before the Hatchery to cripple their unit producing capability, and then pick off the rest of the base at your leisure. When the last Scourge is dead, feel free to bring in some Probes and set up a second expansion here if you wish.
Attacking the Red base[edit]
The chief difference between the Red base and the White one you just took out is that while White has lots of Spore Colonies, Red has a lot of Sunken Colonies. Therefore, your Scouts will be much more effective here. Build up a force similar to the previous one, except this time you want 12 Scouts instead of 6. Then go up north to the ramp that leads to the Red base (along the way, you'll come across another resource node, but there is absolutely no reason you should need to touch this). There are a few Spore Colonies near the entrance, so hold the Scouts back until the Zealots take it out, but after that the Scouts are free to roam the base. Methodically wipe the Zerg buildings, using the Hold Position command on the Dragoons to make sure they don't unwittingly get ripped up by Sunken Colonies. The Zealots can take care of themselves even if you don't micromanage them, and the Scouts will be a lot of help if you have them kill Overlords and Hydralisks.
When the last structure has been razed, you win the mission.
- Cinematic #9
- The Fall of Fenix
While you are busy kicking Zerg butt in Scion, Antioch and, along with it, Fenix, falls to overwhelming enemy forces.