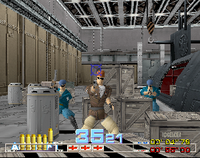
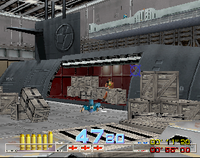
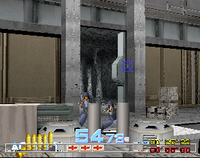
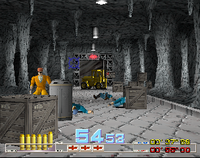
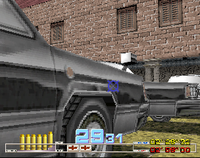
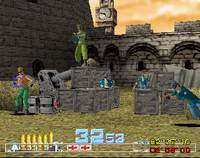
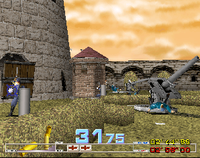
Area 1[edit]
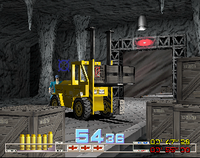
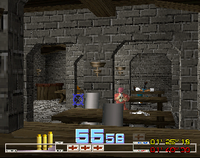
In the fifth part of this area, it is possible to shoot the box on the forklift truck to make it explode, and immediately kill all five Blue Ippanhei on the screen.
Once you have cleared this area, the text "AREA 1 CLEAR" will appear at the top of the screen, with "YOUR TIME", "XX'XX"XX" (XX'XX"XX being your current time) and "VS. TOP SPY -/+XX'XX"XX" (-/+XX'XX"XX being the greater, indicated by the minus, or lesser, indicated by the plus, difference from 00'55"00) below it; the text "ACCURACY XX%" (XX% being your accuracy percentage) and (XX/XX) (the two XXs being the number of hits and number of shots fired) will then appear below that, and the game shall segue into the second area. Also, when the time gets extended, it never goes over 60"00.
Area 2[edit]
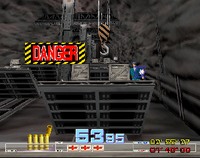
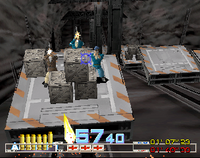
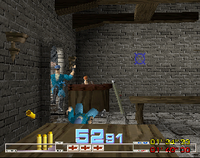
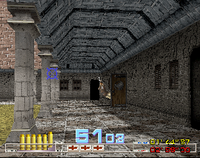
In the first part of this area, you must release the pedal to hide, before two fish hooks (indicated by the text "DANGER") hit you; also, in the fourth part of the area, it is possible to shoot a grenade and a rifle (which are positioned upon a table, in the right side of the background) onto the ground just for fun.
Once you have cleared this area, the text "AREA 2 CLEAR" will appear at the top of the screen, with "YOUR TIME", "XX'XX"XX" (XX'XX"XX being your current time) and "VS. TOP SPY -/+XX'XX"XX" (-/+XX'XX"XX being the greater, indicated by the minus, or lesser, indicated by the plus, difference from 01'40"00) below it; the text "ACCURACY XX%" (XX% being your accuracy percentage) and (XX/XX) (the two XXs being the number of hits and number of shots fired) will then appear below that, and the game shall segue into the third area (the first to feature a helicopter, but it does not have to be killed).
Area 3[edit]
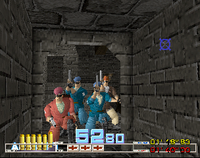
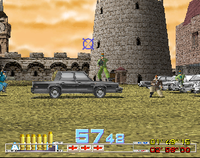
In the second part of this area, there is a helicopter, but it does not have to be killed; also, in the third part of the area, you must either release the pedal to hide before a limousine (indicated by the text "DANGER") hits you or shoot it enough times to cause it to crash and kill the remaining enemies in that part. In the fourth part, it is possible to shoot the explosive box in the lower left of the foreground to make it explode and immediately kill all seven of the enemies on the screen - and finally, in the fifth part, you must either release the pedal to hide before a giant artillery cannon in the foreground (which is, once more, indicated by the text "DANGER" as it is rotating in a clockwise direction to face you) fires a shot at you, or you can shoot the Blue Ippanhei who is aiming the cannon to kill him before he can fire it (also, if you manage to do the latter quickly enough, the text "DANGER" will not appear here).
Once you have cleared this area, the text "AREA 3 CLEAR" will appear at the top of the screen, with "YOUR TIME", "XX'XX"XX" (XX'XX"XX being your current time) and "VS. TOP SPY -/+XX'XX"XX" (-/+XX'XX"XX being the greater, indicated by the minus, or lesser, indicated by the plus, difference from 02'58"00) below it; the text "ACCURACY XX%" (XX% being your accuracy percentage) and (XX/XX) (the two XXs being the number of hits and number of shots fired) will then appear below that, and the game shall segue into the boss area (which is preceded by another skippable-by-shooting cutscene).
Boss Area[edit]
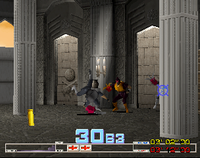
In this area, Moz (the area's boss) is initially accompanied by four Musasabi, but once you have killed them all and shot Moz once to send him reeling, two more shall drop down from the ceiling to replace them; once you have shot Moz twice more and sent him reeling two additional times, he shall die.
| Image | Enemies present | Time extended |
|---|---|---|
|
MOZ and 6 Musasabi | 25"00 maximum |
Once you have cleared this area the text "STAGE 1 CLEAR" will appear at the top of the screen with "YOUR TIME", "XX'XX"XX" (XX'XX"XX being your current time) and "VS. TOP SPY -/+XX'XX"XX" (-/+XX'XX"XX being the greater, indicated by the minus, or lesser, indicated by the plus, difference from 03'12"00) below it; the text "ACCURACY XX%" (XX% being your accuracy percentage) and (XX/XX) (the two XXs being the number of hits and number of shots fired) will then appear below that and the game will proceed to the second stage (which is preceded by a third skippable-by-shooting cutscene).
