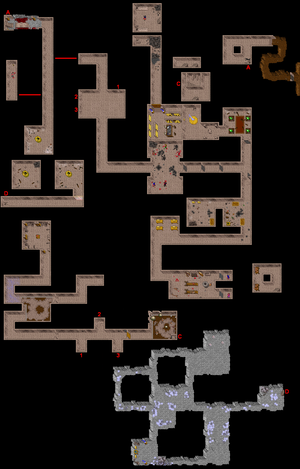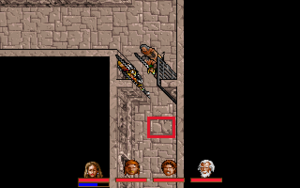
Head west out of the keep and head north. Rieya will appear and warn you of how hopeless what lies ahead is, but hey, you're the Avatar, impossible situations didn't stop you in your previous half-dozen adventures! Head on into the Outpost. Go downstairs and cross the bridge. Head down, hugging the left-hand wall until you go through it. Flip the switch (read the corpse's note if you wish) and head back out to find the secret entrance that just opened.
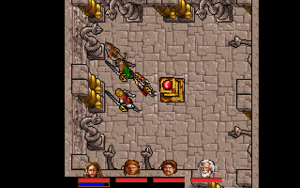
In the next room force-field traps will stop you. Press the buttons in order from top to bottom to dispel the force-fields. A sea of corpses awaits in the next room; search them until you find a key and a ![]() Lightning Whip, you need this for a puzzle later on. Use the key on the door and then walk straight through the other two illusionary doors. At the fork in the paths take the lower route.
Lightning Whip, you need this for a puzzle later on. Use the key on the door and then walk straight through the other two illusionary doors. At the fork in the paths take the lower route.

The door magically locks as soon as you are through it (You can avoid it by not stepping on the Plate by the Door), but continue south. Head west and open the lower-left chest for some spell scrolls (most importantly ![]() Magic Unlock, to reopen that troublesome door). Now continue on your way. You'll reach a torture chamber. Pick your way into the upper cell and search the corpse for a scroll. Head back up (magic unlocking the door on your way, if needed) and go through the other door (which also locks shut on you).
Magic Unlock, to reopen that troublesome door). Now continue on your way. You'll reach a torture chamber. Pick your way into the upper cell and search the corpse for a scroll. Head back up (magic unlocking the door on your way, if needed) and go through the other door (which also locks shut on you).

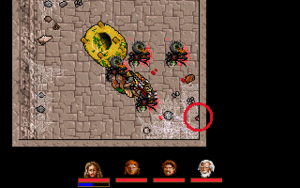
You'll find yourself in a room with some pulsating objects. Move the rubble out of the way to find a key. Place the Lightning Whip on the large brass platform to dispel the force-field. Go down the stairs, down again, up the other set, and up once more. In the next room the corpses will turn into skeletons as you move past them, so shove the corpses in a corner if you want to outrun them. On your way you'll pass three pressure plates, step on them in order from left to right. This will dispel the sleep fields in the following room. Head through the north-western corridor and retrieve the Red Orb. Now head back out to the locked door.

Use the key on the doors and head through. Attack the rubble that blocks your path and it will eventually be destroyed. Continue on and go down the stairs, and search the blacksmith's body for a Rope (remember the brass well?) then head all the way out to the room where you went through the secret panel. Head south and use the rope on the well (There is another ![]() Translation Scroll partially hidden near the Well). Double-click on the rope again and choose to continue downwards. At the next set of force-fields simply read the scroll you collected earlier and they will be dispelled. Head on downstairs. Watch out for the ice trolls, and head vaguely south-west until you find some goodies, among them a pulsating blue belt. This is the
Translation Scroll partially hidden near the Well). Double-click on the rope again and choose to continue downwards. At the next set of force-fields simply read the scroll you collected earlier and they will be dispelled. Head on downstairs. Watch out for the ice trolls, and head vaguely south-west until you find some goodies, among them a pulsating blue belt. This is the ![]() Belt of Strength. Replace the Avatar's bag (or someone else's, if you so wish) with the belt and shove the bag in his backpack. Try not to unequip the belt during upgrades, not even if you put the belt straight back, as the Avatar will lose the added hit points the belt gave. The chests contain 600
Belt of Strength. Replace the Avatar's bag (or someone else's, if you so wish) with the belt and shove the bag in his backpack. Try not to unequip the belt during upgrades, not even if you put the belt straight back, as the Avatar will lose the added hit points the belt gave. The chests contain 600 ![]() Gold Coins, 180
Gold Coins, 180 ![]() Magic Bolts and 180
Magic Bolts and 180 ![]() Serpent Arrows. Now head back to the well, use the rope to climb upwards twice, and return to the surface.
Serpent Arrows. Now head back to the well, use the rope to climb upwards twice, and return to the surface.