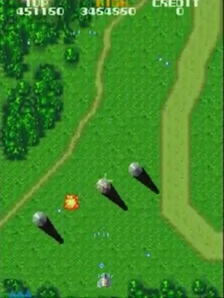
Once the text of "AREA 9" disappears from the bottom of the screen, three groups of six Toroids shall come flying down towards the Solvalou while firing projectiles at them; once you have fired a shot at each of these to kill them, seven groups of ten Giddo Spario shall come flying down towards you. Once you have fired off a shot at each of these to kill them, you will have to drop a bomb on the location of the game's twenty-second through twenty-fifth Sols (shown in the above image, but the twenty-third one is indicated by a fifth crater) to make them reveal themselves - and once you have dropped another bomb on each of these to kill them, five groups of five Zoshi will come flying down towards you while firing projectiles at you. Once you have fired a shot at each of them to kill them, you will come to a Derota and a Domogram which is following the path down the screen below you; once you have dropped a bomb on both of these to kill them, you'll come to a Garu Derota, three Zolbak, and three Grobda below you. Once you have dropped a bomb on each of these to kill them, sixteen Frossers will come flying into view from the left and right sides of the screen, while firing homing projectiles like those of the Garu Zakato at you - and once you've fired a shot at each of the Frossers to kill them, you shall come to another Domogram below you. Once you have dropped a bomb on it to kill it, you will come to a second Garu Derota, four more Zolbak, and a third right-moving Domogram below you; once you have dropped a bomb on all of these enemies, to kill them, three more groups of five Toroids will come flying down towards you while firing projectiles at you, and if you should leave too many of these alive for too long, the projectiles they have fired at you could make an upcoming Sol harder for you to reveal.

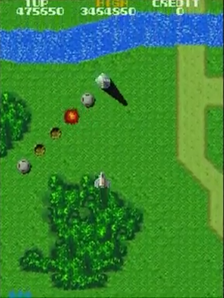
Once you've fired a shot at each of these Toroids, to kill them, you'll come to three more Zolbak and two Lograms below you; once you have dropped a bomb on each of them to kill them, you'll have to drop a bomb on the location of the game's twenty-sixth Sol (again shown in the above image) to make it reveal itself. Once you have dropped another bomb on this twenty-sixth Sol, to kill it, a Leiya will come rolling into view from the left side of the screen below you - and once you've dropped a bomb on it to kill it, you shall come to another Leiya which is moving to the left and down the screen below you. Once you have dropped a bomb on it to kill it you will come to a third downward-moving Leiya below you; once you have dropped a bomb on it to kill it, you will come to two right-moving Domograms below you. Once you have dropped a bomb on both of them to kill them three more groups of ten Giddo Spario will come flying down towards you - and once you have fired a shot at each of these to kill them, you shall come to two more downward-moving Domograms below you. Once you've dropped a bomb on both of them to kill them, you will come to a fourth Leiya (which is moving in an anticlockwise direction) and a third Garu Derota below you; if you leave them alive for too long, their projectiles may make an upcoming Zos harder for you to reveal.

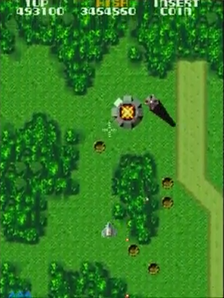
Once you've dropped a bomb on both of these enemies to kill them, you will have to drop a bomb on the location of the game's eighth Zos (once again shown in the above image) to make it reveal itself; once you've dropped another bomb on it to kill it, the game will segue into the tenth area as the text "AREA 10" appears at the bottom of the screen. By this point, there shall now be just seven more areas for the players to clear (in the standard game), but if the game should get extended by the players finishing the standard game in one coin, this number shall get increased to either eight, nine or ten.