Lunar surface[edit]
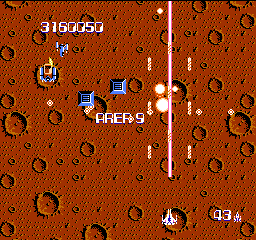
The ninth area appears to take place over a crater-marked lunar surface. The intensity of the enemy attack should match what you've seen before, and not exceed this. In addition, you will have the defeat no less than five fortresses to clear this area, so there will be a lot of pauses. Add one capital ship and ground turrets into the mix, and you have a tough board, but one that should not pose a tremendous threat to your survival if you stay alert and keep a strong weapon.
Initially, you'll be assaulted by veybars, one at a time. These won't pose much of a threat, but you should be aware of the first set of ground turrets which fire leads. When first 3 ground turrets appear, try to stay away from center of the screen if you don't have weapon that destroys leads.
1st Fortress[edit]
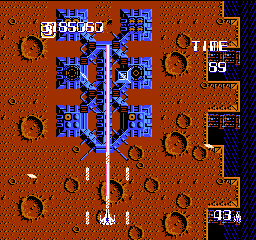
- Core composition: 2 Mono Cores, 2 Round Core, 2 Combo Cores
- Time limit: 90 seconds
- Bonus: 30,000 points
The first of five fortresses appears fairly early on. This fortress should appear familiar to you, as it is the same composition as the final fortress of Area 7. As such, your strategy should remain the same: Focus on one half of the cores on one side, and then switch to the other side.
Hume battle[edit]
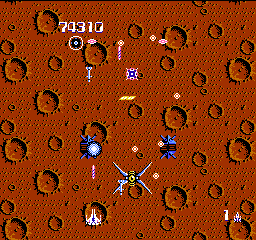
Just as it appeared in Area 5, the capital ship known as the Hume will appear to attack you. The Hume itself is not any more difficult than it was earlier, but this time the other enemy crafts have no hesitation about flying into the midst of the battle. So you must be very careful to avoid touching both the Hume and the other enemy crafts that appear. Focus as much attack as possible on Hume as early as possible to remove him from the area quickly. Prolonging the fight will make you more vulnerable to the combination of attacks that are likely to come. This is one of the most challenging sections of this area.
2nd Fortress[edit]
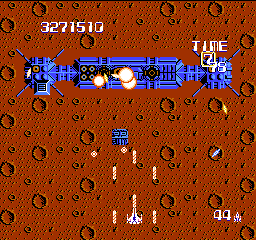
- Core composition: 2 Big Cores, 2 Round Core, 2 Slit Core, 2 Mono Cores
- Time limit: 80 seconds
- Bonus: 20,000 points
This straight horizontally arranged fortress is identical to the one you encountered in Area 6. An Icon is situated directly in front of the Fortress, so in order to strike the cores beyond it, you must either fly in front of it, placing you dangerous close to the bullets that fly out from the fortress, blast the Icon with high large amounts of firepower, or you must possess a powerful Special Weapon like 7, or 5 in laser form. Once again, either work from the center out to one side and back to the other, or simply sweep across the fortress and destroy the cores from one side to the other.
3rd Fortress[edit]
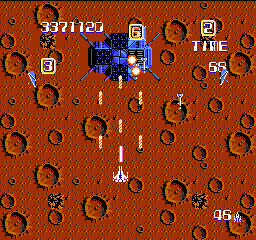
- Core composition: 1 Round Core, 2 Panel Cores, 2 Mono Cores
- Time limit: 70 seconds
- Bonus: 20,000 points
Shortly after the second fortess, you'll arrive at the third one. The next fortress is easily the simplest one in the area. If you are fully upgraded, you may find that this battle ends quicker than it took for you to reach it from the previous fortress. Don't become over confident, however, as you must still watch out for enemy craft that fly onto the screen from up above.
The small ground turrets should be taken as soon as they appear since they might cause you trouble when firing upwards while you try to destroy the fortress.
4th Fortress[edit]
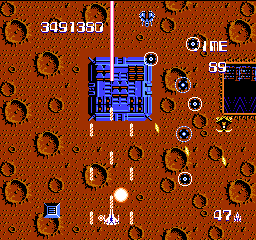
- Core composition: 3 Panel Cores, 2 Slit Cores
- Time limit: 90 seconds
- Bonus: 20,000 points
This fortress is similar to the one which appeared in Area 3. By now, your skills should be sharpened to the point where it presents very little threat. One thing will increase the difficulty of this fight, and that is the continuous arrival of Gizas that tend to get in your way and block your shots. With a powerful enough weapon, you should be able to make short work of both the Gizas and the fortress. However, without one, you must move a lot more continuously to avoid the fortress' bullets, and time your attacks on the core with greater precision.
Enemy aggression[edit]
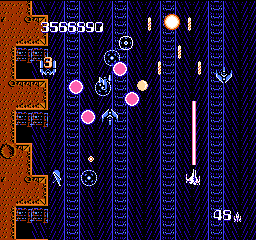
What follows on the way to the final fortress, is a series of enemy attacks that, while aggressive, should pretty much be considered the norm from now on to the end of the game. Veybars and Umbers will fill the screen with Leads, while both versions of Degid will appear at the tops and bottoms of the screen in an attempt to squeeze you in. Remember to move vertically to keep the Degids from crushing you, and be on the look out for other quick moving enemies that might intercept your path.
Final Fortress[edit]
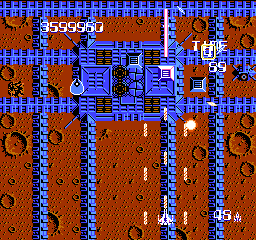
- Core composition: 4 Round Cores, 4 Panel Cores
- Time limit: 90 seconds
- Bonus: 40,000 points
Area 9's one unique fortress is the final fortress. Equipped with four powerful Round Cores, and four slightly less powerful Panel Cores, clearly the four Round Cores in the center should be your first priority. Once these Beruo orb firing cores are removed, you can focus on the Panel Cores and the far less threatening Light Bar bullets which your normal gun can destroy. As with the rest of the stage, enemies will not give you a break during the fight, and will continue to pour on to the screen throughout the battle.