| Line 38: | Line 38: | ||
*Attacks +1 | *Attacks +1 | ||
*Recovery 20% (not on a panel) | *Recovery 20% (not on a panel) | ||
This map is just as easy as Magnificent Gate. You have two Ghosts behind you and in front of you as well as two more behind them. You also have two Hobbits WAY at the end of the map along with an Attack +1 effect on your panels and a Recovery 20% Symbol to help you. First, throw the Recovery symbol onto your panel pool. This helps you against the enemies if your'e underpowered. Next, take out the two ghosts behind you and in front of you. This can be done with two teams each tackling a pair of Ghosts. Then, take out the other Ghost pair. Now, if your'e underpowered or defensive, you will want to lure the Hobbits to you so you can take advantage of the Attack +1 effect. Have two characters march over to and throw the Hobbits right next to the entrance to the panel pool. DO NOT throw thwm onto the panels! Now, have two characters act as a barricade so that the Hobbits canot enter. Combo the Hobbits and your'e done. | |||
{{-}} | {{-}} | ||
==Corridor of Love== | ==Corridor of Love== | ||
[[Image:Disgaea Episode 1-3.jpg|right|thumb]] | [[Image:Disgaea Episode 1-3.jpg|right|thumb]] | ||
Revision as of 21:23, 29 June 2010
Valgipus IV
This map will help to build characters up in order to prepare for the challenges Etna will face. There is a single Geo Square with +50% Attack and Defense. Send out one character to this square and destroy all opposition. The idea is to repeat this map until at least a small group of characters can defeat it solo before continuing.
Enemy:
- Ghost level 65 (x4)
Geo Effects:
- DEF +50
- ATK +50
Magnificent Gate

Enemy:
- Ghost level 65 (x5)
- Hobbit level 70 (x2)
- Cleric level 70 (x2)
Geo Effects:
- Ally Damage 20%
- Enemy Boost +50
- Exp +50 (not on a panel)
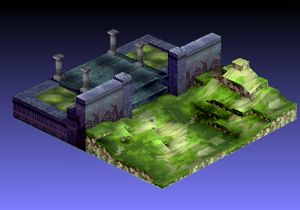
Ok. Here, all you have to do is destroy the Ally Damage 20% Geo Symbol to weaken the enemies standing on the yellow Geo panels. You may also want another character to throw the blue Experience +50 symbol onto the panel next to it,then end your turn. The rest of the map should be pretty much rough and tumble from there.
Blessed Court

Enemy:
- Ghost level 70 (x8)
- Hobbit level 75 (x2)
Geo Effects:
- Attacks +1
- Recovery 20% (not on a panel)
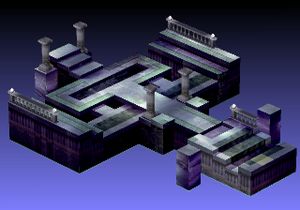
This map is just as easy as Magnificent Gate. You have two Ghosts behind you and in front of you as well as two more behind them. You also have two Hobbits WAY at the end of the map along with an Attack +1 effect on your panels and a Recovery 20% Symbol to help you. First, throw the Recovery symbol onto your panel pool. This helps you against the enemies if your'e underpowered. Next, take out the two ghosts behind you and in front of you. This can be done with two teams each tackling a pair of Ghosts. Then, take out the other Ghost pair. Now, if your'e underpowered or defensive, you will want to lure the Hobbits to you so you can take advantage of the Attack +1 effect. Have two characters march over to and throw the Hobbits right next to the entrance to the panel pool. DO NOT throw thwm onto the panels! Now, have two characters act as a barricade so that the Hobbits canot enter. Combo the Hobbits and your'e done.
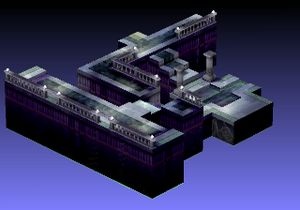
Corridor of Love

Enemy:
- Ghost level 70 (x6)
- Boggart level 80 (x4)
- Archer level 75 (x2)
Geo Effects:
- Recovery 20% (not on a panel)
- Damage 20% (not on a panel)
Hall of Caresses

Enemy:
- Boggart level 75 (x6)
- Warrior level 85 (x2)
- Mid-Boss/Gremlin level 90
Geo Effects:
- DEF +50 (On same panel as other effects)
- Attacks +1 (On same panel as other effects)
- ATK +50 (On same panel as other effects)
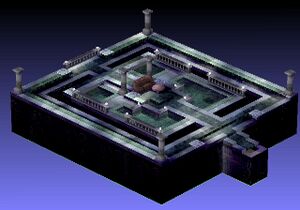
This map is exactly like the end of the first episode of the Laharl story, just without Laharl. To weaken the overpowered enemies, throw a sword or magic user over to the three Geo Symbols and move him/her over next to them. Then, nail them with a 3-square arrangement (Third option in range cue) spell, or with Blade Rush/Dimensional Slash. Then take out the enemies on the panels that formerly recieved the benefits. Everything becomes a generic beat-em-up until Mid-Boss is the last enemy standing. Note that he may enter the fray himself if you are either too close to him, or if the battle drags out for too long. (I'd say a minimum of 2 turns.) Here's the hard part. Gang up on him and attack him in a combo of attacks. Hitting him with one attack at a time will take too long and will be weaker. DO NOT get into a counterattack war with him. He will pummel you into the ground if your weak enough. He also can hit you with a special attack that can damage any character standing in a 3-square line. Watch out for that.

