13-1: Point Alpha-III
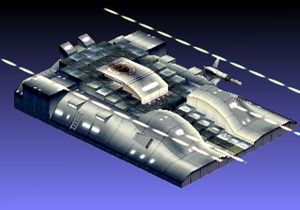
Your goal on this map is to reach the yellow tile behind the canons. This can be quickly and safely accomplished by stacking your characters and thorwing them over to it.
13-2: Main Corridor 1
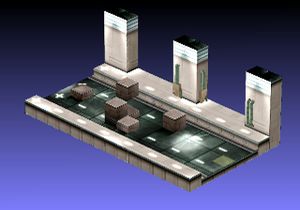
With only 6 enemies, this is a simple and easy map. Watch out for the ones using guns, as they can cause sleep.
13-3: Main Corridor 2
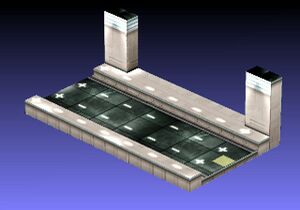
Very similar to the previous battle, with slightly stronger enemies.
13-4: Main Corridor 3
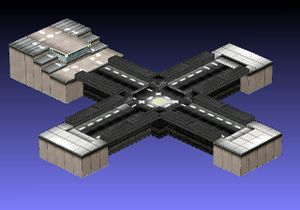
This map is affected by Enemy Boost +150%. Each of the Geo Symbol providing this bonus is in a different corridor than the others. You will want to destroy these symbols first, so stack some characters and throw them toward a geo symbol. Try to use as few characters as you can, because you will need to throw them in 3 different directions. After the symbols are destroyed, your characters will be spread out all over the map. Try to move them to safer locations while dispatching the soldiers. Kurtis will come and attack your party after a few turns, so be prepared.
13-5: Bridge
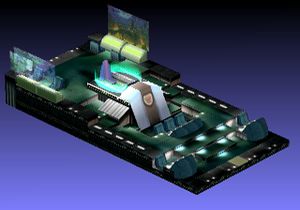
The angels you will be fighting here can cast Giga Heal. For this reason, you will want to focus on killing one at a time. Be prepared for a long battle, as both sides should be healing their members.
