Military Madness/Boards 9-16
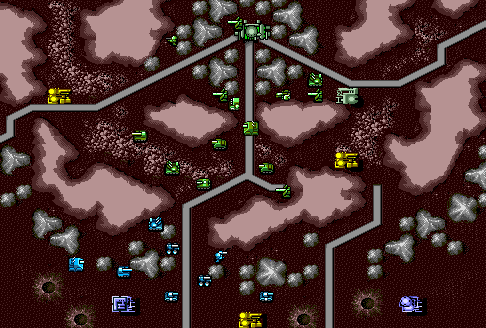
Board 9
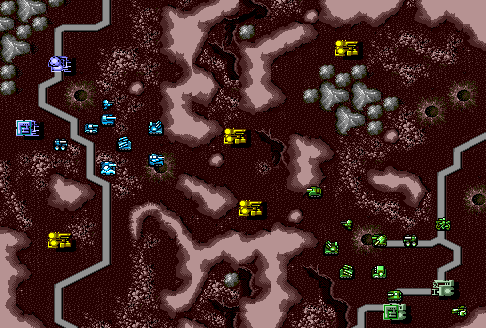
Board 10
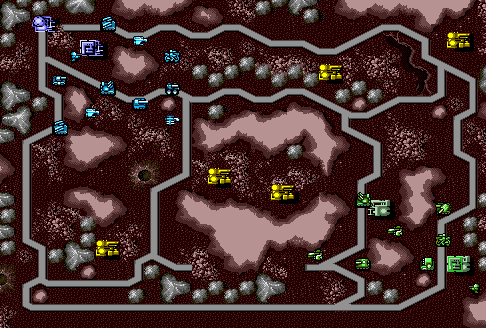
Board 11
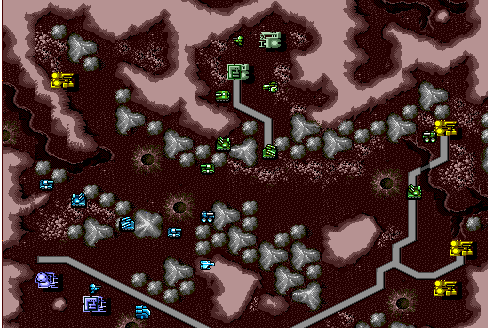
Board 12
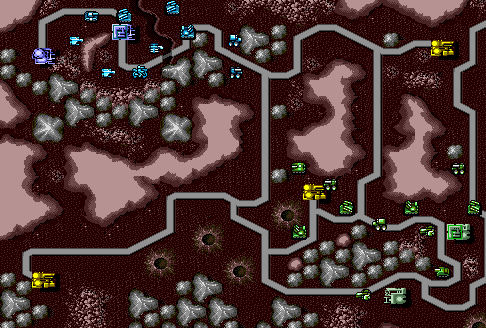
Take the two factories (to the south and to the east) and withdraw your forces to the vicinity of your prison camp.
Alternate: the enemy will attack aggressively up the central road. Fly your two eagles into the unused space. Your goal it to keep them within striking distance of the central neutral factory, but out of the range of anti-aircraft weaponry. In a few turns use these eagles to sweep in to kill the Charlie that attempts to liberate this factory. Without reinforcements, the initial attack will become a mop-up operation, with most enemy troops killed before you have time to bring the weaponry from the southern factory into battle.
Board 13
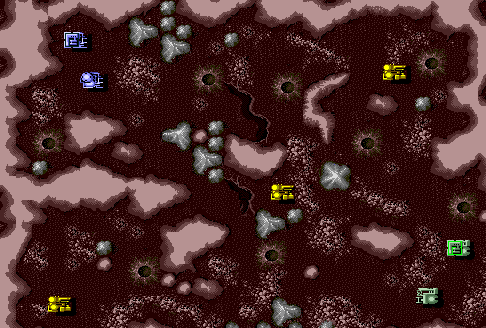
Board 14
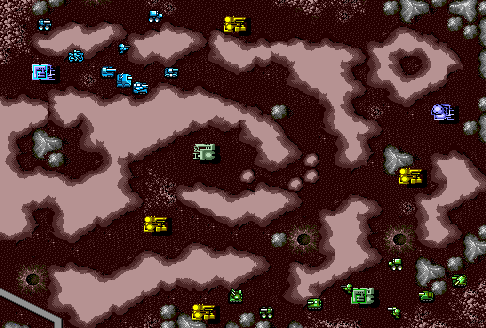
Create a bottle-neck on the far eastern edge of the board, and draw enemy forces into artillery range. Eliminate the enemy's Hunter by pairing your Hawkeye and Eagle.
Board 15
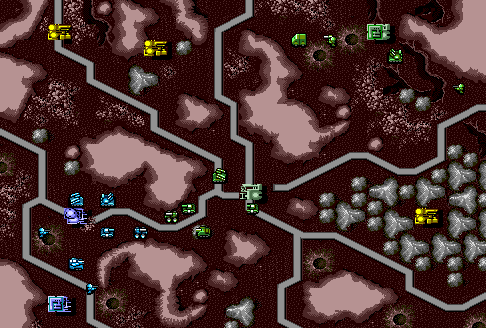
Tip: draw your lower Charlie to the nearby mountain range where it serves as bait for the Hunter but will be out of range of the incoming terrestrial vehicles. Meanwhile, put a Charlie in your factory-unloaded Pelican and fly it northeast with support from your faster ground-based vehicles (rabbit, lynx, etc.). With proper positioning, your Pelican will evade attack while your ground troops will prevent the enemy from capturing any of the upper two factories. The enemy will liberate the eastern factory but you will be able to capture its base on turn five before it can position its newly acquired Hunters, etc..
Board 16
