The Legend of Zelda: Oracle of Seasons/Arrival
Link, a hero from the land of Hyrule, has seen much evil appear in a short time. Not long ago, his destiny changed, and he became a mighty force of good, defeating the Evil King Ganon, rescuing Princess Zelda, and restoring peace to the kingdom of Hyrule. Ganon sought out a force, that of the Triforce, and could not obtain it all. Instead, that very force was split into three parts: Power, Wisdom and Courage. One of those parts, Courage, is within Link. Another, Wisdom, lies in Princess Zelda. Ganon held the last force, Power, but it was lost upon his demise. However, a mysterious new enemy is about to make themself known, and could very well bring the force of Power back...
Link, the Legendary Hero, is called by the Triforce to Hyrule Castle. It warps him to the land of Holodrum, where he is discovered by a dancer named Din.
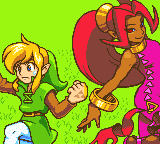
Link wakes up in an open field and soon finds her entertaining a crowd. She wishes to dance with Link. The symbol on his hand intrigues her; for she has mystical powers like he does.
Suddenly, lightning strikes and an dark voice boom from above. An evil presence has found Din...
A tornado appears, knocking everyone far away and revealing an armor-clad figure: General Onox of Darkness. Link is helpless against him.
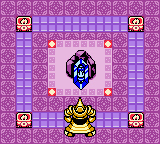
He kidnaps Din and imprisons her, knowing that he can send Holodrum into chaos by doing both this and destroying the Temple of Seasons.
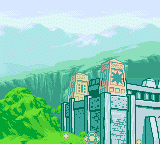
Then, he seals Din up and sends the Temple of Seasons sinking into the earth, wreaking havoc over all the land! The seasons are thrown out of balance, and Onox casts his destruction across Holodrum and beyond!
The Adventure Begins
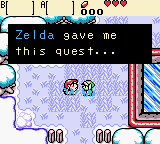
After General Onox imprisons Din, Link finds himself awakening elsewhere. Impa, protector of Din, tells Link of the secret quest to deliver Din to Hyrule, and asks Link to take a message to the Maku Tree in Horon Village. She is too injured to carry on the task herself, and believes that Link is meant to be a hero, because of the symbol on his hand: that of the Triforce of Courage.
Now, the real adventure has begun. You must now find a way to restore Holodrum from its state of frequently-changing seasons, and the first step is to deliver Impa's message to the Maku Tree.
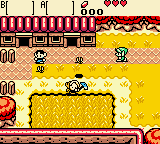
The way to the tree is blocked, so you can't go there yet. First, you must find a sword to clear the path. Head south into Horon Village, and then west from here and you'll reach a small path that heads into the coast.
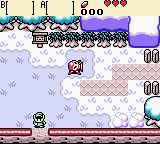
From here, go south. There is a shortcut you can take down to the coast from a ledge above. However, there are Octorocks to avoid along the way. You need a weapon to defeat the evil monsters like these you'll meet. Look for a cave entrance in the cliff wall near a dock. This is the entrance to the Hero's Cave.
The Hero's Cave
The Hero's Cave is a sort of mini-dungeon, with very simple puzzles to solve. However, you can't defend yourself from enemies yet, so avoid them all.
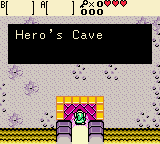

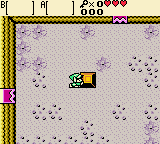
Once inside the cave, head through the door to the east, avoiding the Keese. Once inside the next room, all of the doors will close. This puzzle is often common, and you'll see it many more times to come. Push the block in the center of the room to open the doors again, then head through the door to the north.
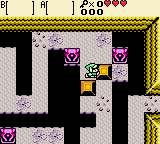
Once in the next room, you'll need to go down a narrow path. Falling is not an option. However, there is one way to move on. Push the block up to access the path. Across the path, there are two more blocks push the left block south and the right block east. This opens the way to the key chamber.
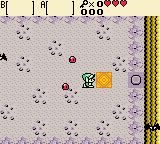
Inside the key chamber, avoid the Keese and Gels, and step on the round floor switch next to the strange spot on the floor, revealing a chest. Walk up to the south side of the chest and press ![]() to open it, and you'll find a
to open it, and you'll find a ![]() Small Key. Small Keys can open locked paths in a dungeon, but only fit locks inside the dungeon they're found, and can be used just once.
Small Key. Small Keys can open locked paths in a dungeon, but only fit locks inside the dungeon they're found, and can be used just once.
Return to the second room (the one with the doors that close when you enter), and head south after pushing the block to find a locked door to the east. You can open it now. The room following has more Gels, and Green Zols. Press the switch here to open the path forward. Head on through and avoid the enemies.
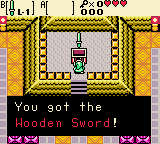
Here is a chest. Open it, and you'll get the first item in the game, the ![]() Wooden Sword. Now, you can defeat enemies. After picking up the Wooden Sword, you'll be sent back to the entrance.
Wooden Sword. Now, you can defeat enemies. After picking up the Wooden Sword, you'll be sent back to the entrance.
Now, you can return to Horon Village. However, before going to the Maku Tree, you can get yourself another item. What you do next is important.
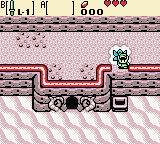
If you do want this item, on the way back to Horon Village is a small ledge above the Hero's Cave that leads to a secret room. Jump off the ledge, and you'll find yourself landing in the cave before a chest. Open it, and you get 30 Rupees. To get out, head left, push the block, and then go back to Horon Village.
The Wooden Shield
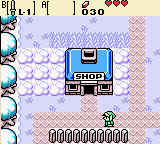
Look for the shop in Horon Village. Inside, there are three items available.
Two are Hearts, which replenish health (10 rupees), and bombs (20 rupees), but the third one is what you want: a shield (30 rupees). You'll need to pick it up and talk to the store clerk. Once you buy it, you'll have the ![]() Wooden Shield. Now, you can defend yourself better, and avoid taking damage from a few attacks.
Wooden Shield. Now, you can defend yourself better, and avoid taking damage from a few attacks.
The Maku Tree
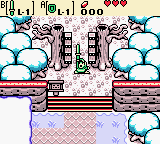
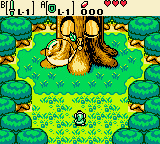
Heading east across the village will bring you to the blocked path, which can now be cleared with the Wooden Sword. The sign by the gate says to show courage. Swing your sword in front of the gates, and you will be allowed to pass.
You'll arrive at the Maku Tree, a large, wise oak. However, he's asleep! You'll need to swing the sword again to pop the snot bubble of sap gushing out his nose. The noise will wake the tree and allow you to deliver the message from Impa.
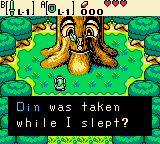
The Maku Tree sees the chaos that has come because of Onox, including the scattering of the eight Essences of Nature, which has weakened him. He's shriveled to a much smaller size without the forces of nature to enrich his body.
The Maku Tree asks you to save Din and gives you the File:Zelda Oracles Gnarled Key.PNG Gnarled Key. This key is special, and only fits one particular lock. Fortunately, the Maku Tree knows where it is. He tells you to go to a giant root in the middle of the lake. What could be there?
The First Dungeon
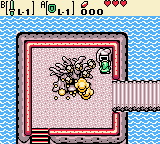
With the Gnarled Key, go to the giant root up by the lake as the Maku Tree said. It doesn't look like much, but there's a very peculiar keystone next to it. Go up to it and use the Gnarled Key.
Suddenly, the root rises up to reveal a large tree! And inside it is the entrance to the first dungeon: Gnarled Root Dungeon.
