This is the lowest deck in the ship, and the first to flood. Most of the rooms on this deck are shared with Deck 10,
The survivor does not start on this deck - see Deck 10 if you want to plan from your starting position.
Room 1[edit]
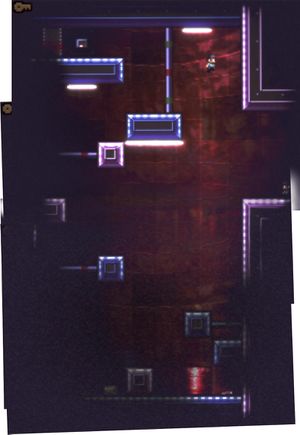
Although this room appears on the lowest deck, it is only accessible via Deck 10.
The left-most room on the first floor, contains a radio and flashlight, and a meteor piece. The upper-left corner is blocked by a metal door, requiring a key to unlock. That key is found in the starting room.
The upper left exit is found only on Deck 10.
Room 2[edit]
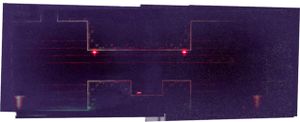
If you dropped from the room above, you've taken a one-way path at least until the lowest deck is flooded.
The room contains a key (in the middle) and meteor fragment (in the dark area on the bottom-right).
This room also contains a special secret - at the top-right corner of the first room is a wall that can only be passed through on hard mode. Head all the way in the hidden corridor, then jump at the end.
Room 3[edit]
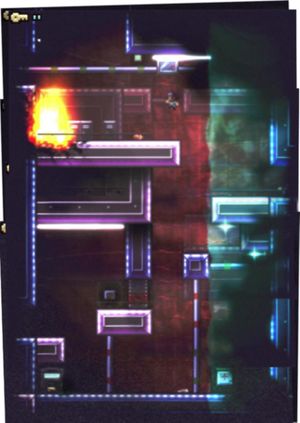
This room contains a key, a flashlight, and meteor fragment. To reach the upper part of the room, you must use a key to unlock the metal door.
The upper exit leads to a small loop towards the starting area.
A vent is hidden at the bottom-right corner of the room. You can use it to run a few rooms to the right to Room 5 if you don't want to spend a key. On hard difficulty (or if the ship is sufficiently flooded), you can use it to reach Deck 9 or Deck 8. You will still need a sideways detour at the end of those vents.
Room 4[edit]
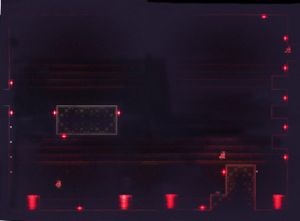
Only one meteor fragment, in the lower right corner.
As this room floods, you can get a quicker route across, both otherwise nothing changes.
Room 5[edit]
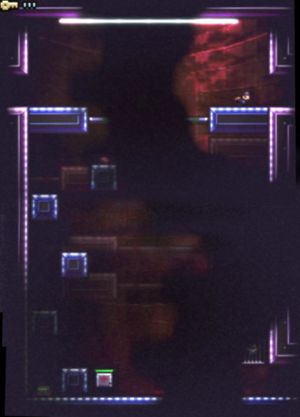
There's a meteor fragment, a radio, and an axe.
The vent at the bottom right of this room leads to the same vent network that can be found two rooms left. You would most likely use this vent as an exit path, but you could still reach Deck 9 and 8 if desired.
The lower-right exit will not be usable until the waterline has at least reached the vent, and will still need to wait until the waterline fills half of the screen. Until then, you can still take the room's upper exit.
Room 6[edit]
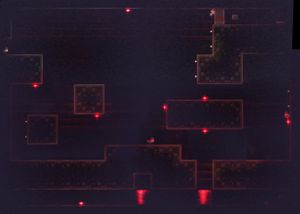
There is a meteor at the bottom-right corner, as well as a switch to unlock the door. Because of the two barrels, you can only access them if the ship is sufficiently flooded.
The vent network leads to Deck 7, provided there is sufficient flooding or on hard difficulty. You can continue further along the vent track, but there's less benefit from doing do as it places you where you need to make a detour.
Room 7[edit]
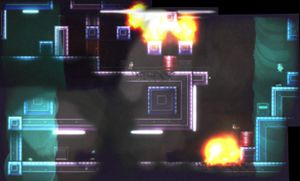
If you want to continue right, you need an axe. The closest one is in the room above.
The wall of fire will block access - simply charge through it and run into the waterfall on the right of the room (or jump into the water below).
You can find a flashlight on the right, and a key and meteor piece at the bottom left.
The vent provides an alternate route if you want to move two rooms right, but heading directly up the vent leads to Deck 8.
The upper-right exit leads to a room on deck 10. That room provides a direct upward route, while the path right requires a key.