m (minor) |
Notmyhandle (talk | contribs) (removed ToC, inverted map ToCs so that island 1 appears at the top, added explanation) |
||
| Line 2: | Line 2: | ||
__NOTOC__ | __NOTOC__ | ||
{{Header Nav|game=Kickle Cubicle}} | {{Header Nav|game=Kickle Cubicle}} | ||
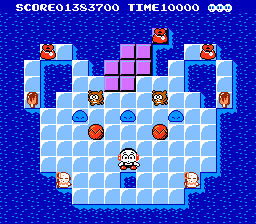
The order of the islands is different between the original Japanese version and the localized North American/European version, but the puzzles have the same solution, although the original version has more enemies. Also, six islands were moved from Garden Land to [[Kickle Cubicle/Fruit Land|Fruit Land]]. To easily find the Japanese version's islands, use Ctrl + F in your browser. | The order of the islands is different between the original Japanese version and the localized North American/European version, but the puzzles have the same solution, although the original version has more enemies. Also, six islands were moved from Garden Land to [[Kickle Cubicle/Fruit Land|Fruit Land]]. To easily find the Japanese version's islands, use Ctrl + F in your browser. | ||
== Garden Land maps == | == Garden Land maps == | ||
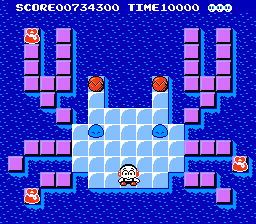
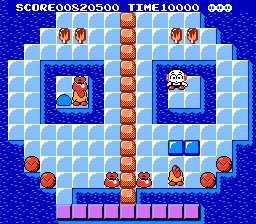
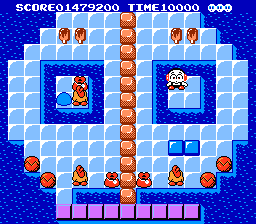
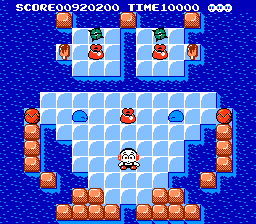
Click on any island to be redirected to the corresponding solution section. | Click on any island to be redirected to the corresponding solution section. In these depictions, the first island is at the top and you can follow them around the pattern sequentially, clock-wise. | ||
{{col|2|begin}} | |||
{|{{prettytable|notwide=1}} | {|{{prettytable|notwide=1}} | ||
!colspan=7| Garden Land, Western version | !colspan=7| Garden Land, Western version | ||
|- | |- | ||
| || || [[File:KickleCubicle island1- | | || || || [[File:KickleCubicle island1-01.png|link=#Island 1|link=#Island 1|64px]] || || || | ||
|- | |||
| || || [[File:KickleCubicle island1-17.png|link=#Island 17|64px]] || || [[File:KickleCubicle island1-02.png|link=#Island 2|64px]] || || | |||
|- | |- | ||
| || || || [[File:KickleCubicle island1- | | || [[File:KickleCubicle island1-16.png|link=#Island 16|64px]] || || || || [[File:KickleCubicle island1-03.png|link=#Island 3|64px]] || | ||
|- | |- | ||
| [[File:KickleCubicle island1-15.png|link=#Island 15|64px]] || || || || || || [[File:KickleCubicle island1-04.png|link=#Island 4|64px]] | |||
|- | |- | ||
| [[File:KickleCubicle island1-14.png|link=#Island 14|64px]] || || || || || || [[File:KickleCubicle island1-05.png|link=#Island 5|64px]] | | [[File:KickleCubicle island1-14.png|link=#Island 14|64px]] || || || || || || [[File:KickleCubicle island1-05.png|link=#Island 5|64px]] | ||
|- | |- | ||
| [[File:KickleCubicle island1- | | || [[File:KickleCubicle island1-13.png|link=#Island 13|64px]] || [[File:KickleCubicle island1-12.png|link=#Island 12|64px]] || [[File:KickleCubicle island1-08.png|link=#Island 8|64px]] || [[File:KickleCubicle island1-07.png|link=#Island 7|64px]] || [[File:KickleCubicle island1-06.png|link=#Island 6|64px]] || | ||
|- | |- | ||
| || [[File:KickleCubicle island1- | | || || || [[File:KickleCubicle island1-09.png|link=#Island 9|64px]] || || || | ||
|- | |- | ||
| || || [[File:KickleCubicle island1- | | || || [[File:KickleCubicle island1-11.png|link=#Island 11|64px]] || || [[File:KickleCubicle island1-10.png|link=#Island 10|64px]] || || | ||
|} | |} | ||
{{col|2}} | |||
{|{{prettytable|notwide=1}} | {|{{prettytable|notwide=1}} | ||
!colspan=7| Garden Land, Japanese version | !colspan=7| Garden Land, Japanese version | ||
|- | |- | ||
| || || [[File:KickleCubicle island1- | | || || || [[File:KickleCubicle island1-01J.png|link=#Island 1|64px]] || || || | ||
|- | |||
| || || [[File:KickleCubicle island1-17J.png|link=#Island 14|64px]] || || [[File:KickleCubicle island1-02J.png|link=#Island 5|64px]] || || | |||
|- | |- | ||
| || || || [[File:KickleCubicle island1- | | || [[File:KickleCubicle island1-16J.png|link=#Island 12|64px]] || || || || [[File:KickleCubicle island1-03J.png|link=#Island 2|64px]] || | ||
|- | |- | ||
| [[File:KickleCubicle island1-15J.png|link=#Island 9|64px]] || || || || || || [[File:KickleCubicle island1-04J.png|link=Kickle Cubicle/Fruit Land#Island 6|64px]] | |||
|- | |- | ||
| [[File:KickleCubicle island1-14J.png|link=#Island 7|64px]] || || || || || || [[File:KickleCubicle island1-05J.png|link=Kickle Cubicle/Fruit Land#Island 4|64px]] | | [[File:KickleCubicle island1-14J.png|link=#Island 7|64px]] || || || || || || [[File:KickleCubicle island1-05J.png|link=Kickle Cubicle/Fruit Land#Island 4|64px]] | ||
|- | |- | ||
| [[File:KickleCubicle island1- | | || [[File:KickleCubicle island1-13J.png|link=Kickle Cubicle/Fruit Land#Island 1|64px]] || [[File:KickleCubicle island1-12J.PNG|link=#Island 3|64px]] || [[File:KickleCubicle island1-08J.png|link=#Island 15|64px]] || [[File:KickleCubicle island1-07J.PNG|link=#Island 11|64px]] || [[File:KickleCubicle island1-06J.png|link=Kickle Cubicle/Fruit Land#Island 2|64px]] || | ||
|- | |- | ||
| || [[File:KickleCubicle island1- | | || || || [[File:KickleCubicle island1-09J.png|link=Kickle Cubicle/Fruit Land#Island 9|64px]] || || || | ||
|- | |- | ||
| || || [[File:KickleCubicle island1- | | || || [[File:KickleCubicle island1-11J.png|link=#Island 13|64px]] || || [[File:KickleCubicle island1-10J.png|link=Kickle Cubicle/Fruit Land#Island 12|64px]] || || | ||
|} | |} | ||
{{col|2|end}} | |||
== Island 1 == | == Island 1 == | ||
Revision as of 19:51, 17 November 2012
The order of the islands is different between the original Japanese version and the localized North American/European version, but the puzzles have the same solution, although the original version has more enemies. Also, six islands were moved from Garden Land to Fruit Land. To easily find the Japanese version's islands, use Ctrl + F in your browser.
Garden Land maps
Click on any island to be redirected to the corresponding solution section. In these depictions, the first island is at the top and you can follow them around the pattern sequentially, clock-wise.
Island 1
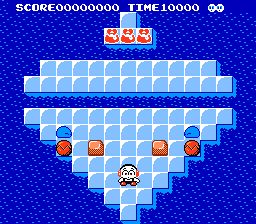
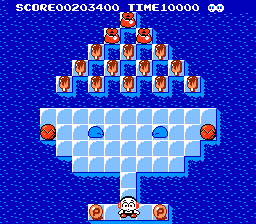
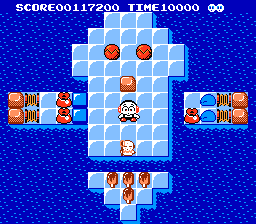
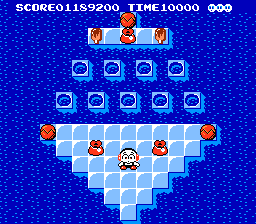
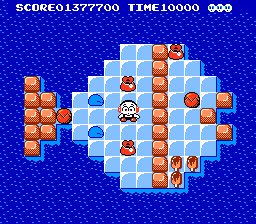
Who really needs a guide for the very first stage of a video game? Well, anyway...
Simply freeze some Noggles and push the resulting ice cubes upwards to create bridges until you can walk to the red bags.
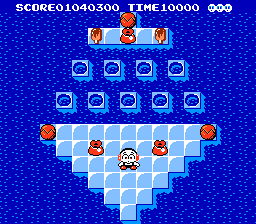
Island 2
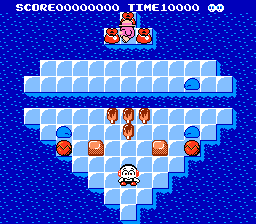
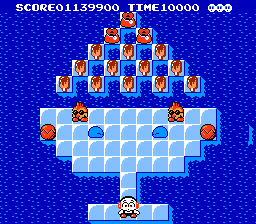
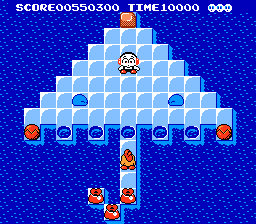
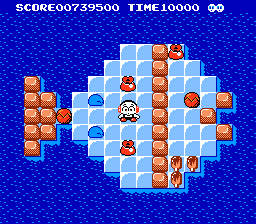
Same as the previous stage: freeze more Noggles and push the ice cubes upwards. Mr. Hoople the penguin just walks around: freeze then kick him to destroy him, but he'll respawn.
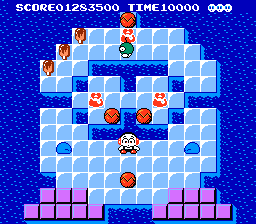
Island 3
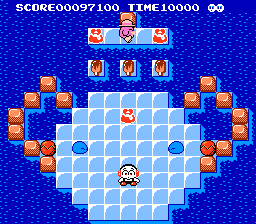
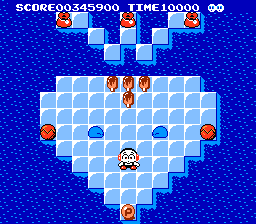
Once more with feeling: freeze some Noggles and push the ice cubes upwards. If you push an ice cube through a popsicle you earn double score.
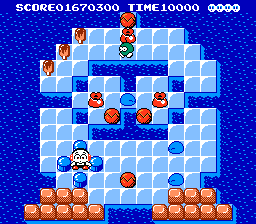
Island 4
Island 5
This is the island shown in the in-game tutorial, if you don't push any button on the title screen.
- Solution
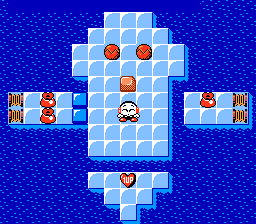
Push the ice cubes to the left and get out of the way, because the springs will push them back. Before grabbing the red bags, wait for some noggles to respawn and create a bridge to get the 1UP extra life.
Island 6
- Solution
Freeze the Noggles and push them dow to create a bridge between the round holes until you can get all the red bags. Max the rooster can kick the ice cubes too, so be quick.
Island 7
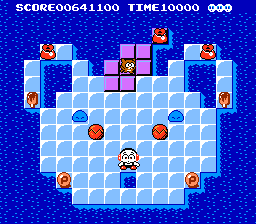
An island shaped as a raccoon head featuring Rocky the raccoon.
- Solution
You cannot freeze and kick the raccoons to destroy them, but you can push an ice cube into them.
Island 8
- Solution
Freeze the Noggles and push them sideways to reach the red bags. Remember that they cannon get on the "slippery" purple ice.
Island 9
- Solution
Let Max kick the ice cubes to create a bridge. Then, freeze a Noggle and push it down to get to the lower row of slippery ice. On the left side of the island, freeze the noggle and let Max kick it to create a bridge and grab the red bag.
Island 10
Island 11
Island 12
Island 13
Island 14
A bomb-shaped island featuring Sparky the bomb.
- Solution
forthcoming
Island 15
Island 16
Island 17
Boss: Koke
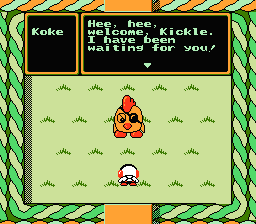
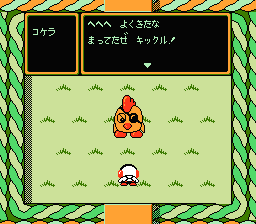
Koke's appearance is identical in the two versions, but not all bosses are.
Koke attacks throwing giant ice cubes that split into four upon impact. In order to defeat him, Kickle has to kick back at him 3 ice cubes in the Western version, or 5 ice cubes in the original version.


