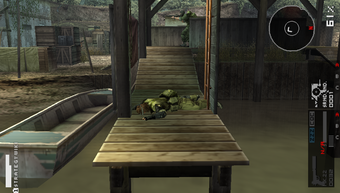
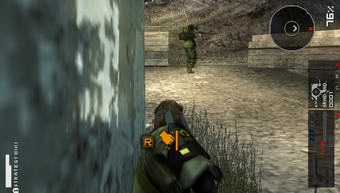
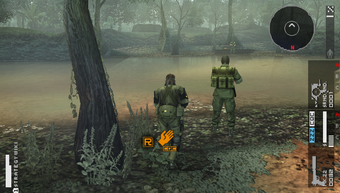
The Sandinistas have escaped from the boathouse where the CIA mercs and the unmanned weapon had them cornered, but they and their leader Amanda have ran toward one of the enemy's outposts. Follow her and her men there to obtain the intel needed to stop the nukes from reaching their destination.
- Locate and rendezvous with Amanda, the Sandinista leader.
Mission Prep[edit]
This is the first mission to have Prisoners of War that you can rescue, and it is always worth it to rescue Prisoners, as they tend to have high skills and doing so adds to your Heroism score. To that end, bring the ★1 Fulton Recovery System. You won't need to neutralize any enemy soldiers, and no S-Rank strategies require ★1 Empty Magazines so you can put them away to boost your Camo Index.
Río del Jade[edit]
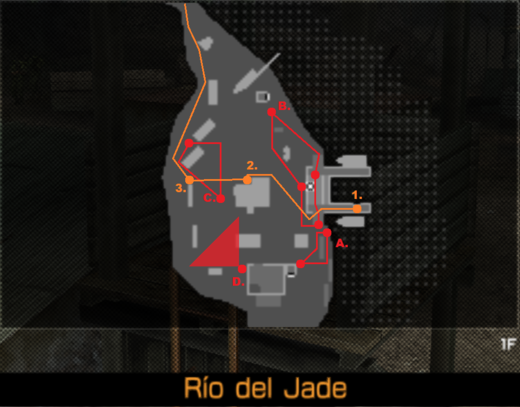
The mission starts with a shot of the assault team on their way to clear the boathouse. You start crouched behind a stack of boxes. These soldiers appear to behave like a Clearing Team called in during an Alert Phase, but all their behavior is scripted and can be disrupted like any other patrol route. They will fan out into two teams, Soldier A and Soldier B take positions to the north and will set in place first. Soldier C and Soldier D will keep moving before splitting up themselves. Soldier C will set just south of the central building and Soldier D will make a slow approach on his route before setting behind the stack of boxes where you start. As soon as D sets, A will sweep south through the cabin in a straight line. This could be a dangerous situation, so you need to be quick to escape it. It would be easy to go south, but you actually want to go north, where the soldiers are coming from. Move to point 1 at the western stacks of lumber before the soldiers reach the end of their routes annotated on the map below.
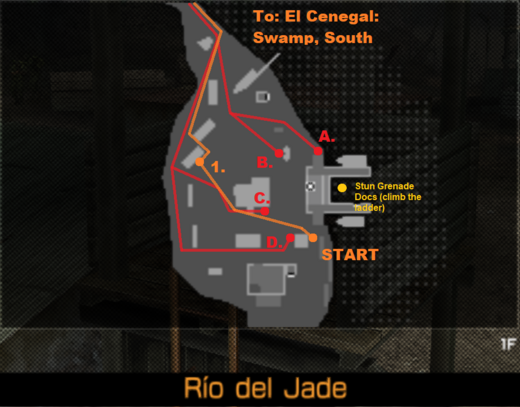
- 1. Escape the Assault Team
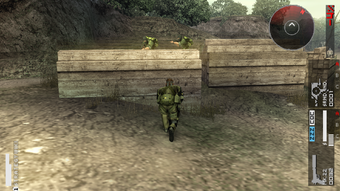
Move northwest, keeping the central building between you and the enemy. Get to the point in front of the lumber stack and watch Soldiers C and D move past you. Once they've passed, get on the trail and move north to the next area. You can ignore Soldiers A and B entirely.
El Cenegal: Swamp, South[edit]
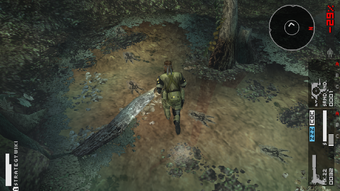
You may safely follow the path west to the next map. There is nothing here of interest. You can ignore Soldier E on the water's edge, you can ignore the soldier on the other side of the river, you can ignore the Rations, you can ignore the dinosaur footprints...
Just follow the road west to the next area.
El Cenegal: Ravine[edit]
The north path to the ravine is now open. The way west leads back to El Cenegal: Jungle, but there's no reason to go there. Soldier F is in the clearing and will immediately move north to meet Soldier G on the bridge up north. Soldier F will walk north along a tunnel that exits at the south end of the bridge across the ravine. If you wish to complete the mission with No Traces, there's no waiting for him to get out of your way and there aren't any nooks to hide in. You'll have to stalk behind him as he walks north.
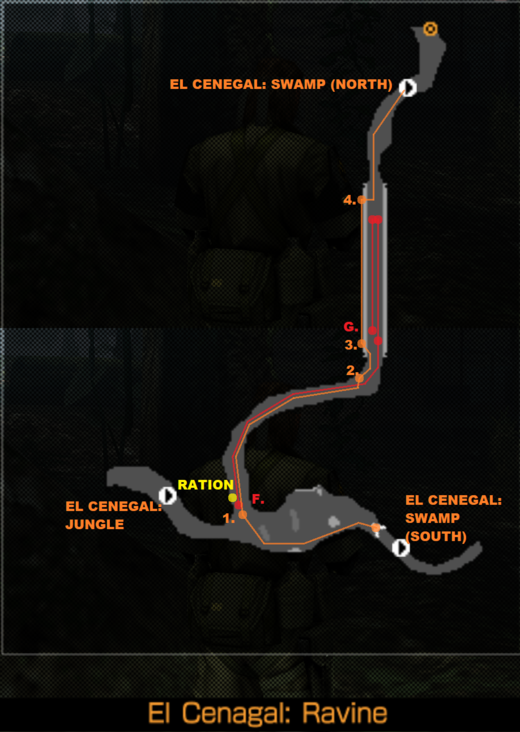
- 1. Stalk Behind Soldier F Through the Tunnel
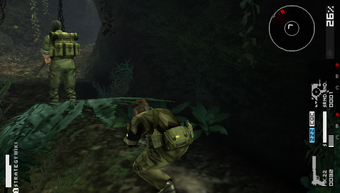
Soldier F will be moving as soon as you reach point 1. Follow him by gently tilting the Analog Stick. You'll notice that if you stalk while upright, you can close the gap between you and walking soldiers. If you crouch-stalk, you'll have an easier time keeping up with him, but at a distance.
Follow Soldier F to point 2 while keeping some space between you and him.
- 2. Wait for Them to Turn Away From Your Position
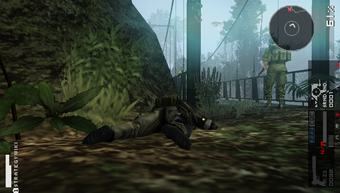
After following Soldier F through the tunnel, get to the left side of the outlet, preferably at some foliage. At this point, hold ![]() to lie down and maximize your Camo Index. Try and keep Soldier G visible in your camera, but stay out of his range of sight. If you're quick, you can see the Kidnapper drone up above the bridge before it moves away. Wait for both soldiers to turn around, then release
to lie down and maximize your Camo Index. Try and keep Soldier G visible in your camera, but stay out of his range of sight. If you're quick, you can see the Kidnapper drone up above the bridge before it moves away. Wait for both soldiers to turn around, then release ![]() and run to point 3.
and run to point 3.
- 3. Hang off the Bridge and Move North.
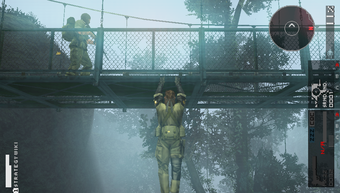
Follow Kaz's advice. Face one of the rails while standing and press the ![]() to vault over the rail and hang off the side of the bridge. Do not press
to vault over the rail and hang off the side of the bridge. Do not press ![]() at this time, or you'll fall to your death. They cannot see you while you are hanging. Move north with the Analog Stick to the end of the bridge.
at this time, or you'll fall to your death. They cannot see you while you are hanging. Move north with the Analog Stick to the end of the bridge.
- 4. Get Back On the Bridge When it is Safe
Wait for Soldier F to turn around and move south. Press ![]() to get back over the rail onto the bridge. Getting over the rail and back onto the bridge produces no noise. Wait a second before running, or Soldier F will hear you. Proceed north.
to get back over the rail onto the bridge. Getting over the rail and back onto the bridge produces no noise. Wait a second before running, or Soldier F will hear you. Proceed north.
El Cenegal: Swamp, North[edit]
You are now on the north bank of the river. Your destination is the northeast exit but there are two soldiers patrolling the narrow path, one of whom, Soldier I, is facing your direction. Soldier J is hidden by a tree and could easily surprise you.
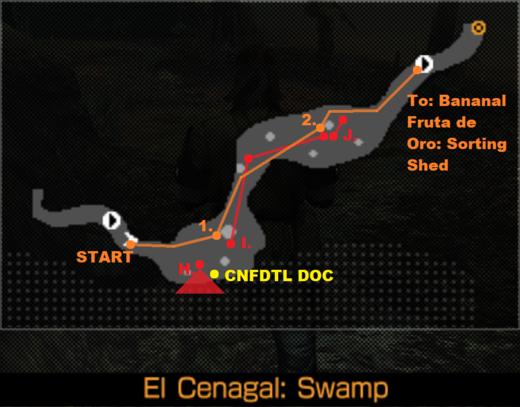
- 1. Wait for Soldier I
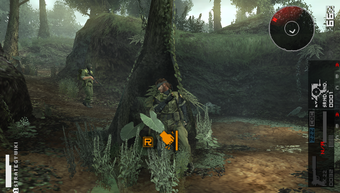
Hugging the north wall, run to this tree and press yourself against it with ![]() . Press
. Press ![]() to zoom in on Soldier I as he descends the hill and stay on him until he's hidden by the tree. In the time it takes for you to get off the wall, Soldier I will be far enough away for you to start running to point 2.
to zoom in on Soldier I as he descends the hill and stay on him until he's hidden by the tree. In the time it takes for you to get off the wall, Soldier I will be far enough away for you to start running to point 2.
- 2. Wait for Soldier J
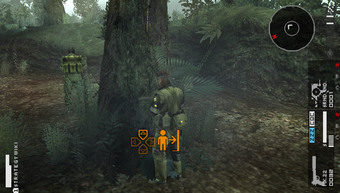
Run to this tree, trying to keep it between you and Soldier J. Once you get to the tree, use the the Camera Buttons to put Soldier J on the other side of the tree into your view. He should patrol along the southeast side of the tree; stalk around the opposite side of the tree as you move closer to the exit.
Count one-one-thousand before you tilt the Analog Stick further start running to the next area.
Bananal Fruta de Oro: Sorting Shed[edit]
This is the last area in this mission. There are five enemy Soldiers. To the west is the sorting shed with tight corridors while the east is a large open area with little cover in the middle. A chainlink fence divides the large open southern area and the exit to the north. There are two Prisoners of War, a third Confidential Document, and the Tiger Stripe camouflage to be found here, which will make your path long.
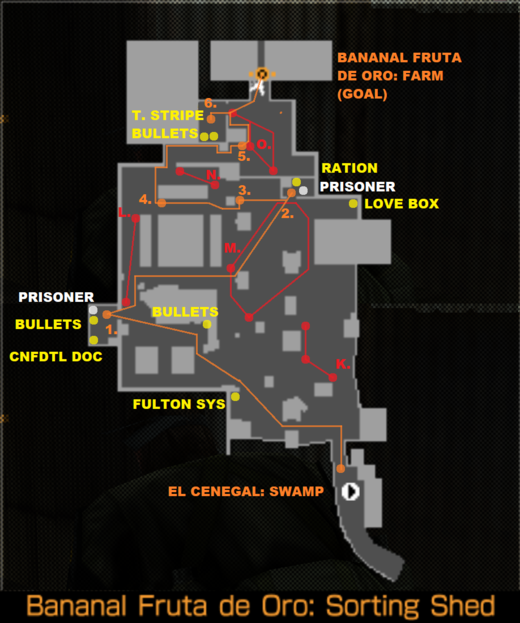
Stay low and move to point 1.
- 1. Rescue the First Prisoner
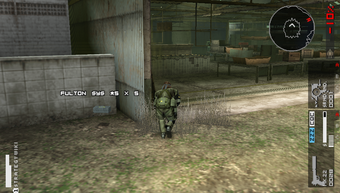
You can simply into the sorting shed's interior. Stay low and keep terrain between you and the enemy. Equip the ★1 Fulton Recovery System if you brought it. If you didn't bring the Fulton, you may divert to the Fulton System pickup nearby, which makes a good landmark to guide you on your way. Once inside, move past the tubs into a small doorway at the sorting shed's far west wall. The Prisoner inside is often E or D ranked with a random aptitude. Low ranked though he may be, your rescue of Prisoners yields a not-insignificant amount of Heroism and soon you will need people working in your Mess Hall. Pick up the Confidential Document in the same room and quickly move on.
- 2. Rescue the Second Prisoner
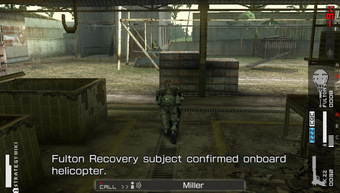
Immediately move out of the room with the first prisoner and turn north. Soldier L should be at the north endpoint of his patrol. Turn east around the red barrel. Ahead of you should be a stack of boxes and well beyond that should be Soldier M making his way south in the distance. At the stack of boxes ahead, turn northeast and move to the shack at the north next to the chain-link fence, where you'll find the second prisoner of war. As you're extracting him, angle the camera west toward the sorting shed. Move to point 3, with Soldier N's back turned to you, hopefully.
- 3. Observe Soldier N
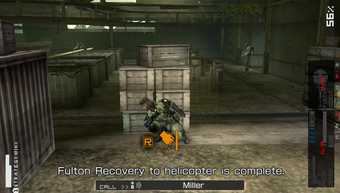
Press yourself against east side of the containers at point 3 and watch Soldier N's line of sight. Once he turns his head away from your direction, get off the wall move around the south side of the container and along the south side of the tub ahead to Point 4.
- 4. Slip Past Soldier N
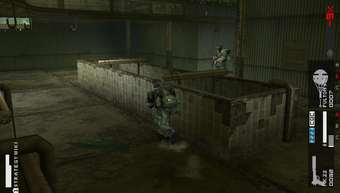
Face, press yourself against, and quickly tap ![]() to center your view on the southwest corner at point 4. You'll see that Soldier N's patrol is quick. Once he turns and faces the east, move around the tub and move through the doorway to the northern part of the map. Be sure to hug the north wall so that Soldier N doesn't hear the sounds of your footsteps as you move to point 5.
to center your view on the southwest corner at point 4. You'll see that Soldier N's patrol is quick. Once he turns and faces the east, move around the tub and move through the doorway to the northern part of the map. Be sure to hug the north wall so that Soldier N doesn't hear the sounds of your footsteps as you move to point 5.
- 5. Wait for Soldier O
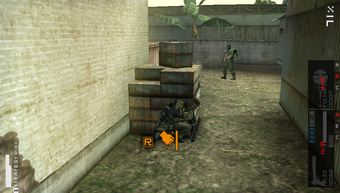
Hide behind these boxes and watch Soldier O move from the chain-link fence to the other side of the nearby metal container. Once he's out of sight, move to the point at the southwest corner of the container. There, press yourself to the southeast corner of the container by holding ![]() . Angle the camera to the east with the Camera Buttons so that the edge of the container forms a plane. Once Soldier O crosses the plane, get off the wall.
. Angle the camera to the east with the Camera Buttons so that the edge of the container forms a plane. Once Soldier O crosses the plane, get off the wall.
- 6. Slip Past Soldier O
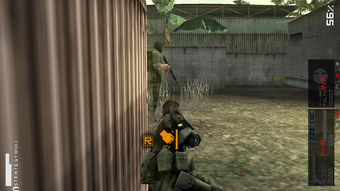
Quickly move around the container into the shed and secure the Tiger Stripe camouflage uniform if you don't have it. Soldier O will be far enough away that you can move at full speed, but you should remain crouched. Once you have secured the Tiger Stripe utilities, don't stop moving. Immediately get out of the shed and go to the goal before Soldier O turns reaches his post at the chain-link fence and turns around.
If you already have the Tiger Stripe and you're repeating the mission, just go to the goal after Soldier O passes.
Completion[edit]
If you secured the Tiger Stripe camouflage, you will receive a message informing you that Tiger Stripe (Naked) has also been developed. For every set of fatigues you find, there is also a "naked" variant. They often come together in a set; when you find a uniform, you'll also get the naked variant...but not always. Some naked variants require you to unlock them separately. Camouflage utilities are changed only during the Mission Prep phase, but not during a mission. You must commit to a uniform before you start a mission and must abort a mission if you wish to change what you're wearing.
When you reach a certain threshold of soldiers/GMP, Miller will establish the Mess Hall Team at Mother Base. The moment the Team is established varies, but will likely be after this mission if you're playing casually. In Staff Management, you should select any Supply Soldiers such as Coypu and Moon Wrasse from the beginning of the game, and the Supply Soldier you likely extracted from Río del Jade, and you should move them from the Combat Unit along with any others you might have extracted into the Mess Hall Team and raise your FOOD percentage higher than 100%. If you move the Supply Soldiers and the Prisoner into the Mess Hall Team and raise it to LV 3, you'll be in good shape, but LV 2 is acceptable. From this moment on, if your FOOD percentage remains below 100%, your staff's Morale could drop, leading to soldiers being randomly moved to the Brig or Defecting and leaving MSF altogether. However, keeping FOOD above 100% is easy and if you do so, you almost certainly won't run into Morale problems.
Curiously, this mission has a bug in which completing the mission with an A rank will yield double the amount of progress toward R&D projects. For example, if you have a LV 7 R&D Team and you start development on the M1C and the Smoke Grenades before this mission, they will be at 17% and 18% respectively if you complete this mission with an S-Rank. If you complete this mission with an A-Rank, however, the M1C will be at 34% and the Smoke Grenades will be at 36%. This bug seems to affect this mission on the PSP version as well as the PS3 HD edition. It has yet to be tested on the XBOX 360 HD edition.
Completing this mission will unlock the Extra Op [005] Marksmanship Challenge. You need to try to complete it with an S-Rank now to get the most out of it. Unlike the marksmanship missions at Mother Base, completing Extra Ops [005] will yield progress for the R&D projects you have underway.

