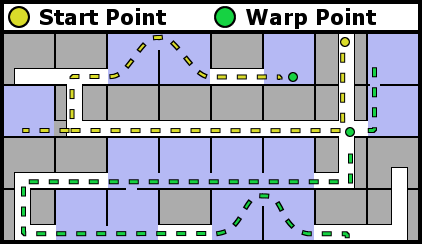
You'll start the game outside Mother Ship, and you should immediately jump back into your home base. You don't need health recovery right now, but Emi will give you a free ID card, so it's worth the few extra seconds. When you exit again, head right to the elevator down into the base. You'll encounter drones along the way, but these can't kneel and shoot, so you'll be safe by crawling along the ground and shooting. Take the elevator down to the first intersection and head to the left. Down this hallway are more drones and a few mines. You'll have to get right next to a mine and hold down ![]() while pressing the desired direction. It's important to keep the jump button held down, because in Zillion you can modify how long/hard you jump by how long you hold the button down.
while pressing the desired direction. It's important to keep the jump button held down, because in Zillion you can modify how long/hard you jump by how long you hold the button down.
At the end of the hallway is another elevator, but instead of taking it up, walk onto it and shoot the wall from a standing position until a secret passage is revealed.
Row 2, Room 1[edit]
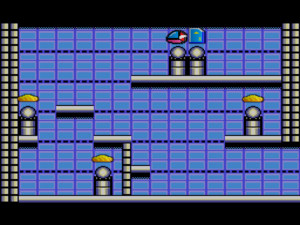
At the top of the room is a level up and and ID card to get. No need to worry about the power ups, as the level up will replenish your health.
When you're done, go out and take the elevator up and go right at the top. This leads to the first room where you have to input a code to get to the next area.
Row 1, Room 3[edit]
You can stop the laser barrier with ![]()
![]()
![]()
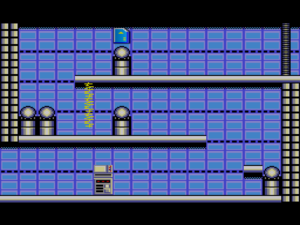
![]() . It costs an ID card, but you should two of them and there are three more in the next room. Shoot all the canisters you can before turning off the barrier and don't waste your time getting the topmost canister, and you'll have enough time after inputting the room code to make it back up past the barrier before it turns on again.
. It costs an ID card, but you should two of them and there are three more in the next room. Shoot all the canisters you can before turning off the barrier and don't waste your time getting the topmost canister, and you'll have enough time after inputting the room code to make it back up past the barrier before it turns on again.
Row 1, Room 4[edit]
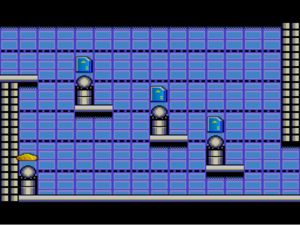
This room has two drones and a security sensor which you can't see unless you went and got the scope already. You won't have to cross the sensor though; just get the three canisters on the platforms that descend to the floor. The last one over on the side of the room just has a power up, and you'll soon be leveling up, so it's unnecessary.
In the hallway after exiting that room is a Norsa drone and two mines. This drone can kneel and shoot, so lying down won't necessarily keep you safe. In the room at the end of the hall are a bunch of good items.
Row 1, Room 6[edit]
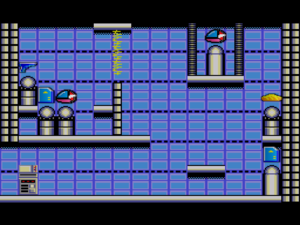
Behind the laser barrier you'll find a level up and your first Zillion upgrade. You can also get a couple more ID cards here. To open the barriers above so you can get the other level up, shoot the wall eight times behind the power up on the right hand wall. The switch is at the bottom of the canister, so the easiest way to get it is to lie down on the platform to shoot the wall. When you're finished, use ![]()
![]()
![]()
![]() at the computer console to go back to the beginning elevator you were on.
at the computer console to go back to the beginning elevator you were on.
This time head right and you'll find a room with a drone and an easily avoidable laser barrier.
Row 2, Room 8[edit]
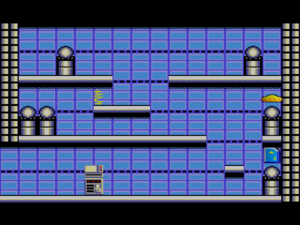
There's a security sensor on the way to the canister in the top right corner, so when you're on your way back to the computer console to input the room code, you'll have to take out the bad guys first. You'll see an elevator open up at the top of the room when you input the code. Head up into the next room.
Row 1 , Room 8[edit]
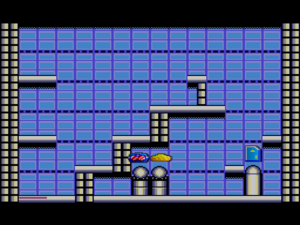
Notice that when you get the scope out of the leftmost canister, you'll be able to see the sensor along the left wall.
Head back down and out to the hall elevator and take it down, then head left into the next room.
Row 3, Room 6[edit]
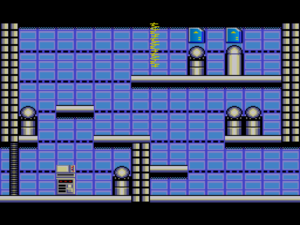
This room to the left of the bottom of the elevator is a standard one with one drone and two ID cards behind a laser barrier.
Row 3, Room 5[edit]
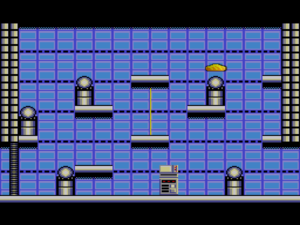
This room is also simple, with only a security sensor to avoid in the center of the room.
Row 3, Room 4[edit]
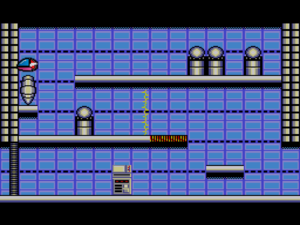
This room has all canisters behind a laser barrier, so stop that first with ![]()
![]()
![]()
![]() . Don't bother shutting off the moving walkway, as it will only speed you up going in to where the canisters are, and when you're on it coming out you'll be on the safe side of the laser barrier. You'll also see your first level three canister here, which you'll get later. If you must turn off the walkway, use the code
. Don't bother shutting off the moving walkway, as it will only speed you up going in to where the canisters are, and when you're on it coming out you'll be on the safe side of the laser barrier. You'll also see your first level three canister here, which you'll get later. If you must turn off the walkway, use the code ![]()
![]()
![]()
![]() . Head to the room on the left.
. Head to the room on the left.
Row 3, Room 3[edit]
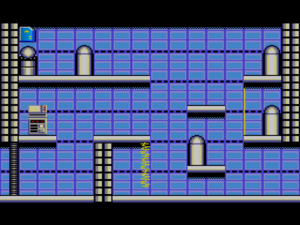
This room has all level two canisters and this is the room where you can activate the invincibility cheat. The room forces you to trip the security sensor unless you input ![]()
![]()
![]()
![]() . When you've entered the room code, you'll see two ways out. Head to the left, which will take you down to the room with the first floppy disk.
. When you've entered the room code, you'll see two ways out. Head to the left, which will take you down to the room with the first floppy disk.
In the hallway outside the room are three drones, and when you follow it to the elevator and down, you'll find another one waiting for you at the bottom. Head right into the next room.
Row 4, Room 2[edit]
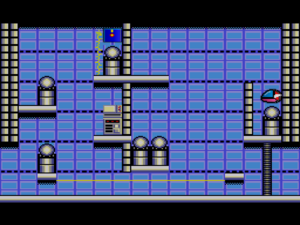
In this room you'll find a sensor running across the floor, your floppy disk in a canister behind a laser barrier, and another canister behind a wall you can't jump over. Turn off the sensor and barrier as you see fit, and collect the room keycodes and the floppy disk. When you head to the next room, it will be the one below where you had two ways out.
Row 4, Room 3[edit]
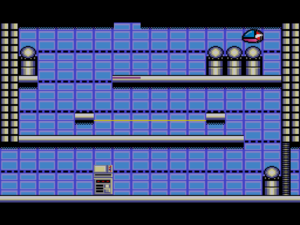
This room has a sensor you can turn off with ![]()
![]()
![]()
![]() if you like, and a level up on the topmost platform. Head to the right and you'll be in a hallway with two drones.
if you like, and a level up on the topmost platform. Head to the right and you'll be in a hallway with two drones.
Row 4, Room 5[edit]
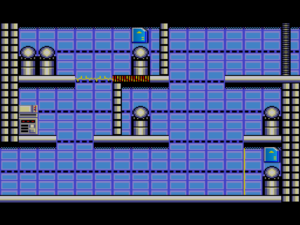
This room has an ID card at the end of a moving walkway and one behind a security sensor. It's up to you how much of the hazards you want to turn off, but don't bother with the sensor, unless you're a very poor jumper. You can nab the ID card and then jump up to the platform to the left before the drones' shots get to you, and if you don't fall, you can then make it to the top-right platform without even bothering with them.
Row 4, Room 6[edit]
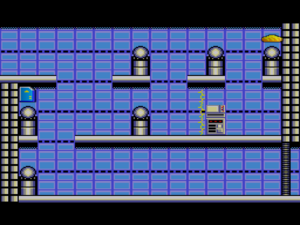
This room has three drones to be careful of at the bottom and a laser barrier which can be easily avoided if you go slowly.
Keep heading right and get off a quick couple shots at the two drones waiting for you in the hallway. There's nothing farther to the right, so take the elevator down, which brings you to the middle section of the base, the red levels.
