(removed rename tag) |
(Added screenshots of missing screens) |
||
| (6 intermediate revisions by 3 users not shown) | |||
| Line 6: | Line 6: | ||
<gallery> | <gallery> | ||
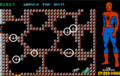
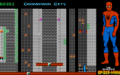
File:TASM Screenshot midnight.png|Midnight | |||
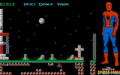
File:TASM Screenshot blackthunder.png|Black Thunder | |||
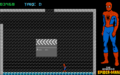
File:TASM Screenshot Foyer.png|Foyer | |||
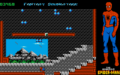
File:TASM Screenshot lift.png|Lift | |||
</gallery> | </gallery> | ||
| Line 15: | Line 15: | ||
<gallery> | <gallery> | ||
File:TAMS Screenshot Take1.png|Take 1 | |||
File:TASM Screenshot badmoonrising.png|Bad Moon Rising | |||
File:TASM Screenshot mummysrevenge.png|Mummy's Revenge | |||
File:TASM Screenshot starrystarrynight.png|Starry Starry Night | |||
File:TASM Screenshot rattrap.png|Rat Trap | |||
File:TASM Screenshot underthesoil.png|Under the Soil | |||
File:TASM Screenshot verygraveyard.png|Very Grave Yard | |||
File:TASM Screenshot badmoonfalling.png|Bad Moon Falling | |||
</gallery> | </gallery> | ||
| Line 28: | Line 28: | ||
<gallery> | <gallery> | ||
File:TASM Screenshot take2.png|Take 2 | |||
File:TASM Screeenshot fantasysoundstage.png|Fantasy Soundstage | |||
File:TASM Screenshot cardboardcity.png|Cardboard City | |||
File:TASM Screenshot paperplates.png|Paper Plates From Mars | |||
File:TASM Screenshot spaceship.png|Space Ship | |||
File:TASM Screenshot missioncontrol.png|Mission Control | |||
File:TASM Screenshot weightingroom.png|Weighting Room | |||
File:TASM Screenshot thelab.png|The Lab | |||
File:TASM Screenshot timemachine.png|Time Machine | |||
File:TASM Screenshot timelessvoid.png|Timeless Void | |||
File:TASM Screenshot shaft.png|Shaft | |||
File:TASM Screenshot basement.png|Basement | |||
File:TASM Screenshot storageroom.png|Storage Room | |||
File:TASM Screenshot intothesewer.png|Into the Sewer | |||
File:TASM Screenshot greatdrainrobbery.png|The Great Drain Robbery | |||
File:TASM Screenshot wotnoturtles.png|Wot! No Turtles? | |||
File:TASM Screenshot wayout.png|Way Out | |||
</gallery> | </gallery> | ||
| Line 49: | Line 50: | ||
<gallery> | <gallery> | ||
File:TASM Screenshot take3.png|Take 3 | |||
File:TASM Screenshot lionlow.png|Lion Low | |||
File:TASM Screenshot headlion.png|Head Lion | |||
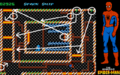
File:TASM Screenshot leosmaze.png|Leo's Maze Screen 1 | |||
File:TASM Screenshot leosmaze.png|Leo's Maze Screen 2 | |||
File:TASM Screenshot leosmaze2.png|Leo's Maze Screen 3 | |||
File:TASM Screenshot leosmaze3.png|Leo's Maze Screen 4 | |||
File:TASM Screenshot roaringflames.png|Roaring Flames | |||
</gallery> | </gallery> | ||
| Line 63: | Line 64: | ||
<gallery> | <gallery> | ||
File:TASM Screenshot take4.png|Take 4 | |||
File:TASM Screenshot cheers.png|Cheers | |||
File:TASM Screenshot cactusville.png|Cactusville | |||
File:TASM Screenshot vulturegulch.png|Vulture Gulch | |||
File:TASM Screenshot mine.png|Mine! | |||
File:TASM Screenshot yours.png|Yours! | |||
File:TASM Screenshot behindbars.png|Behind Bars | |||
</gallery> | </gallery> | ||
| Line 75: | Line 76: | ||
<gallery> | <gallery> | ||
File:TASM Screenshot take5.png|Take 5 | |||
File:TASM Screenshot allthisandjawstoo.png|All This and Jaws Too? | |||
File:TASM Screenshot castleentrance.png|Castle Entrance | |||
File:TASM Screenshot puzzleroom.png|Puzzle Room | |||
File:TASM Screenshot thepits.png|The Pits | |||
File:TASM Screenshot torturechamber.png|Torture Chamber | |||
</gallery> | </gallery> | ||
| Line 86: | Line 87: | ||
<gallery> | <gallery> | ||
File:TASM Screenshot take6.png|Take 6 | |||
File:TASM Screenshot weightingroom.png|Weighting Room | |||
File:TASM Screenshot missioncontrol.png|Mission Control | |||
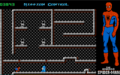
File:TASM Screenshot airlocked.png|Air-Locked | |||
File:TASM Screenshot planetfall.png|Planet Fall | |||
File:TASM Screenshot videocode.png|Video Code | |||
File:TASM Screenshot mysteriosend.png|Mysterio's End? | |||
</gallery> | </gallery> | ||
{{Footer Nav|game=The Amazing Spider-Man|prevpage= | {{Footer Nav|game=The Amazing Spider-Man|prevpage=Questions|nextpage=Glitches}} | ||
Latest revision as of 16:30, 23 April 2019

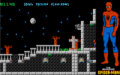
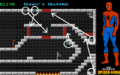
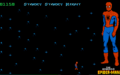
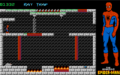
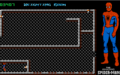
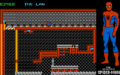
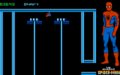
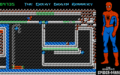
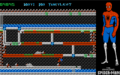
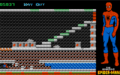
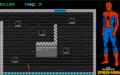
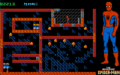
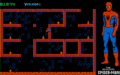
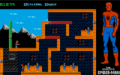
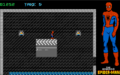
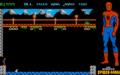
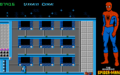
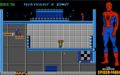
Scoring in the game is not based on enemies killed as much as it is on puzzles solved and rooms found. Although many of the rooms are required, there are a number of rooms, such as "Starry Starry Night" and "Black Thunder" that you have to go out of your way to find. They are not strictly necessary, but they do give you extra points.
Take 0[edit]
-
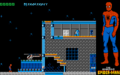
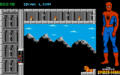
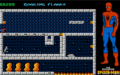
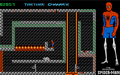
Midnight
-
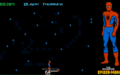
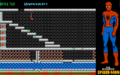
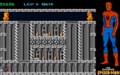
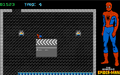
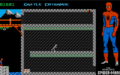
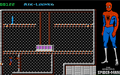
Black Thunder
-
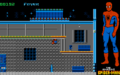
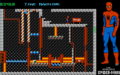
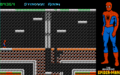
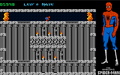
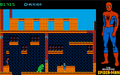
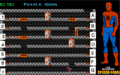
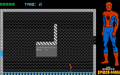
Foyer
-
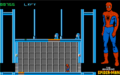
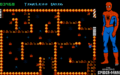
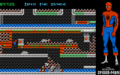
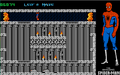
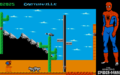
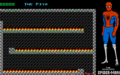
Lift


Take 1[edit]
-

Take 1
-
Bad Moon Rising
-
Mummy's Revenge
-
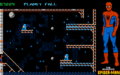
Starry Starry Night
-
Rat Trap
-
Under the Soil
-
Very Grave Yard
-

Bad Moon Falling


Take 2[edit]
-
Take 2
-
Fantasy Soundstage
-
Cardboard City
-
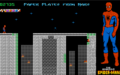
Paper Plates From Mars
-
Space Ship
-
Mission Control
-
Weighting Room
-
The Lab
-
Time Machine
-
Timeless Void
-
Shaft
-
Basement
-
Storage Room
-
Into the Sewer
-
The Great Drain Robbery
-
Wot! No Turtles?
-
Way Out


Take 3[edit]
-
Take 3
-

Lion Low
-
Head Lion
-
Leo's Maze Screen 1
-
Leo's Maze Screen 2
-
Leo's Maze Screen 3
-
Leo's Maze Screen 4
-
Roaring Flames


Take 4[edit]
-
Take 4
-
Cheers
-
Cactusville
-

Vulture Gulch
-
Mine!
-
Yours!
-
Behind Bars


Take 5[edit]
-
Take 5
-
All This and Jaws Too?
-
Castle Entrance
-
Puzzle Room
-
The Pits
-
Torture Chamber


Take 6[edit]
-
Take 6
-
Weighting Room
-
Mission Control
-
Air-Locked
-
Planet Fall
-
Video Code
-
Mysterio's End?


