| Protoss Mission 2: Dunes of Shakuras | |
|---|---|
| Location | Shakuras |
| Special Units | |
| New Units | Protoss Dark Templar |
| New Enemy Units | None |
| Special Structures | Warp Gate |
| Objectives | |
| |
The Dark Templar[edit]
You start with a few Probes and some ground troops. Head west, dealing with a few Burrowed Zerg on the way, and build a Nexus on the resource deposit. As soon as the Nexus completes, some Hydralisks will start attacking, but the Dark Templar will appear and deal with them for you. That's one objective out of the way!
Establishing a base[edit]
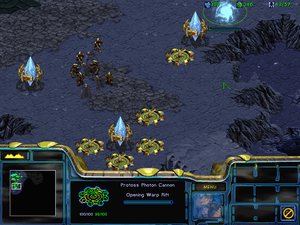
After the cutscene is over, you'll notice that you have a new mission objective. Nothing too special; just raze the enemy base like you've always done. First build some Photon Cannons at the top of the ramp to the south, which is the only entrance to your base. There are two ramps here, but a cluster of Cannons placed at the midpoint can hold both sides. Add a Shield Battery here later as well. Dot the eastern ridge of your base with Photon Cannons; Mutalisks will occasionally come to harass your Probes here, and you don't want to lose time moving Dragoons around your base. Build up four Gateways eventually; this will help you to create the attack force in a timely manner and quickly produce reinforcements if needed.
Dark Templar harassment[edit]
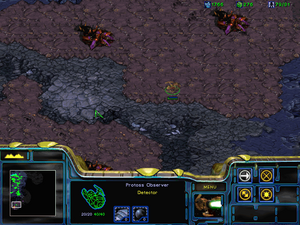
Crossing the bridge after descending this ramp will lead to alternating Spore and Sunken Colonies (mostly Sunken Colonies until you get to the enemy bases), with the occasional Burrowed Zerg. Your Dark Templar should get busy destroying these, since they cannot be detected by the defenseless Sunken Colonies. However, as soon as an enemy Overlord shows up, fall back and wait until it's gone. The new Dark Templar are a little different than the Dark Templar that you saw in original Starcraft; the new Protoss Dark Templar have 40 shields and 80 HP, while the original ones have it switched. Keep in mind, a Dark Templar will take explosive damage, but its shields take full damage. A fully shielded Dark Templar will lose all its shields with one blow from a Sunken Colony.
Teching to an attack force[edit]
The southwest corner of this map contains a small Zerg base that you can take over for resources. You'll need to destroy it anyway, so have your Dark Templar clear as many Sunken Colonies as they can leading up to this point (you'll run into Spores soon enough). You can take this one with a mixed group of Zealots and Dark Templar with support from a half-dozen Dragoons. (you can wait to have a full group of Zealots/Templar and Dragoons if you wish.) Whether you take the resources or not is up to you.
Start climbing the tech tree with a focus either on Reavers or Templar, depending on how you want to approach the attack. A balanced force of Dragoons, Zealots, and Reavers can break through; Reavers can take out static defense and clumps of Hydralisks easily while Zealots help take out other units and buildings and Dragoons provide support. Controlling Reavers along with ground troops is a pain, though, so make sure to have as many Shuttles you need to ferry around your Reavers. Otherwise, you may take one group of mixed Zealots and Dark Templar (eight Zealots to four Templar is a good ratio; by the time you need to send reinforcements to this group, most Zerg detectors would be gone, so you can start putting more weight on the Dark Templar), one group of Dragoons, and around four High Templar. The High Templar will take over the role of killing masses of Zerglings and Hydralisks, while the static defense will have to be dealt with by the melee units. Depending on what you pick, you should research either Scarab Damage or Psionic Storm.
The Stargate tech is usually not recommended in this scenario, because the Scout is the only unit you can produce there this time. If you have the resources, you can create a few to hunt Overlords and deal with Mutalisks, but the money is probably better spent on Dragoons and High Templar.
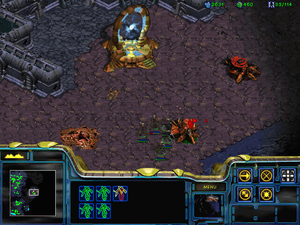
While not necessary by any means, securing the bridge near the Warp Gate as you do this will let you use the entire center of the map as a staging area.
The attack[edit]
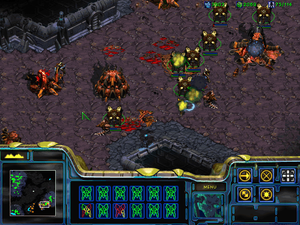
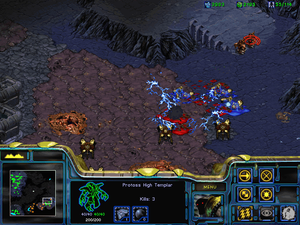
First, scout their base with Observers so you know what you're up against.
You can approach this by ground or by air, or by a combination. By ground, you will have to destroy the line of Sunken and Spore colonies (Dark Templar will be useful again), and once you enter the main base, you'll be swarmed by all the ground troops the enemy can muster. If you brought Reavers, use Shuttles to drop them where they're needed and pick them up when they're in danger, and if you brought High Templar, remember to not be shy about using that Psionic Storm and to morph them into Archons once their energy is spent. The enemy Hatchery will continue to pump out units, but if you destroy their tech buildings (Spawning Pool, Hydralisk Den, etc.) quickly, you can cut down on their options.
Even if you lose your attack force, don't give up! You have those extra resources in the southwest expansion, so rebuild. Once you've softened them up, your second assault will be much easier.
Alternate Strategy[edit]
Air attack.[edit]
You can attack the last base from the air; in other words, with Scouts. However, this takes a huge amount of resources. You have to contend with Spore Colonies, but you will be able to strike directly at the enemy Hatchery and avoid Zerglings altogether. Scouts aren't very powerful when attacking ground targets, but a full group can break through. Also, destroying a few of the Spore Colonies opens them up to the classic Reaver Drop. Take a few Shuttles and load them with fully-stocked Reavers. Drop them all right next to the Hatchery, and pummel it with Scarabs. If you neglect to control with Shuttles, you'll probably lose your Reavers, but you'll put a halt to their production for a while and lower the local Hydralisk population.
Reaver Drop[edit]
This method will really help to clear the zerg base faster and with fewer losses if you pull this off right. Build 10 shuttles, 12 dragoons, and 8 reavers. Make sure to research all the abilities at the Robotics Support Bay. Also, make sure your dragoons are all upgraded to level 3. In the meantime, take out the teal zerg base in the southwest. Then have an observer or two scout the map. Once your reaver drop is ready, order your shuttles to unload their dragoons/reavers below the ramp that leads to the main zerg base. There are several sunkens on the ridge, so take them out with your reavers. Have the dragoons close behind to provide cover. Once the ridge is clear, send your reavers down and watch them raze the rest of the base. Make sure that your dragoons are close behind to provide cover against the enemy mutalisks and any zerg which may attack from behind. This strategy requires some micro-management and you may lose a unit or two, but if you can pull this off, you will be rewarded with a quicker win.