Jump to navigation
Jump to search
(first entry) |
m (Removed protection from "Military Madness/Boards 1-8": long time since original protection) |
||
| (23 intermediate revisions by 5 users not shown) | |||
| Line 1: | Line 1: | ||
{{stub}} | |||
{{Header Nav|game=Military Madness}} | |||
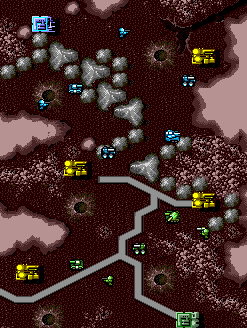
== Board 1 == | == Board 1 == | ||
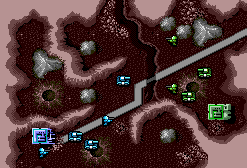
[[File: | [[File:Military madness bd01.png|right]] | ||
{{-}} | {{-}} | ||
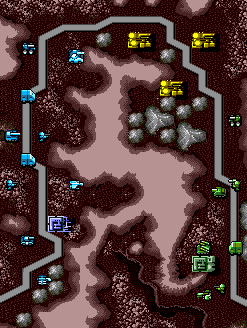
== Board 2 == | |||
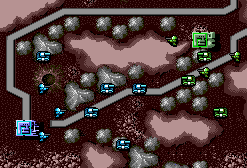
[[File:Military madness bd02.png|right]] | |||
{{-}} | |||
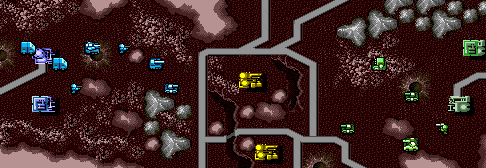
== Board 3 == | |||
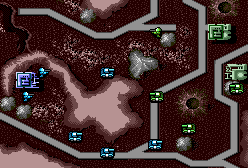
[[File:Military madness bd03.png|right]] | |||
{{-}} | |||
== Board 4 == | |||
[[File:Military madness bd04.png|right]] | |||
{{-}} | |||
== Board 5 == | |||
[[File:Military madness bd05.png|right]] | |||
{{-}} | |||
== Board 6 == | |||
[[File:Military madness bd06.png|right]] | |||
{{-}} | |||
== Board 7 == | |||
[[File:Military madness bd07.png|right]] | |||
{{-}} | |||
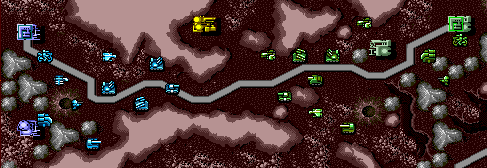
== Board 8 == | |||
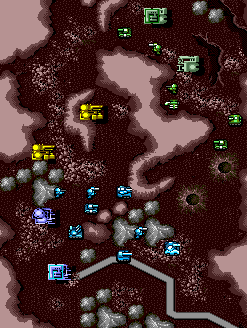
[[File:Military madness bd08.png|right]] | |||
Load your Pelican with a Charlie and head to the unoccupied factory. Provide support with your air units so it can survive at least one hit from the enemy Hunter. If you can secure this factory, you are virtually guaranteed victory. | |||
{{-}} | |||
{{Footer Nav|game=Military Madness|prevpage=Walkthrough|nextpage=Boards 9-16}} | |||
Latest revision as of 21:14, 3 June 2021
Board 1[edit]

Board 2[edit]

Board 3[edit]

Board 4[edit]

Board 5[edit]

Board 6[edit]

Board 7[edit]

Board 8[edit]

Load your Pelican with a Charlie and head to the unoccupied factory. Provide support with your air units so it can survive at least one hit from the enemy Hunter. If you can secure this factory, you are virtually guaranteed victory.