Shanty Town[edit]
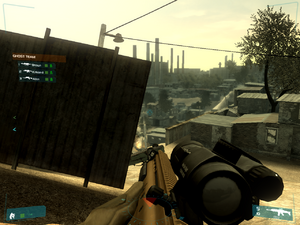
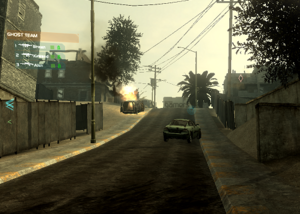
You are dropped off 250 north of shanty town, and need to approach. However, your insertion area is hot, and you will almost immediately be attacked by rebel forces.
Watch for a rebel in each the two buildings to the south, as well as groups of two rebels combin from each alley behind these houses.
At the Shanty Town checkpoint, the rebels have a machine gun nest covering the east approach. To avoid this, you can head along to the right and flank the enemy.
Salvatore[edit]
After reaching Shanty town, you will see a helicopter fly overhead, and need to move to the north-east.
On the first portion of the road, there an enemy vehicle will approach. There will also be enemy soldiers waiting on the cliff above the eastern road from Shanty Town.
During this section, it is best to approach Salvatore's position under the cover of buildings. While the road may seem the fastest approach, the enemies are generally taking cover beside buildings and are outside the vision of the satellite view.
Important enemies in that region include a roadbloack just west of his position, and a rooftop sniper covering the southern corridor.
Drop point[edit]

By the time you reach Salvatore's position, you will see that his squad was wiped out. However, President Ballentine group was attacked, and he is now hiding in a construction yard somewhere to the North East. To get there, you need to head back south, and re-equip at the drop point.
Head south while navigating through the buildings, and stop at the wall before the main road. The metal wall provides cover from attacks, while still being a good point to snipe enemies; a large number will be on a small watch tower.
Other enemies are also taking cover in some buildings, especially at the building at the corner before the main road turns north to the drop point. There are also rooftop snipers covering the intersection as well.
When you reach the helicopter, re-equip your squad. You will want to carry a ZEUS-MPAR at this point to take out an enemy helicopter.
President Ballentine[edit]

After the helicopter departs, your HUD will be marked by the position of President Ballentine; he is located to the construction yard further north, and you will need to follow the main road. Defeat the rooftop snipers at the intersection if you haven't already.
When you reach the corner of the road before it turns north, a second helicopter will begin to attack.

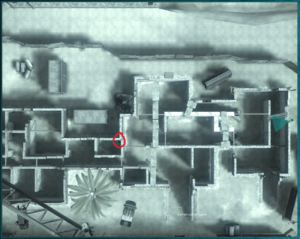
Bellentine is located in the construction yard at the end of the road, and enemy rebels are patrolling within the yard. Attack the enemy by walking along the walls, starting from the east. The president himself will be located in the center of the maze, hidden from enemies, but armed with a pistol. When you reach him, escort him to the helicopter that lands to the west of the extraction.
An APC will pick you up, and advance one hundred meters towards the next objective.
Football[edit]
The APC stops just behind a few tank traps, leaving you to proceed to the objective.
There are only two groups of enemies. The first is around the corner past the APC, and the second is on the road to the south. Both groups are relatively close together, and will try advancing on you. For any stragglers, order your team to advance and look down the road.
When you get within 100 meters of the objective, you will receive a report that the objective is speeding away. A helicopter will arrive to pick you up for the pursuit.