To reach Gaza Woods from Gize Cave, you must walk east from the cave entrance until you pass a tree jutting out from the south border. Then walk two trees to the east, and push down on the bottom tree. The tree that juts out will become an entrance. Step inside the entrance to be transported to Gaza Woods.
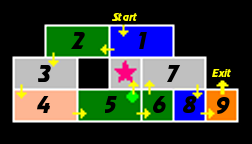
The second ruin is very much like the first. However, in this ruin, the sacred treasure that you collect cannot be used to open the secret room of the Aura Star piece. In fact, the treasure you collect here won't be necessary until the fourth ruin, and the treasure you need to access this ruin's star piece is in the next ruin. So collect the harp and hang on to it for later, and remember to return here after you've collected the bracelet.
Room 1[edit]
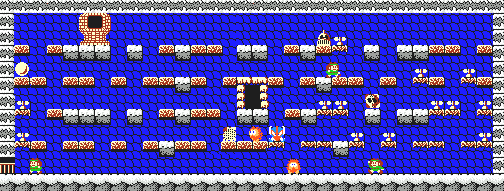
The first ruin may have conditioned you to wait for an escape to appear on the right, but this one appears in the lower left corner. Always listen for the sound cue that indicates that the entrance has appeared.
Room 2[edit]
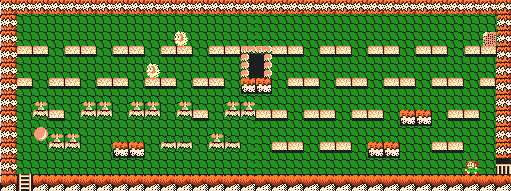
With shorter platforms from which to plan your attack, you'll have to be careful and watch the enemy movements closely. Be prepared to move out from under them if it appears that they will fall directly above you. Don't miss the Demon Seal right before the escape ladder.
Room 3[edit]
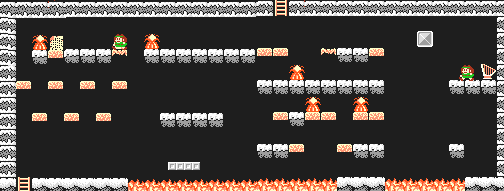
This is your opportunity to collect the sacred harp treasure on the right side of the room. To reach the left, come to the middle of the room. You can bypass the moving platform completely by performing a high jump as you leap to the stationary platform above it. Another high jump will help you reach the small platforms beyond, but it's not really necessary.
Room 4[edit]
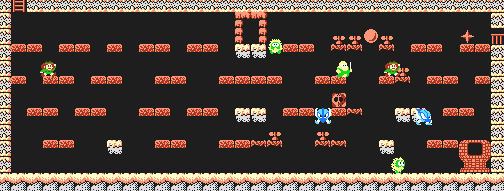
Enemies have a higher tendency to fall towards the ground than to continuously jump up to the top, so base most of your attacks on the lower portions of the stage. You'll almost have no choice but to unlock the treasure chest on your way out of the room, but make sure you grab the extra life it contains before you leave, or the chest will close back up when you return, wasting a key.
Room 5[edit]
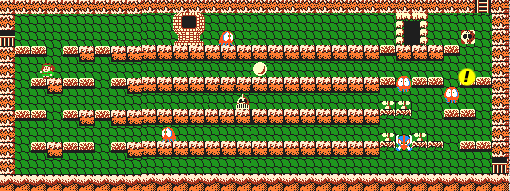
Room 5 only contains weapon platforms on either end of the room. The middle is composed of long uninterrupted platforms. Not only can you not attack from these platforms, it's very easy to get caught in the middle by monsters, so tread through those paths carefully, and as infrequently as possible. This is the room that you can access the secret room from, but only if you possess the Bracelet treasure. Since the bracelet isn't obtained until the third ruin, you will have to remember to return to this room, and jump three times from the yellow "!".
Secret Room[edit]
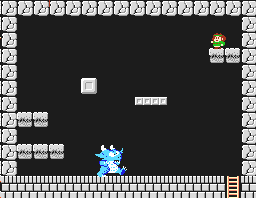
Just like the first secret room, all you will find here is a piece of the Aura Star, and a large fire breathing demon guarding it from the floor below. Jump over the demon to access the platforms on the other side, and use the rising block and platform to reach the star piece.
Room 6[edit]
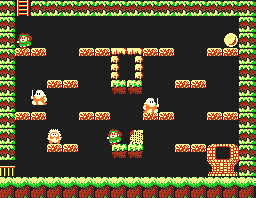
In this room, you will find a hut that you absolutely must enter. Talk to the merchant inside. He will offer to sell you a magic key for 20 gold piece. Accept his offer by choosing the third menu option (はい), and you will purchase the item needed to escape from the ruin. Additionally, if you happen to have picked up the gold statue from room 4 of the first ruin, you can sell it to him for 30 gold pieces, netting a 10 gold piece profit.
Room 7[edit]
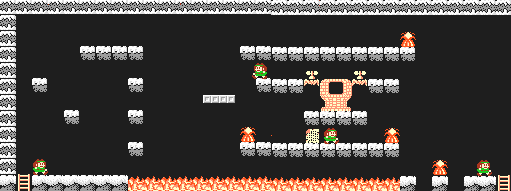
This room is another fire room where you must practice the art of vertical climbing. Starting to the left of the lava, jump up to the first platform above the lava. Then carefully jump to the left and quickly back to the right to land on the platform above it. Continue until you can reach the moving platform to reach the other side. Perform a high leap to clear the last fire object before the escape ladder on the right side.
Room 8[edit]
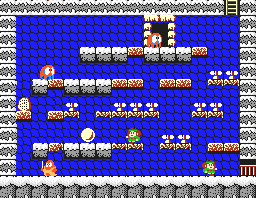
This is the first single width room with a comparatively small amount of weapon platforms to activate. You'll have to be very practical with their use. If you reach a point where you are simply out of good platforms to use, climb back up to room 7 and return to room 8. You'll have to start over with your enemy kill count, but all of the platforms will return.
Room 9[edit]
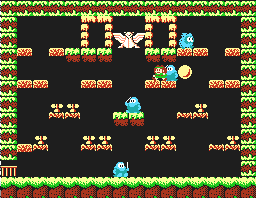
As long as you purchased the Magic Key from the merchant in room 6, you should have no problems killing enough enemies in this room to make the exit appear. Use a Demon Seal near the end if it will help you clear the enemies from the room long enough for you to safely reach the exit.