To reach Ral Lake from the King's Grave, you must simply stand in a spot immediately west of the pyramid, as marked on the map on the walkthrough page. Standing here will trigger another earthquake and one of the trees obstructing your path to the lake will fall down.
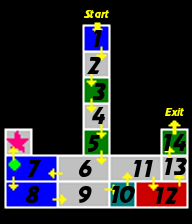
Room 1[edit]
You will begin in a relatively simple small room. There is nothing special to this room, but some of the enemies here like to throw arcs of electricity. They range in size, and are extremely hard to see coming. All that you can do is keep your eye open for them and move away as soon as they appear.
Room 2[edit]
This very simple fire room contains a chest with parchment in it. You can skip it if you're not paying the hut inhabitants to read them for you. Use the blocks to reach the ladder down below.
Room 3[edit]
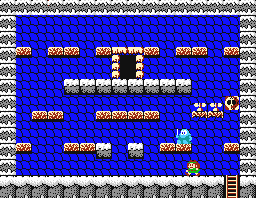
On top of being in a room full single platforms, you will also have to face a couple of flying enemies. Wait patiently for them to drop down before you jump and execute your attack, but do not be stubborn and wait on a platform if they are approaching you.
Room 4[edit]
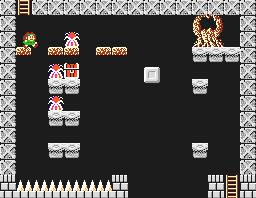
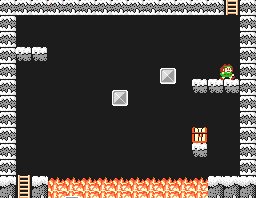
In this tricky fire room, you must drop down to the bottom platform above the spikes, which is the only platform that you can safely access. The treasure chest contains an extra life. You'll need to visit the hut in the upper right corner of the screen, as the merchant inhabitant here will sell you the Magic Key to escape this ruin for 30 gold pieces. If you have a gold statue, you can sell it to him for 30 gold pieces as well. If you have the gold statue, but not enough money for the key, you'll have to refuse the purchase of the key first before he will consider what you have to sell to him.
Room 5[edit]
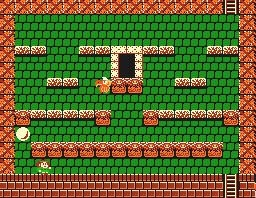
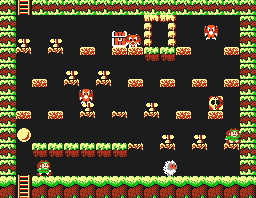
While this room isn't particularly tricky, the entire bottom row will be useless to you, and will create quite an easy death trap if you venture in there for too long. There is, however, a Demon Seal hidden in the left side, so don't miss it.
Room 6[edit]
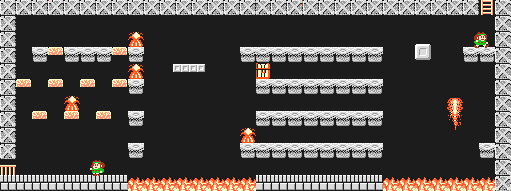
This room is a slightly difficult fire room, with nothing of particular interest. You'll have to stick to the top route in order to reach the left side of the room and on to the escape.
Room 7[edit]
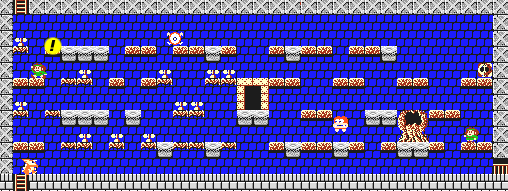
This room contains the hidden entrance to the secret chamber of the Aura Star piece. To access it, you must jump three times very close to the upper left hand corner of the room, and you must possess the harp sacred treasure, which you would have picked up in Gaza Woods. Aside from that, this is a straightforward enemy room. The statue contains a Gold Statue, which you can return to Room 4 with if you did not have enough money to purchase the Magic Key that you will need.
Secret Room[edit]
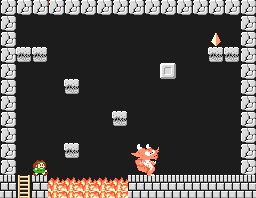
With the position of the blocks, you will hardly have to interact with the demon on the floor. However, be on the lookout for his fireballs when you stand waiting for the floating block to arrive. Grab the star piece in exchange for the harp and be on your way. If you are following the walkthrough, this will be the second star piece that you collect, which means you can now store more than one Demon Seal.
Room 8[edit]
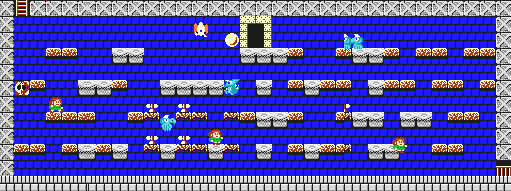
Another regular room, you may find attack platforms in short supply on the left side, but more are available on the right side. There is a Demon Seal right near the enemy generator.
Room 9[edit]
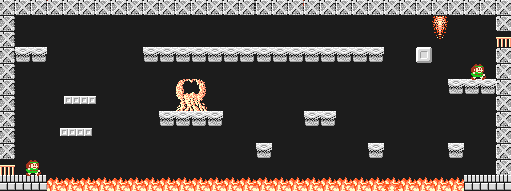
It makes little difference whether you take the middle or upper path above the lava, both are easy enough. Watch out for the rising fireballs when you reach the platforms on the other side.
Room 10[edit]
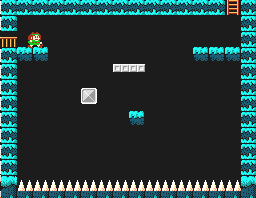
In this small room is one very special prize: the sacred treasure of the crown. Do not leave this ruin without collecting the crown. It is needed in the next ruin.
Room 11[edit]
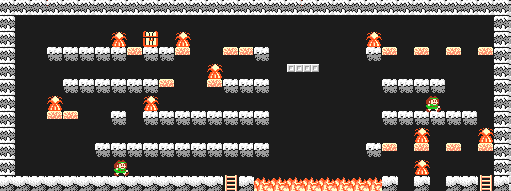
Some tricky jumping is required to escape this room. You'll need to make use of some of the attack platforms if you wish to clear out the fire objects. Both treasure chests contain parchment. Be especially careful when dealing with the platforms along the bottom near the escape ladder.
Room 12[edit]
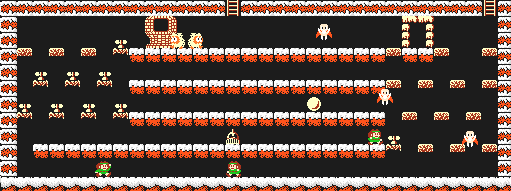
This can be a very trying room. Fortunately, there are a couple of items which can make progress through here a little easier. One is the helmet which is found along the row above the floor. Pick this up for limited invincibility and crash into as many enemies as you can before it wears off. The row above that contains a Demon Seal. Wait until there are as many enemies on the screen as possible before using it, for maximum effect.
Room 13[edit]
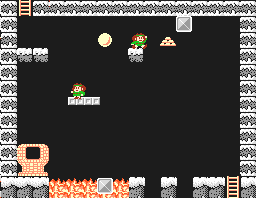
The features in this room are rarely worth the effort it takes to collect them. The Demon Seal and the pile of gold alongside the center block are nice, but you must be prepared to fall safely and repeat the process of reaching the top. The hut is especially hard to return from and not worth the visit.
Room 14[edit]
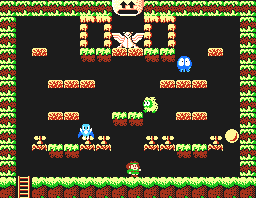
Welcome to the final room. It's not especially difficult compared to some of the other rooms you faced in this ruin. As long as you purchased the magic key from room 4, you will be on your way as soon as you defeat enough enemies. Make use of the Demon Seal hidden in the right side of the room to speed up the process.