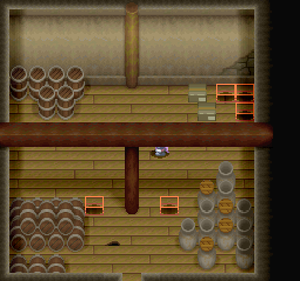
(added Sheeden, Moreau and Terazzi Warehouses and the first Naval Battle. fixed some pics) |
(added Frostheim Warehouse, fix Piclink and add more info about the Naval Battle game.) |
||
| Line 77: | Line 77: | ||
=== Frostheim === | === Frostheim === | ||
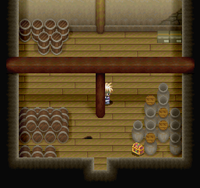
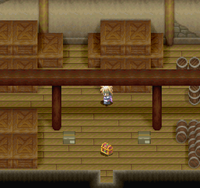
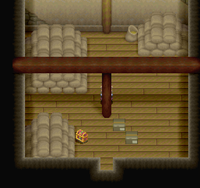
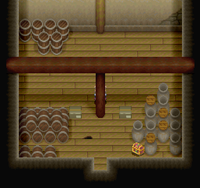
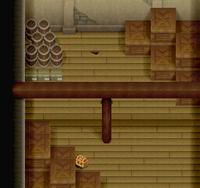
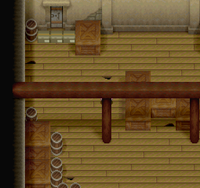
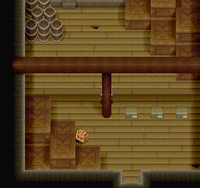
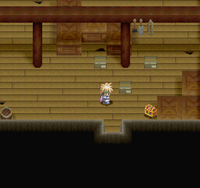
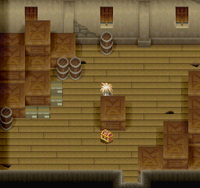
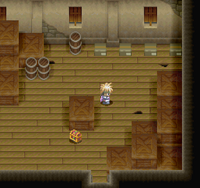
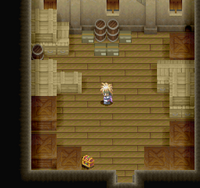
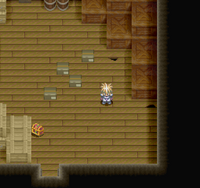
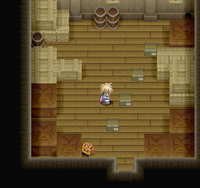
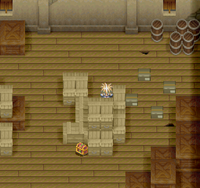
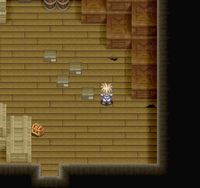
In this Warehouses are 2 Puzzles which must be solved under the Timelimit, otherwise you only receive a Random Items. | |||
{|{{prettytable|sortable=1|text center=1}} | |||
! Western Warehouse !! Eastern Warehouse | |||
|- | |||
| [[File:Tales_of_Destiny_Screenshot_Frostheim_West_1.png|200px|right]] [[File:Tales_of_Destiny_Equipment_Lemon_Gel.png]] Lemon Gel || [[File:Tales_of_Destiny_Screenshot_Frostheim_East_1.png|200px|right]] [[File:Tales_of_Destiny_Helmet_Thinking_Cap.png]] Thinking Cap, Random | |||
|- | |||
| [[File:Tales_of_Destiny_Screenshot_Frostheim_West_2.png|200px|right]] [[File:Tales_of_Destiny_Equipment_Bolt.png]] Bolt, Random || [[File:Tales_of_Destiny_Screenshot_Frostheim_East_2.png|200px|right]] [[File:Tales_of_Destiny_Gauntlet_Bracelet.png]] Tech Ring, Random | |||
|- | |||
| [[File:Tales_of_Destiny_Screenshot_Frostheim_West_3.png|200px|right]] [[File:Tales_of_Destiny_Equipment_Luna.png]] Luna (under 21,62 seconds), Random || [[File:Tales_of_Destiny_Screenshot_Frostheim_East_3.png|200px|right]] [[File:Tales_of_Destiny_Accessory_Mystic_Symbol.png]] Mystic Symbol (under 15,72 seconds), Random | |||
|} | |||
== Arena == | == Arena == | ||
| Line 127: | Line 137: | ||
== Naval Battle == | == Naval Battle == | ||
[[File: | [[File:Tales_of_Destiny_Screenshots_Naval_Battle.png|thumb|left|Space Invaders Clon!]] | ||
If you've ever played Space Invaders, then you recognize this game. At the begin you have the [[File:Tales_of_Destiny_Naval_Main_Ship.png]] Main Ship and 2 [[File:Tales_of_Destiny_Naval_Reinforcement_Ship.png]] Reinforcement Ships. The Goal is to avoid the fire of the enemy and destroy Ships and Monsters. With {{psx|Neutral|Dpad}} you can move around and and {{psx|C}} lets you shoot while {{psx|T}} call the reinforcements which you should avoid. | If you've ever played Space Invaders, then you recognize this game. At the begin you have the [[File:Tales_of_Destiny_Naval_Main_Ship.png]] Main Ship and 2 [[File:Tales_of_Destiny_Naval_Reinforcement_Ship.png]] Reinforcement Ships. The Goal is to avoid the fire of the enemy and destroy Ships and Monsters. With {{psx|Neutral|Dpad}} you can move around and and {{psx|C}} lets you shoot while {{psx|T}} call the reinforcements which you should avoid. | ||
The Green Bar at bottom-left show the HP of your [[File:Tales_of_Destiny_Naval_Main_Ship.png]] Main Ship. Once your ship is hit, then the Bar will decrease and Smoke will come out of your ship. If the Bar is empty, then your Ship will sink and it mean game over for you. It's the same for your 2 other [[File:Tales_of_Destiny_Naval_Reinforcement_Ship.png]] Ships, except their Bar won't be visible, so your only way of knowing how much they have left is by counting how much Smokes is coming out. | |||
If you call the reinforcements, then you will win automatically, but you get the '''Seaman''' Rank and get a measly [[File:Tales_of_Destiny_Equipment_Green_Gel.png]] Green Gel for the victory. Once in a while a Bonus Ship will pop up either from left or right. If you destroy it, then it will drop a [[File:Tales_of_Destiny_Naval_Green_Jewel.png]] Green Jewel, which once collected by one of your ships, net you Double Shot which lets you shot double. The Bonus can be collected once per ships, after that it only give you Points. | If you call the reinforcements, then you will win automatically, but you get the '''Seaman''' Rank and get a measly [[File:Tales_of_Destiny_Equipment_Green_Gel.png]] Green Gel for the victory. Once in a while a Bonus Ship will pop up either from left or right. If you destroy it, then it will drop a [[File:Tales_of_Destiny_Naval_Green_Jewel.png]] Green Jewel, which once collected by one of your ships, net you Double Shot which lets you shot double. The Bonus can be collected once per ships, after that it only give you Points. | ||
Revision as of 21:33, 8 April 2013
Warehouse
| Random Prize |
|---|
Green Gel |
Orange Gel |
Melange Gel |
Panacea Bottle |
Life Bottle |
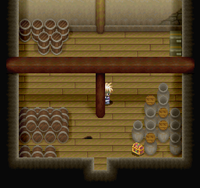
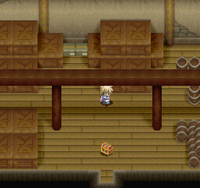
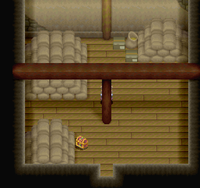
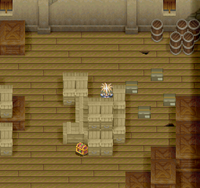
In Warehouses in each Port are some crates and if you move it to another position, then you can grab a Treasure. Most Puzzles have one unique Treasure and after it's grabbed, then a random item will be there if you solve the Puzzle again. The Random Items are listed left in the table. If you have already 15 of a random item, then the ![]() Chest will be empty.
Chest will be empty.
You don't need to worry about the time limit in the most of the Warehouses. It will matters only in Frostheim where you can grab 2 unique Treasures if you beat it. Each Warehouse have at last 2 different Puzzles.
Darilsheid
| Western Warehouse | Central Warehouse | Eastern Warehouse |
|---|---|---|
 |
 |
 |
 |
  Red Savory, Random Red Savory, Random |
 |
 |
Cherik
| Western Warehouse | Eastern Warehouse |
|---|---|
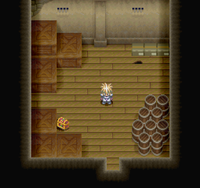 |
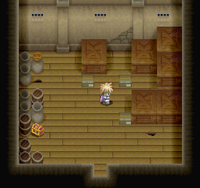  Efreet, Random Efreet, Random
|
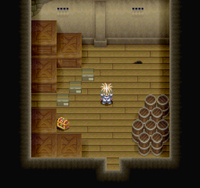 |
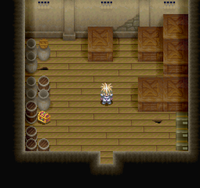 |
Neuestadt
| Western Warehouse | Eastern Warehouse |
|---|---|
 |
  Winged Boots Winged Boots
|
 |
  Sylph, Random Sylph, Random
|
Sheeden
| Western Warehouse | Eastern Warehouse |
|---|---|
 |
 |
  Wendiene, Random Wendiene, Random |
 |
Moreau
| Warehouse | Warehouse |
|---|---|
  Rabbit's Foot, Random Rabbit's Foot, Random |
  Gnome, Random Gnome, Random
|
Terazzi
| Western Warehouse | Central Warehouse | Eastern Warehouse |
|---|---|---|
 |
  Blessing, Random Blessing, Random |
  Channeling, Random Channeling, Random
|
 |
  Diamond, Random Diamond, Random |
  Sheeden, Random Sheeden, Random
|
Frostheim
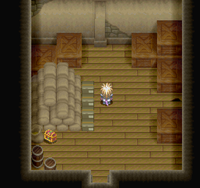
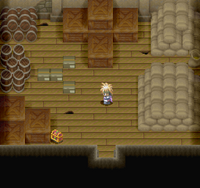
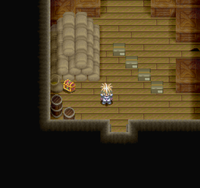
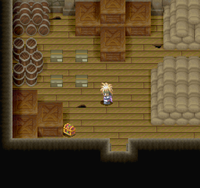
In this Warehouses are 2 Puzzles which must be solved under the Timelimit, otherwise you only receive a Random Items.
| Western Warehouse | Eastern Warehouse |
|---|---|
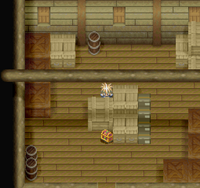 |
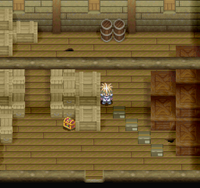  Thinking Cap, Random Thinking Cap, Random
|
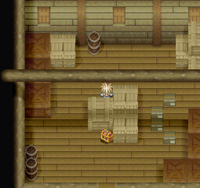  Bolt, Random Bolt, Random |
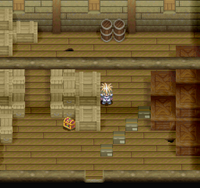 |
 |
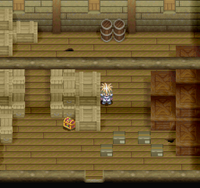  Mystic Symbol (under 15,72 seconds), Random Mystic Symbol (under 15,72 seconds), Random
|
Arena
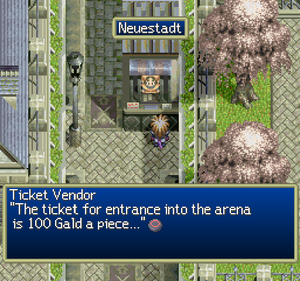
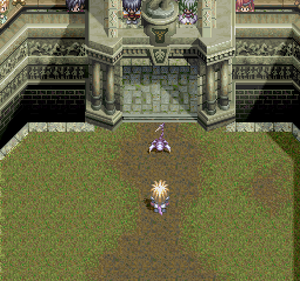
The Arena is located in Neuestadt in northern Part of the city. You need to buy Ticket first before you can enter the Arena. One for every Party Members for 100 Gald. With the Tickets in hand you can now enter the Arena yourself. Talk with the Officer to start the Fight. You, Stahn Aileron, will fight alone against 8 Enemies plus one optional Fight against Bruiser Khang if he isn't in your Party.
Phase 1
Once you come back from defeating Bastista on the Pirate Ship, the Arena will finally be open to you where Leon stopped you visiting it before. It will be over once you go on one-way Trip to Aquaveil. At the early state of the game you'll probably be too weak to defeat Bruiser Khang so buy 15 ![]() Energy Bullets and use it all up in the fight against Bruiser Khang. Once you win the 9. Fight, then you can recruit Bruiser Khang in your Party (though he will leave the Party when you go to the Harbor and talk with Ilene) and don't need to fight him anymore.
Energy Bullets and use it all up in the fight against Bruiser Khang. Once you win the 9. Fight, then you can recruit Bruiser Khang in your Party (though he will leave the Party when you go to the Harbor and talk with Ilene) and don't need to fight him anymore.
The most Items here are quite common except for  Beef Tartar which is rare and won't show up elsewhere in the game! Most enemies here can poison you so you better equip a Antidote Charm to protect yourself from it. After your 5. Victory the Prizes will be repeating endless.
Phase 2
Phase 3
Ghost Hunt
Mach Boy
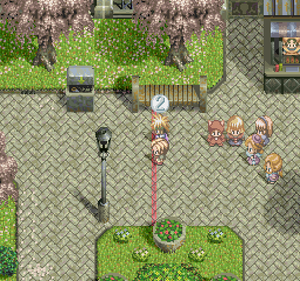
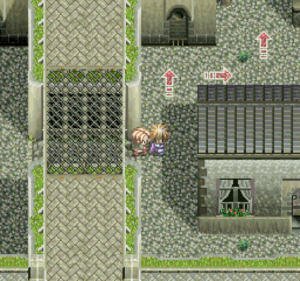
In Northeastern Part of the city is the Mach Boy with whom you can race around in the city. The Course is set by the red arrows painted on the Ground. The Race contain of 2 rounds and start in Northeast gen West, South, East and North to the Goalline (which is also the startline) and repeat it once more to complete the Race.
If you take advantage of your running style (for example not to run wide around corner), then you can easily outrun him. Another Point is that Mach Boy cannot run around you if you are directly ahead him. Also watch out by the stairs before the goalline that is where Mach Boy will get a speed up while running up the stairs. You can easily prevent that by running directly ahead of him.
Phase 1
| 1. Race | 2. Race |
|---|---|
 Sage |
|
Magical Rouge |
|
 Thief's Cape |
If you managed to win against him (which shouldn't too hard if you practice a bit beforehand and don't make mistakes while running, then you can pick one of three items. If you win three times against him, then he will give up and give you the title of fastest runner. You can't race against Mach Boy anymore. If possible you should choose  Thief's Cape three times, because it's a limited item unlike the other 2 items, which can be gotten unlimited later in game.
Phase 2
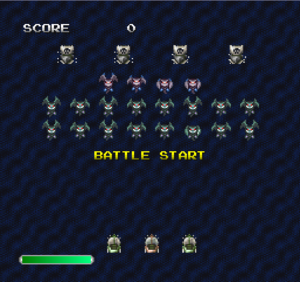
If you've ever played Space Invaders, then you recognize this game. At the begin you have the ![]() Main Ship and 2
Main Ship and 2 ![]() Reinforcement Ships. The Goal is to avoid the fire of the enemy and destroy Ships and Monsters. With
Reinforcement Ships. The Goal is to avoid the fire of the enemy and destroy Ships and Monsters. With ![]() you can move around and and
you can move around and and ![]() lets you shoot while
lets you shoot while ![]() call the reinforcements which you should avoid.
call the reinforcements which you should avoid.
The Green Bar at bottom-left show the HP of your ![]() Main Ship. Once your ship is hit, then the Bar will decrease and Smoke will come out of your ship. If the Bar is empty, then your Ship will sink and it mean game over for you. It's the same for your 2 other
Main Ship. Once your ship is hit, then the Bar will decrease and Smoke will come out of your ship. If the Bar is empty, then your Ship will sink and it mean game over for you. It's the same for your 2 other ![]() Ships, except their Bar won't be visible, so your only way of knowing how much they have left is by counting how much Smokes is coming out.
Ships, except their Bar won't be visible, so your only way of knowing how much they have left is by counting how much Smokes is coming out.
If you call the reinforcements, then you will win automatically, but you get the Seaman Rank and get a measly ![]() Green Gel for the victory. Once in a while a Bonus Ship will pop up either from left or right. If you destroy it, then it will drop a
Green Gel for the victory. Once in a while a Bonus Ship will pop up either from left or right. If you destroy it, then it will drop a ![]() Green Jewel, which once collected by one of your ships, net you Double Shot which lets you shot double. The Bonus can be collected once per ships, after that it only give you Points.
Green Jewel, which once collected by one of your ships, net you Double Shot which lets you shot double. The Bonus can be collected once per ships, after that it only give you Points.
You get Points depends on your action. The best way to collect many points is to take down the ![]() Bonus Ships fast and collect every
Bonus Ships fast and collect every ![]() Green Jewel.
Green Jewel.
Phandaria
You can start this game after you've beaten Tiberius in Terazzi Castle. This Event is one time only, so you can't replay it after you've finished it. The Bonus Ships won't drop the Mines here and the Game will be over once all Pirate Ships and Monsters are destroyed, but if you want one of the rare stuff like Strong Halberd or the Force Ring, then you should leave one Ship alive and hunt every Bonus Ships that come across as well collect every Green Jewel. This way you get many Points. It's not hard but can be very tedious as you may play for many hours until you've collected enough Points to get a certain Prize.
All Prizes under 20,000 Points can be gotten easily in other Areas, but the 2 last Prizes are rare. There is one Strong Halberd later in Darilsheid Castle after conquering Heidelberg Castle and there is one Force Ring in Dycroft at the end of the game. So the Choice which one you want is up to you.
Moreau
Tag
| Time | Prize |
|---|---|
| 0-19 | 1 Gald/sec |
| 20-49 | Melange Gel and 1 Gald/sec |
| 50-99 | Miracle Gel and 1 Gald/sec |
| 100-∞ |  Efreet and 1 Gald/sec |
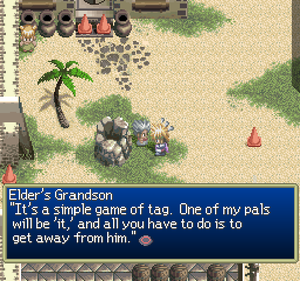
In Cherik you see a Boy by the Well, he will ask you to play Tag. The goal is to run away as long possible from four Children. He will places some hinderance in the city (You can't exit the city or enter a house as long you're playing Tag). At the start 2 girls are following you. In North and South are 1 boy each which will follow you if you come near them.
The best strategy is to stay in the center around the well while walking (not running). This way you won't lose control of him while running and the 2 boys won't come after you together with the 2 girls. Don't talk with the grandson while playing the game or else he will abort the game without giving you a prize, so let you get caught by the Children if you think that enough times has passed to get a Prize you want.
Another strategy is to lure all four Children to the area between the Well and Baruk's House and fast run to the southwestern Part of the city. If you did it right, then the Children won't come after you and you can wait the time off, but once you get the  Efreet, then the Tag-Game will be not longer available, so the Efreet is one time only Prize but the other Prizes can be grabbed as many times you want (before you grab the Efreet that is).


