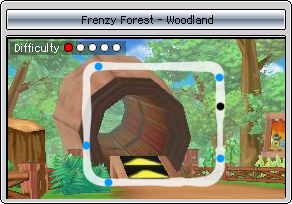
There are several different tracks in Crazyracing Kartrider. Each is part of a group of similarly-themed tracks. The maps are marked with a black dot for the starting point, blue dots for item boxes, and other colored dots for special points worth mentioning. "Map orientation" refers to what direction on the map you face at the start.
Since not every person reading this guide has mastered every drift, this guide won't be very specific, and only give you vague instructions about where to drift and use boosts.
Arctic Rim[edit]
Ice Cave[edit]
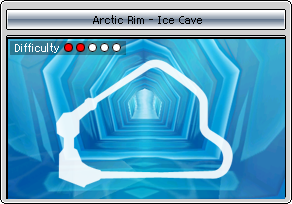 | |
| Time attack price | |
|---|---|
| In versions | Global, ? |
| Map orientation | |
Penguin Town[edit]
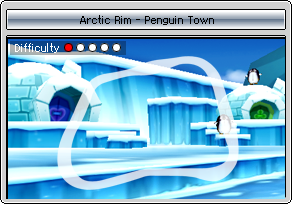 | |
| Time attack price | |
|---|---|
| In versions | Global, ? |
| Map orientation | |
Sharks' Fin[edit]
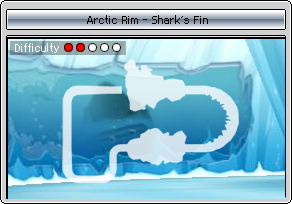 | |
| Time attack price | |
|---|---|
| In versions | Global, ? |
| Map orientation | |
Creepy Hollow[edit]
Themed around Halloween, Creepy Hollow is filled with ghosts and the like. It can be somewhat difficult to see in, as it's so dark.
Fright Fight[edit]
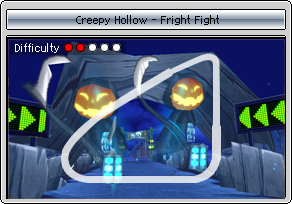 | |
| Time attack price | |
|---|---|
| In versions | Global, ? |
| Map orientation | |
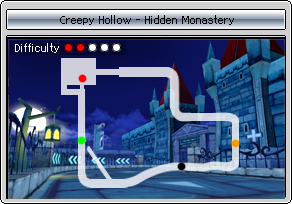
Hidden Monastery[edit]
 | |
| Time attack price | 100 |
|---|---|
| In versions | Global, ? |
| Map orientation | right |
Speed[edit]
Drift around the first turn. At the orange dot, you'll see three solid ghost skeletons going up and down. When they're in the ground, you can pass right over them. When they come out of the ground, they can stop you. Go around them and drift around the next three turns. At the red dot, you can turn left (drift if you want, but it's a small space and you might crash) to take a shortcut. Whether or not you take it, at the green dot is a gap. If you drifted enough, you'll have a boost by the time you reach it. Turn left off the track and use the boost before you fall off to get to the other side. If you miss, you'll respawn back on the track. Either way, keep driving until you reach the start point again.
Item[edit]
Glitches[edit]
- At the orange dot, stop on top of one of the skeletons while it's in the ground. When it comes up, it'll push you up.
- Just after the green dot, go the wrong way and use a nitro boost to boost off the edge. You have to go fast enough to get out of the auto-reset zone. With any luck, you'll land in a small room with no exit. There's nothing to do here, but it's worth mentioning. To leave, press R.
- After the second shortcut, (no mark on map as of yet) there's a small gap between the wall and the fence. Go in it to go off the track. The only solid thing here is the wall to the right - everything else is scenery.
Zoomtown[edit]
Arc Enemies[edit]
 | |
| Time attack price | |
|---|---|
| In versions | Global, ? |
| Map orientation | |
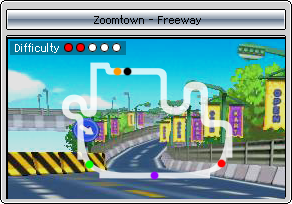
Freeway[edit]
 | |
| Time attack price | 100 |
|---|---|
| In versions | Global, ? |
| Map orientation | right |
Speed[edit]
Drift around the first turn. You can fit several drifts into each of the next two turns. After the slope, drift left, then right. At the red dot, you'll see a ramp leading up to a Freeway. You can drift here, but since you're going up, and it's a small space, you may crash. Afterward, there's a long stretch. (marked by the purple dot) Use any nitro boosts you may have here. At the end - the green dot, you can drift, but again, it's a small space. After drifting around the next two turns, you'll see a U-turn. Drift around that, then go down the slope. You can use a boost here. Then turn hard right. When you get back to the starting point, there's another stretch where you can use a boost.
Item[edit]
Rivera Rift[edit]
 | |
| Time attack price | |
|---|---|
| In versions | Global, ? |
| Map orientation | |
Desert Drift[edit]
Bizaare Bazaar[edit]
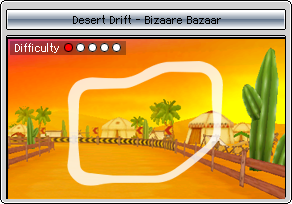 | |
| Time attack price | |
|---|---|
| In versions | Global, ? |
| Map orientation | |
Pyramid Mesa[edit]
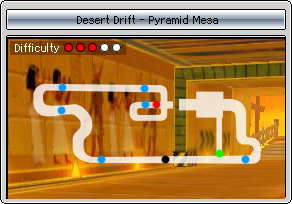 | |
| Time attack price | 150 |
|---|---|
| In versions | Global, ? |
| Map orientation | left |
Speed[edit]
Drift around the turns from the start. When you reach the long stretch, if you have a nitro boost, use it. (unless you're playing in team mode. If so, don't use any red boosts, wait for blue ones.) Drift up and around the first two turns in the tunnel, then do a complete U-turn. At the red point, if you drifted enough, you'll have a boost. Whether or not it's blue doesn't matter here. If you don't have one, skip to the end of this paragraph. Use it, and drift to the right, just as you reach the end of the ramp. You're aiming for about a 45-degree drift. When you land, finish your drift and boost into the small path to your right. At the end, (the green point) you can drift around the turn. It's a small space, though, so be careful. Skip the next paragraph, it's for if you didn't have a boost.
If you don't have a boost by the red point, slow down as you hit the ramp. If you hit it full speed, you'll almost make the platform, but not quite, and bounce backward away from it. If you slow down, you won't hit the platform, and keep moving forward. Drift around the next few turns.
From here, it's a long straight path. If you have any blue boosts, use them here.
Item[edit]
This track can be tricky in item mode, as there's no guarantee that you'll get a nitro boost by the time you reach the red point. You might want to stay behind to increase your chances of getting a nitro or magnet. If you get a nitro, use the normal method to cross the gap at the red point. If you get a magnet, stay behind someone else and use it on them, regardless of whether or not they manage to cross or not. You'll make it either way.
Oasis[edit]
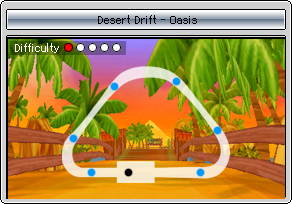 | |
| Time attack price | 50 |
|---|---|
| In versions | Global, ? |
| Map orientation | left |
Speed[edit]
This isn't a very good speed track, as there are no tight turns to drift around. Either avoid playing this track in Speed, or just don't drift.
Item[edit]
There's a set of item boxes before and after each turn, for a grand total of six.
Sandpit[edit]
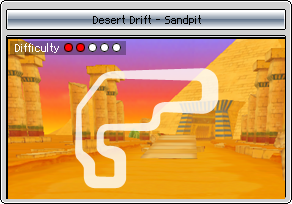 | |
| Time attack price | |
|---|---|
| In versions | Global, ? |
| Map orientation | |
Frenzy Forest[edit]
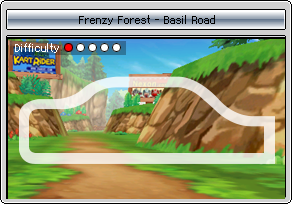
Basil Road[edit]
 | |
| Time attack price | |
|---|---|
| In versions | Global, ? |
| Map orientation | |
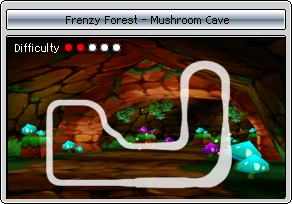
Mushroom Cave[edit]
 | |
| Time attack price | |
|---|---|
| In versions | Global, ? |
| Map orientation | |
Woodland[edit]
 | |
| Time attack price | 50 |
|---|---|
| In versions | Global, ? |
| Map orientation | up |
Speed[edit]
This is a pretty basic course. Just drift around the turns and don't crash.
After the first turn, you'll see several small bumps on the course. Drive around them, as they'll slow you down. After the next turn, make sure you hit the ramp, so you don't hit the walls on either side. After the third turn, there's two logs on the track. Drive along the left - it's easier. If you go to the right, you might accidentally hit the second log, as the space between it and the wall is small. After the logs, there's a bridge - don't fall off. After the last turn, there's a thinner bridge, then you're back at the starting point.
Item[edit]
There's nothing really special about this course. One thing you might want to try is using a banana (preferably in combination with a cloud) at the thin bridge at the end. There's not much space, so there's a good chance someone will hit it.
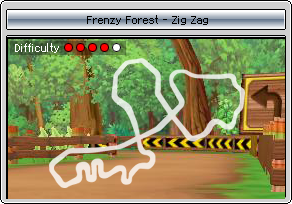
Zig Zag[edit]
 | |
| Time attack price | 50 |
|---|---|
| In versions | Global, ? |
| Map orientation | up |