Floor 8-1
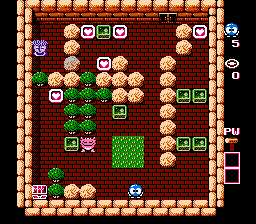
Collect the heart at the left, then the three hearts at the top, and the heart on the right.
Move a box from the right under the Gol to block his fire breath. Move the top crate one full tile to the right. Smash the marked rock with the hammer, and move the center box under the medusa.
Collect the chest and exit.
Floor 8-2
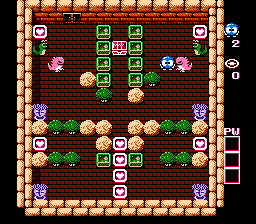
Move the top and bottom crates on the right set left by one, move the center down, and push the lower crate between the two medusas. Push the middle right crate right to the Gol, and push it down, then push the other crate against the medusa.
Grab 3 of 4 hearts at the bottom, and push one of the lower crates just above the middle. Push it down one tile and all the way to the left. Push the other crate above the middle, then town all the way and to the left of the heart. Move one of the left upper crates to the right of the heart.
Collect the hearts from the bottom-up, get the pearl, and exit the level.
Floor 8-3
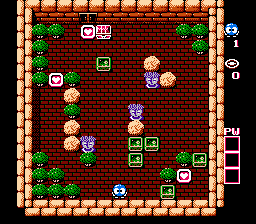
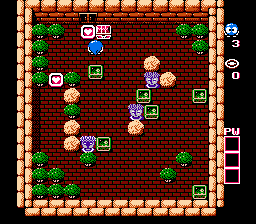
Work your way to the top. There is exactly enough crates to block the medusas, some of which are placed at half tiles. The framer positions are shown to the right
Floor 8-4
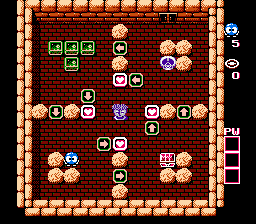
Move the emerald framers from the top-left and surround the medusa in the middle. Once enclosed, take the right-most heart and circle around taking each heart, then take the pearl and exit.
Floor 8-5
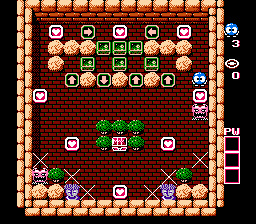
The emerald framers at the top should be removed in the following order: Top left, top center, bottom center, bottom right, top right, bottom left.
First, get two crates diagonally below the two upper hearts. Push them to the side, then push the don medusas into the corner. Next, push two more crates above the two lower medusas, then to the side of them. Collect all hearts and exit.
The 'X's on the map indicate the final positions of the emerald framers.