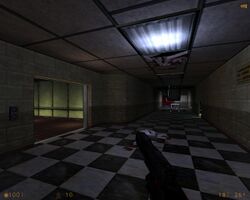
Office Complex is about the size and difficulty of Unforeseen Consequences. You will start to battle one of the most common enemies, the Vortigaunt, as well as Bullsquids and other enemies you have already encountered. It takes place in several of Black Mesa administration facilities, which have been overrun by the aliens.
Just Another Day at the Office[edit]
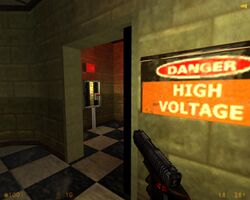
When the elevator reaches the ground floor, the doors will open. Take the battery and the medkit that are nearby. There are several things to take notice of here. The first is the broken ceiling tile and the live electric wire that is hanging down. You need to turn off the power before you head this way. If you even attempt to walk past the wire, you will get fried. Second is the small vent near the live wire. Watch as the electricity kills the headcrabs, then walk up to the vent shaft. If you go past it, you will meet the same fate as those poor creatures. The electricity from the fallen light will destroy the vent shaft, opening a passage. Crouch down and take a right from the vent shaft entrance. This will bring you to another grate, which you must destroy. Drop down into the room below to find two scientists, one of which gets dragged up by barnacle after he gets scared. If your conscience allows, you can let him get killed by the barnacle, or you can save him. Either way, he serves no purpose. Barnacles will then begin to come through the ceiling, so watch your step.
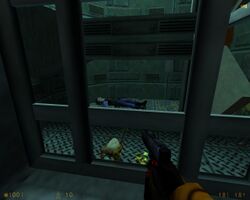
Go through the doorway labeled 'DANGER: HIGH VOLTAGE' and flip the switch inside. This disables power within the local area, including the dangerous light. Before you leave this room, murder both of the scientists with either your crowbar or pistol (a single shot to the head is sufficient) to spare them the grisly end they would inevitably face later. Go through the double red doors and back into the hallway. Before we go to the next area, go back into the vent shaft and take the left passage. Keep following the path and it will lead to a fan, where a dead security guard with two pistol magazines lie. Shoot the two headcrabs from behind the cage with your pistol, and take the ammo near the dead guard. Go back the way you came, exiting out into the hallway. Now that the power is off, walk past the hanging wire and to the end of the hall where you'll have to destroy the window with your crowbar. Crouch jump through the window, and take a left. Go to the very end of hallway, past the storage closet. We won't worry about the other rooms for now.
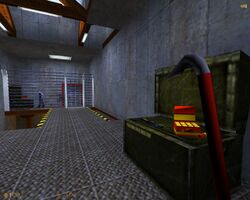
Smash all of the wooden crates with your crowbar as you go down the hall. Be careful though, because behind the largest wooden crate is a sneaky headcrab. Smash the large crate after you kill the headcrab, and then keep going down the hall to a security checkpoint. Grab the shotgun and shells off of the green box to the right and walk up to the gate. As soon as you walk up to the guard, a zombie will emerge from a nearby room. Kill the zombie before it gets the security guard and in return, he will open the door for you. If the security guard is killed, you won't have to restart, you'll simply miss out on some ammunition and a health pack.
After gathering supplies (or not), walk back to the platform and descend the ladder. Smash the crate next to the ladder for a medkit and the two other crates for a battery. Climb back up the ladder and make sure the security guard is following you if you saved him. Retrace your steps back to the main hallway and have the security guard wait by the double red doors. Walk up to the storage closet and a zombie will burst from it. If the security guard is following you, lead it back to him and double team the zombie. Grab the two clips of pistol ammo in the closet and have the security guard stand in front of the broken window. He should be able to kill the headcrab that's in the next room. Isn't it nice to have a mobile gun with unlimited ammo?
Who Needs a Key?[edit]
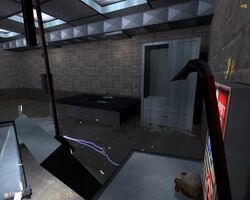
Have the guard wait in front of the window that looks into the flooded room, then crouch jump through it. This room is completely flooded with electrified water. Jump on the white table in front of you, then do a diagonal jump to the sink on the right. It's all right if you fall into the water because it does very little damage (just make sure you go back on a surface right away). Do a small jump to the health station and use it if you have to, then jump to the small light switch that's to the right. Flick the light switch to turn off the light and electric current.
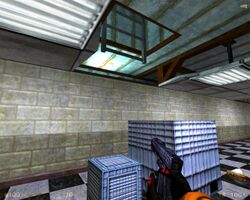
Walk up to the vent shaft nearby and turn on your flashlight ( is the default). Smash the grate with your crowbar and switch to your pistol. Shoot all three of the headcrabs that are hiding in the vent, then crouch jump into the shaft. Make sure you hold the crouch button to stay crouched because as soon you stand up, a fan will take a little too much off the top. Keep following the vent shaft until you get to another grate. Destroy it, and then go through. You will fall into the hallway that was behind the locked double red doors. Open both doors, then go find the security guard and ask him to follow you again. Back at the double red doors, several headcrabs will fall through the ceiling as you walk down this hallway, but they're no problem for the security guard. At the end of this hall is yet another locked door. You'll have to make the guard wait as you go around and unlock it. Find the large blue crate and push it so it is sitting under the gray ladder hanging down from where the headcrabs fell. Find the smaller crate and push it next to the big one. Use these boxes to climb up to the ladder and climb up into the ceiling. Jump off to the left and go up to the grate. A headcrab will be nearby, so be ready. Destroy the grate, but don't drop down yet.
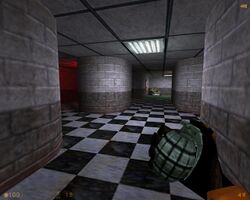
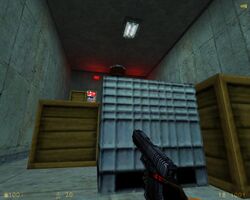
Wait until a scientist comes and gets mowed down by a turret. After the scientist is killed, a headcrab will come. Wait for the turret to kill the headcrab, then find the large blue crate below you. Jump down and quickly crouch behind the blue crate. Push the crate toward the turret, taking shelter behind it, until you're under a platform where you'll see a switch. Move the switch to disable the turret. Smash the wooden crate that was next to the blue one for a pistol magazine. Through the doorway next to the dead scientist is a shotgun and box of shells and two pistol magazines. The door at the end of this room will lead back to the security guard you left behind. Have him follow you back to the turret room and position him in front of the large passageway on the left. There are six headcrabs are waiting around the corner. Either throw a grenade into the center of the group or lure them back to the security guard. When they are gone, go up the stairs with the guard where another security guard is shooting some headcrabs.
Office Complex, 2nd Floor[edit]
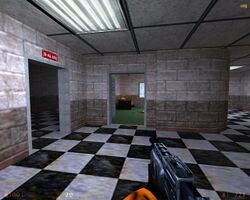
Have the second security guard follow you into the next area to provide extra fire support. Smash the wooden crate in the corner for a pistol clip. In the checker tiled room, a headcrab will emerge from the ceiling, but the security guards will kill it in no time. The first door on the left has a scientist is trying to help another escape through a vent shaft, but it doesn't turn out to be such a good idea. You can, however, help at least one of these scientists. Shoot the scientist that is not already in the vent before he clambers in. This will prevent him from doing so, allowing you to beat him to death with your crowbar, saving him from sharing the same grisly fate as his companion at the hands of whatever horror lurked at the bottom of the shaft. Next to the T.V. is a battery and medkit, so grab them. Walk out of the room, take a left, and stand about five feet away from the first intersection. Save the game here if you want, as several vortigaunts lurk in the shadows ready to ambush you. Toss a grenade into the first passage to the very left to kill a vortigaunt and a headcrab. Take out your shotgun and turn to the right. Immediately shoot the Vortigaunt in the face and look for another lurking in this area. With two security guards to help out, though, it shouldn't be a problem.
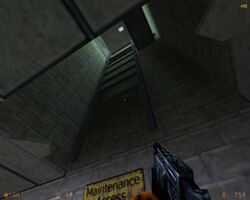
Continue to explore the offices in this area, being wary of headcrabs that fall from the ceiling tiles. There are several more vortigaunts around the area as well as first aid stations in various offices. In one of the rooms, you will find a plaid couch with a sign hanging above it that says "Maintenance Access". Jump on the couch and swing your crowbar at the darker tile to reveal a ladder. This will take you up to a switch on the wall and a security turret. Stick your head out around the corner to activate the turret, but don't stick around to let it shoot you. When it has been activated, flip the switch to turn it off for good. If you wish, drop a grenade down to the level below to take out a few headcrabs waiting for you at the top of the stairs.
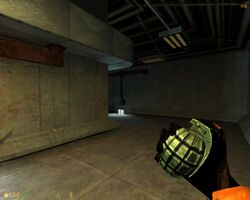
Climb back down the hidden ladder and look for the soda machines. Make sure you have the guards following you. There is a vortigaunt hiding behind the farthest machine, so be wary. Tossing a grenades out through the next doorway will hopefully kill both Vortigaunts lying in wait. If they're still out there, they're no match for the good ole Shotgun. Smash the nearby crates for a medkit before heading into the next room. Watch out for the Barnacle in this room and use the Health Station next to the scientist if you need it.
Office Complex, 3rd Floor[edit]
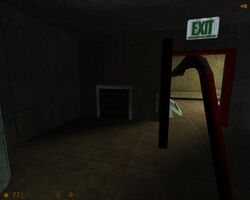
Go up both flights of stairs with the guards behind you and walk through the red doorway. If you didn't kill the headcrabs from the turret room the guards will take care of it. A zombie will be nearby in the next room, so either use the guards to kill it or shoot the explosive barrel as he passes it. Continue down the hall and take out your grenades right before the intersection. Toss one around the corner to kill the two vortigaunts around the corner. Pick them off with your Shotgun if they survived the blast. Go through the red door at the end of the hall, where you'll see another security guard and a health station. That's right, three security guards will be following us soon (don't you feel special). Use the health station if you need it then have the guards follow you down the ramp nearby. Take a right from the bottom of the ramp and go down another, where a bullsquid is waiting. Quadruple team the Bullsquid, then search the area for supplies. Two Vortigaunts spawn as you try to leave, so kill them quickly with your shotgun. Have the security guards wait at the bottom of the first ramp, then go back up toward the health station. Behind the red door is a hidden vent shaft. You know what to do: smash the grate and then go on through.
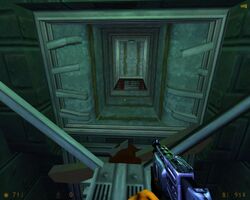
This vent shaft leads to a hidden room, filled with shells, grenades, pistol clips, and a health station. Keep following the vent shaft until you get to a ladder. Climb up and walk across the tiny pathways along the sides. You'll notice a fan with a broken wing that is blocking the next area. Jump over the fan right when the broken wing is in front of the entrance way. Jump over the steam pipes next, and then keep following the passage. You'll notice another grate with two headcrabs behind it. Smash the grate, switch to your grenades, throw one in there, and say bye to the headcrabs. Go through this vent shaft and you'll end up back in the hallway with the two Vortigaunts. Crouch along the tight pathways until you reach another vent grate at the end. Smash it and go on through. This leads back to the ramp room where the security guards are, and as soon as you start walking across the beams, some headcrabs will come from the right side. They will fall down below and be quickly killed by the security guards. Be careful not to fall when you go to the vent on the other side. Smash the next grate and go through.
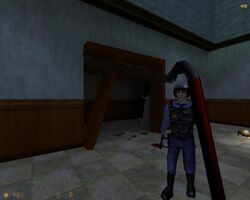
Keep following the vent until you come to a room with a lone headcrab. Kill the headcrab with your pistol, and go past the area where the headcrab was standing. You will fall through some ceiling tiles and land in the secret room full of goodies. Collect the three boxes of shells, two pistol clips, grenades, and use the health station if you want. Exit the room and take a left to go back out into the hallway.
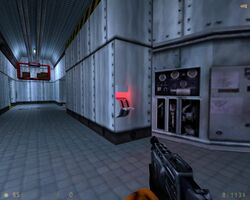
Go all the way back to the security guards and have them follow you again. Retrace your steps back to the cafeteria and have the guards kill the zombie that's enjoying a meal (it is the cafeteria after all). Before we go any further, have one security guard wait at the top of the staircase, the other in front of the railing next to the staircase, and the other a couple of feet next to the red doorway on the other side (if you have two, just have one next to the staircase and other next to the door). Walk up to the wooden barricade in the cafeteria, and eight headcrabs will burst from the ceiling. Taking advantage of their positioning, the guards will take out all the headcrabs before they have a chance to attack. Have the guards follow you again and smash the barricade (make sure there's enough space for them to walk through). Go all the way down this hallway, which leads to a large freezer. Have all three security guards triple team the two zombies at the freezer door (start shooting if the zombies get too close) and open the door (by pressing the nearby lever). Use the nearby health station if you want, and then go through the freezer. Take a left and keep going straight, past two doorways.
The Freezer[edit]
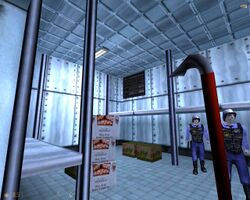
The guards will kill any headcrabs that come by, so don't worry about them. What you do have to worry about is the Bullsquid chasing that scientist. Gun down the Bullsquid with your Shotgun (the guards will help too). With the Bullsquid dead, go and find the scientist that it was chasing and either shoot or bludgeon him to death. Now go into the room that the Bullsquid came from. Collect the grenades and pistol clips near the bodies, and take a left from the entrance of this room. As you approach the pile of boxes, a Bullsquid will pop out. Kill the Bullsquid quickly, and then press the red lever that's nearby to activate the lift up above you. Grab the clips off of the dead security guard next to the lever, and retrace your steps all the way back to the freezer entrance. The security guards cannot go any further, so just have them wait there or position them in the doorway and press the "close door" lever to put them out of their misery.
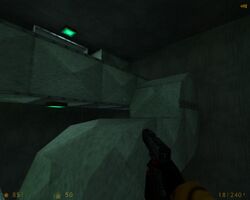
Climb the gray ladder near the freezer entrance and smash the grate. Crouch jump through the shaft and keep going. Smash the next grate nearby and kill the headcrab inside it. Follow the passage until you reach the lift you activated. Wait until it comes close enough, then jump on it. Smash each small crate for three batteries, then jump to the next vent shaft entrance as the lift passes it. Keep following the vent shaft, but take a right at the first intersection. This leads you to a battery and pistol clip. Follow the opposite side and kill any headcrabs that you encounter. You'll eventually reach a green-colored room, which I like to call the "Barnacle Room."
Pull out your crowbar, as it will be useful if you happen to get snagged by any of these guys. Remember, one shot of the crowbar will keep you from being pulled into its jaws. Immediately to the left is a barnacle guarding a box of shells. In the corner of the room is a Barnacle guarding a battery. Now go to the gray ladder and kill the Barnacle that is right next to it. Collect any pistol clips nearby and jump onto the vent. The vent shaft we have to go to next is up above, so jump on the two arc-shaped vents to get to it. Keep following the vent shaft, killing any headcrabs that come in the way (in the Source version it seems like the headcrabs are sometimes placed randomly in some areas). You'll finally reach a grate, where you can see two guards.
The Elevator Shaft[edit]
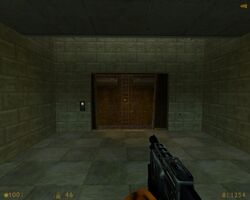
Smash it and jump down. A scientist will start to run down the staircase and into the cafeteria with a zombie in hot pursuit. Just let the security guard handle the zombie unless it gets too close. The scientist serves no purpose in this environment, but the security guard does, so have him follow you. Up the stairs, you'll be greeted by a headcrab. Kill it and then enter next large room. As soon as you walk past the room on the left, a scientist will jump through the window to escape a zombie and one will fall from a higher ledge to come and greet you. Double team the zombies with the security guard and they'll be gone in no time. The security guard is useless now, so either kill him for extra ammo or leave him there (just remember, though, that he has a wife and kids waiting at home). Crouch jump through the broken window and collect the shells and medkits inside, and then jump back out. Next to this room is a storage closet filled with grenades, so get some if you don't have any. Now go up to the open elevator doors and you'll notice a ladder in the distance.
That's right. You have to jump all the way from the elevator doors to the ladder. Make sure to save first. The only way to make it is by jumping at the last second. You'll have to maneuver yourself on the small platforms on the side to get to the top. It's easy to fall, so be careful. Start off by going right and climbing up the ladder. Then go left, and wait for the scientist to fall from the elevator. Now you'll have to jump from the small platform to the elevator ladder, so do so. When you reach the top of the ladder, smash the nearby vent and jump down into the elevator. Approach the door to start the next level.