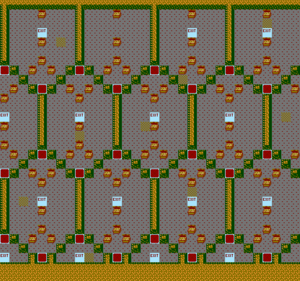
| Line 104: | Line 104: | ||
The lower Exit, located near the bottom-left corner, will lead you to in the linear path towards Level 73. | The lower Exit, located near the bottom-left corner, will lead you to in the linear path towards Level 73. | ||
Reaching the upper Exit will lead you to Level 75, skipping Levels 73 and 74. | Reaching the upper Exit will lead you to Level 75, skipping Levels 73 and 74. (Level 74 has a lot of food with some treasure chests that are not difficult to obtain.) | ||
The locked chest on the left will give you an extra bomb. | The locked chest on the left will give you an extra bomb. | ||
Revision as of 03:28, 1 November 2018
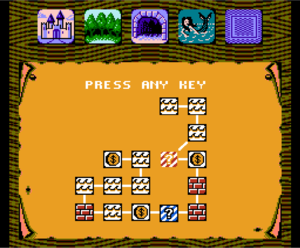
The world of the Unseen holds a formidable challenge. Could you possibly be blind? The walls are not there yet they are in this watery world.
Level 63
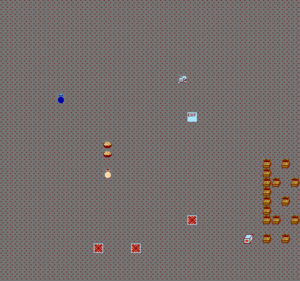
Few of the levels in world four, the sea level, contain invisible walls. This is one. Not only is it an invisible wall, it's a labyrinth. Most move in a catacomb sort of way.
Level 64
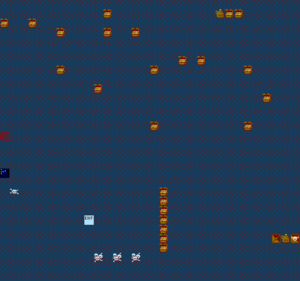
Another invisible wall level. Remember, catacomb like.
Level 65
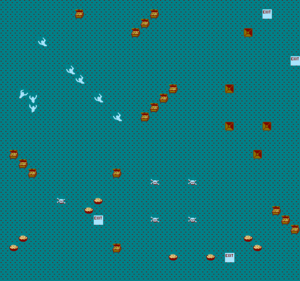
The two upper exits both skip the Clue Room and lead to room 67. The lower exit leads to room 66, the Clue Room.
The easiest way to the Upper Right Exit near the right wall is by going Up from the start point. Then head towards the Cluster of Ogre Spawn points. The path to the Exit is in the bottom right corner past the cluster. From there it is straight up to the Exit.
Level 66
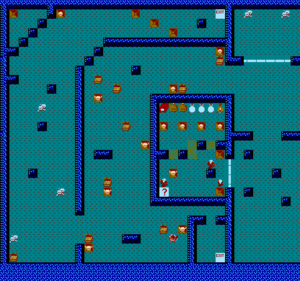
The top-right exit will lead to the treasure room. The bottom-right exit will skip the treasure room and lead to Level 68.
Grab the extra potion item in the central room with the locked gate along with the three bombs and two food kits - you will need them for getting through this Clue level.
Level 67

The exit is randomly situated in the treasure room and only one exit will lead out. All the rest are fake exits.
The easiest way to make it to the Exit is by using the transport pads with the diagonal exit by pressing both Up/Left or Down/Right, depending where you want to go.
The best strategy is to ignore the treasure chests and focus on finding the exit. Refill the health and collect treasure only if it is in the way.
Make it a high priority to detour away from the stun traps, too.
Level 68
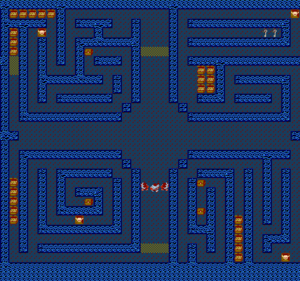
The Locked Chest in the Upper Left is a Trap, it has a Ghost Spawn inside.
The Locked Chest in the Bottom Left will give you a Bomb.
The First Locked Chest in the Bottom Right is an Energy Leach, but behind that the Second Locked Chest is hiding the Exit to Room 69.
Level 69
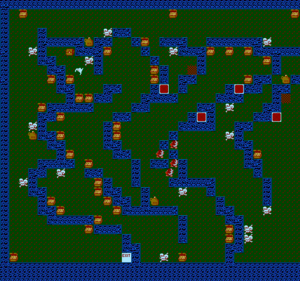
The Locked Chest in the Upper Left has an Invincibility Power-up.
The Teleport pads make this level a bit frustrating as it seems they teleport at random. The first, Northeast of the start point and Second From the Right wall, takes you to the far Right Pad. The Far right pad when stepped on again, takes you either back to the Second pad or to the third pad from the right. When the Third pad is stepped on, it takes you either to the Second Pad or the Fourth pad from the right.
If you make it to the Fourth Pad position, then you can continue to the exit by hugging the wall and proceeding left.
Level 70
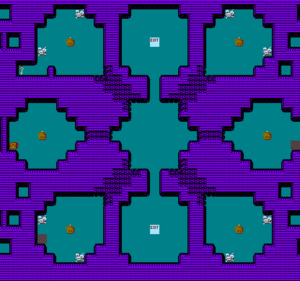
The Clue is hidden in the wall of the Bottom Right Corner chamber.
To make it to the Exit you need to trigger the three Switch Squares. Two are obvious Middle Right, and Bottom Left Chamber, but the third is hidden in the Locked Chest in the Middle Left.
Level 71

The exit is randomly situated in the treasure room and only one exit will lead out. All the rest are fake exits.
The easiest way to make it to the Exit is by using the transport pads with the diagonal exit by pressing both Up/Left or Down/Right, depending where you want to go.
The best strategy is to ignore the treasure chests and focus on finding the exit. Refill the health and collect treasure only if it is in the way.
Make it a high priority to detour away from the stun traps, too.
Level 72
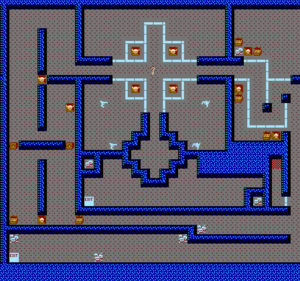
The upper Exit, near the middle of this level, must be reached by using the flashing floor trigger that is locked away behind the door. Because the only key is at start of the level, you will need to carefully maneuver towards the right without accidentally unlocking the other doors (which contain Death and monster generators, among other things).
The lower Exit, located near the bottom-left corner, will lead you to in the linear path towards Level 73.
Reaching the upper Exit will lead you to Level 75, skipping Levels 73 and 74. (Level 74 has a lot of food with some treasure chests that are not difficult to obtain.)
The locked chest on the left will give you an extra bomb.
Level 73
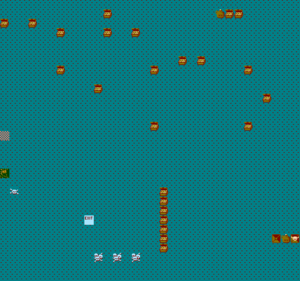
The walls of this level are obscured by invisibility and cannot directly be seen with the naked eye.
Head left immediately and switch the flashing floor trigger above you.
The column of treasure can be obtained by heading south, then left through a middle hole in the wall. You will be able to navigate to it by using the skeleton generator as a reference point.
Follow the treasure to the bottom of the level and hug the wall as you head to the left.
You will see a row of skeleton generators. Again, use them as a reference guide. Eliminate them and follow the path they make to the left.
Maneuver around the invisible wall at the end of the hallway and bend the turn upwards towards the exit to get in to Level 74.
Level 74
Level 75
Level 76
Level 77
Level 78
