m (adding noincludes back for testing) |
m (remove section markup) |
||
| Line 11: | Line 11: | ||
== Moves == | == Moves == | ||
=== [[Street Fighter III: 2nd Impact]] === | === [[Street Fighter III: 2nd Impact]] === | ||
{{Moves Header|No|Portrait|Street Fighter III: 2nd Impact/Akuma}} | {{Moves Header|No|Portrait|Street Fighter III: 2nd Impact/Akuma}} | ||
{{Special Move|name=Seoi Nage | {{Special Move|name=Seoi Nage | ||
| Line 76: | Line 75: | ||
| close, {{cade|MPunch}} {{cade|HPunch}} | | close, {{cade|MPunch}} {{cade|HPunch}} | ||
|} | |} | ||
=== [[Street Fighter III: 3rd Strike]] === | === [[Street Fighter III: 3rd Strike]] === | ||
{{Moves Header|SF3-3|Akuma|Street Fighter III: 3rd Strike/Akuma}} | {{Moves Header|SF3-3|Akuma|Street Fighter III: 3rd Strike/Akuma}} | ||
{{Special Move|name=Seoi Nage | {{Special Move|name=Seoi Nage | ||
| Line 159: | Line 156: | ||
| close, {{cade|MPunch}} {{cade|HPunch}} | | close, {{cade|MPunch}} {{cade|HPunch}} | ||
|} | |} | ||
<noinclude> | <noinclude> | ||
Revision as of 02:52, 24 June 2016

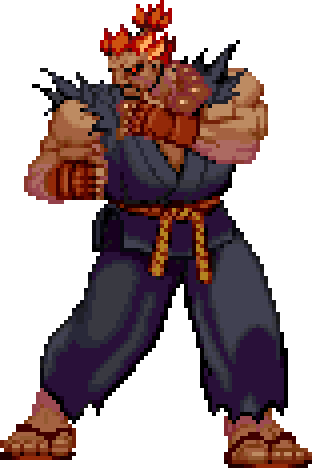
Click here for more information about Akuma's other fighting game appearances.
As with the second World Warrior tournament, Akuma did not enter the third World Warrior tournament, but once more lurked in the shadows. He even successfully pulled off a Shun Goku Satsu on the tournament sponsor Gill, although he left without realizing that Gill had resurrected himself. Over this timespan, Akuma had trained relentlessly until finally harnessing his power and learning several new techniques, some that were meant to create tidal waves, some described as strong enough to split Ayers Rock in half, and one that could kill an opponent with a single strike. Akuma's self-taught technique is called the Kongou Kokuretsuzan, in which Akuma channels all his power into one hand (presumably his right) and smashes it into the ground, creating a vortex of energy upward around him. It is supposedly this technique that was used to destroy his original training ground (mentioned above), although this is mainly conjecture as he does not learn this move until the 3rd World Warrior tournament.
Akuma continued to develop his now-incredible fighting skill, and even fought with Oro in a simple, inconclusive battle, each other sensing the other's massive chi and testing their powers. Akuma has now demonstrated the ability to remain underwater under massive pressure for extended periods of time, and has even managed to destroy a naval submarine with a technique that he has dubbed Tenshou Kaireki Jin.
Personal Action
When you perform Akuma's personal action (![]() +
+![]() ) his attack power increases for all of his moves except throws. Additionally, all of his attacks (even throws) do more stun damage. Note that the Shun Goku Satsu will not do more damage even if you do Gouki's Personal Action!
) his attack power increases for all of his moves except throws. Additionally, all of his attacks (even throws) do more stun damage. Note that the Shun Goku Satsu will not do more damage even if you do Gouki's Personal Action!
Moves
Street Fighter III: 2nd Impact

| Name | Input | |||
|---|---|---|---|---|
| Seoi Nage | close, |
|||
| Tomoe Nage | close, |
|||
| Straight | ||||
| Zugai Hasatsu | ||||
| Tenma Kuujin Kyaku | ||||
| Gou Hadouken | ||||
| Zankuu Hadouken | ||||
| Shakunetsu Hadouken | ||||
| Gou Shoryuken | ||||
| Tatsumaki Senpuukyaku | ||||
| Zenten | ||||
| Ashura Senkuu Forward | ||||
| Ashura Senkuu Backward | ||||
| I Messatsu Gou Hadou | ||||
| I Tenma Gou Zankuu | ||||
| II Messatsu Gou Shouryuu | ||||
| III Messatsu Gou Rasen | ||||
| III Messatsu Gou Senpuu | ||||
| (any) Shun Goku Satsu |
Street Fighter III: 3rd Strike |