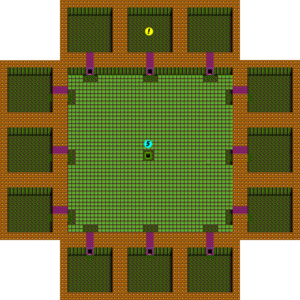
|
|
Section A
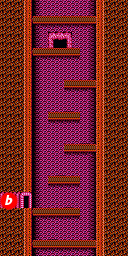
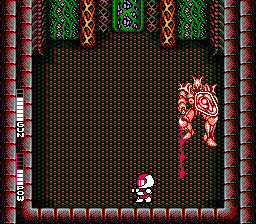
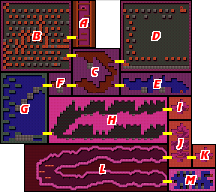
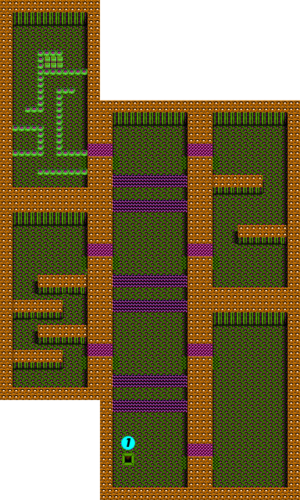
The first section of Area 8 involves a vertical descent from the warp at the top of the room, to the passage to section B at the bottom. Along the way, you'll encounter grey and red worms. Take them out safely with Homing Missiles or Thunder Break, or cling to the left wall and fire down as they drop below you. Remember to adjust your driving style to account for the Wall 2 upgrade. Then head left through the passage to continue.
Section B
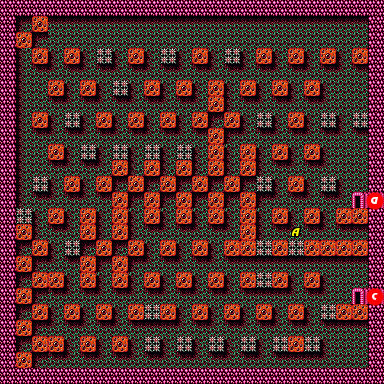
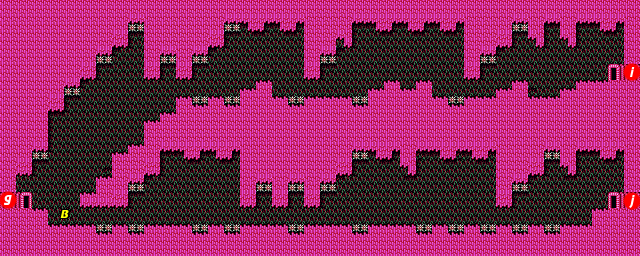
This large room is populated by three things: many square platforms, square arrangements of spikes, and the wall-clinging dome enemies that dash toward SOPHIA. What you are meant to do is to safely navigate up and down from platform to platform, avoiding spikes in an effort to make it around the room in a counter-clockwise progression and reach the passage to section C below the entrance. However, if you feel confident about your level of power, you may opt for a more convenient short-cut.
- Noted location
- A: While spikes should generally be avoided, you can save yourself a tremendous amount of time by driving up to this set of spikes and dropping through them to the platform below. You will suffer only minimal damage, and you will be just two short hops away from the entrance to section C.
Section C
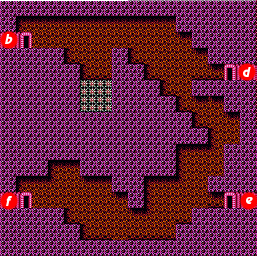
Section D
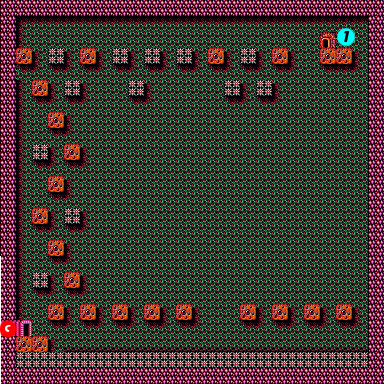
Section E
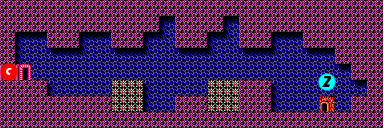

Section F
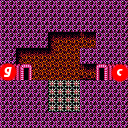
Section G
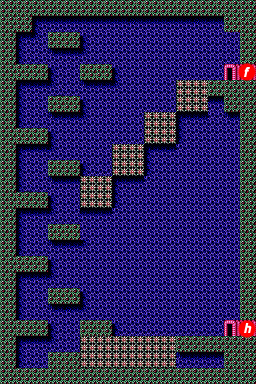
Section H
Section I
Section J
Section K
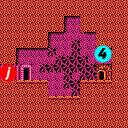
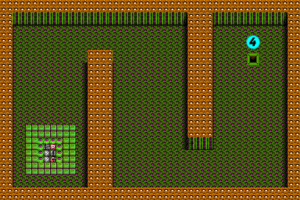
Section L
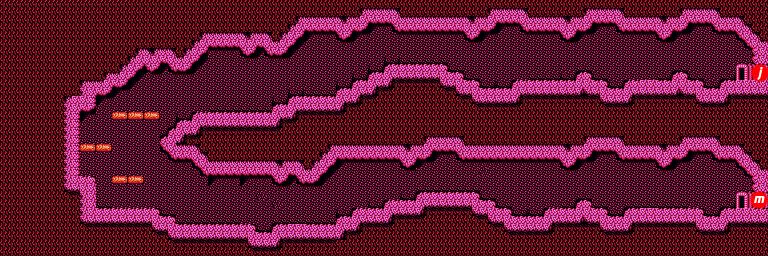
Section M
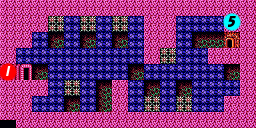
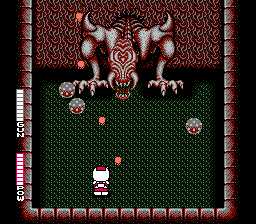
Boss: Plutonium Boss
