Jump to navigation
Jump to search


(Initial setup) |
(→9-1) |
||
| Line 6: | Line 6: | ||
[[Image:Lolo3US9-1.png|right]] | [[Image:Lolo3US9-1.png|right]] | ||
The first underwater map isn't too tough. Save the D5 heart for last. | |||
* | * Move the C8 EF to A10. Get the heart. Move the C9 Skull to B11. Get the heart. | ||
* Watch the Don and move the J7 Skull right one. Get the K6 heart. | |||
* Move the J3 EF all the way up to trap Don in the corner. Get the G1 heart. | |||
* Move the G2 Skull left one. Move the H3 Skull to J8 and get the heart. | |||
* Get the last heart and run to the chest. | |||
{{-}} | {{-}} | ||
Revision as of 00:42, 29 November 2006
This chapter discusses the solutions to level 9. One thing to take a note of: Every room in level 5 has at least one Skull in it.
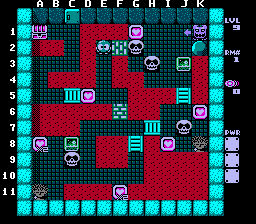
9-1

The first underwater map isn't too tough. Save the D5 heart for last.
- Move the C8 EF to A10. Get the heart. Move the C9 Skull to B11. Get the heart.
- Watch the Don and move the J7 Skull right one. Get the K6 heart.
- Move the J3 EF all the way up to trap Don in the corner. Get the G1 heart.
- Move the G2 Skull left one. Move the H3 Skull to J8 and get the heart.
- Get the last heart and run to the chest.
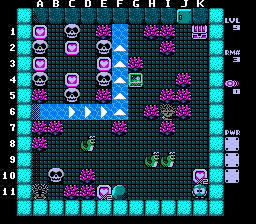
9-2

Description.
- Steps.
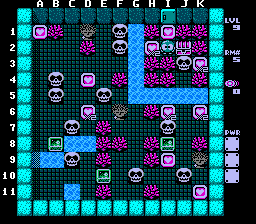
9-3

Description.
- Steps.
9-4

Description.
- Steps.
9-5

Description.
- Steps.
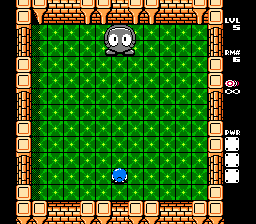
Level 9 boss

...