Fake Shemp (talk | contribs) (→2-1 Three Easy Pieces: small grammar fix) |
Fake Shemp (talk | contribs) m (→Part 1: typo) |
||
| Line 29: | Line 29: | ||
[[File:Braid icon Level 2-2.png|right|100px]] | [[File:Braid icon Level 2-2.png|right|100px]] | ||
=== Part 1 === | === Part 1 === | ||
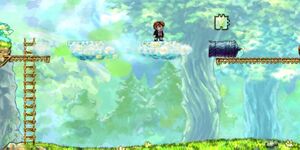
The Cloud Bridge will introduce you with new obstacles and the first one you will notice right away will be the locked gate, but luckily the key isn't so far away. After the gate you will encounter floating clouds being shot out of the cannon simply jump over them and continue on forward. There will be another | The Cloud Bridge will introduce you with new obstacles and the first one you will notice right away will be the locked gate, but luckily the key isn't so far away. After the gate you will encounter floating clouds being shot out of the cannon simply jump over them and continue on forward. There will be another cannon shooting clouds with a puzzle piece at the end of it. Going on, there is a giant board where all your puzzle pieces can be placed together to form the puzzle. You will then see a platform above with a puzzle piece and another piece near the exit. Sadly both pieces are unattainable at the moment and the exit waits for you. | ||
There are 4 puzzle pieces in this level, but to get the last two you might have to think outside the box. | There are 4 puzzle pieces in this level, but to get the last two you might have to think outside the box. | ||
Revision as of 00:30, 4 June 2015

2-1 Three Easy Pieces

Here is the first level of the game and it's really simple. It introduces the game's controls and some basic game mechanics. You will begin by learning to jump over some steps then climb some fences. You will continue and see the first puzzle piece, then you will see the first enemy, a Monstar. You will travel forward and see the second and third puzzle pieces and soon the end of the first level. Simple, right?
There are 3 puzzle pieces in this level and are all simple to obtain.
2-2 The Cloud Bridge

Part 1
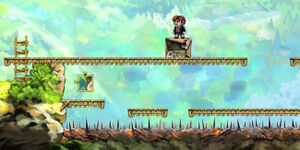
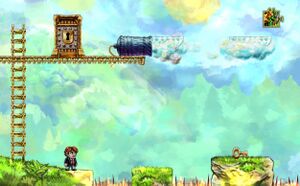
The Cloud Bridge will introduce you with new obstacles and the first one you will notice right away will be the locked gate, but luckily the key isn't so far away. After the gate you will encounter floating clouds being shot out of the cannon simply jump over them and continue on forward. There will be another cannon shooting clouds with a puzzle piece at the end of it. Going on, there is a giant board where all your puzzle pieces can be placed together to form the puzzle. You will then see a platform above with a puzzle piece and another piece near the exit. Sadly both pieces are unattainable at the moment and the exit waits for you.
There are 4 puzzle pieces in this level, but to get the last two you might have to think outside the box.
For these next ones you will have to obtain the necessary puzzle pieces in order to continue and come back at another time. So go on to the next level, it won't hurt you.
Part 2
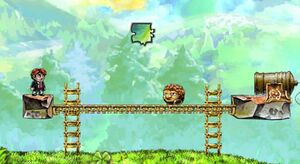
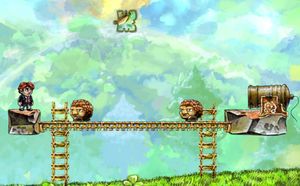
Now that you have the necessary puzzle pieces and make your way back to The Cloud Bridge. You can manipulate the images in the puzzle box to help you get the last two pieces. First extend the platform so that the creature moves onto it, then move the puzzle piece so that the creature falls below. you are able to advance ahead and get the remaining two puzzle pieces.
|
|
| File:Braid World 2-2 puzzle 3.jpg | File:Braid World 2-2 puzzle 4.jpg |
There is a star on this level.
Near the upper right puzzle piece is a slow moving cloud. To reach the star, you have to get on the cloud either by bouncing on the Monstar, or by jumping on the door to jump on the cloud (the latter option requires you to enter the level from the right.)
It takes two hours for the cloud to traverse the map. While waiting, read a book, cook a meal while waiting for the cloud to move. If playing on a PC, Alt-tab will not help, as it slows the cloud down by an order of magnitude.
2-3 Hunt!

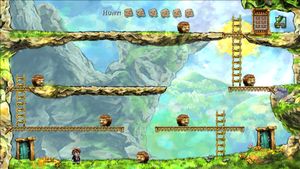
This stage is a little different than the previous ones since it introduces the Monstar gate. With the new "Hunt!" section of the HUD it makes it pretty obvious how to open the gate. Once a Monstar is defeated, a red cross is placed over their image and when they are all defeated the gate will open.
There is only one puzzle piece in this level and is located at the top right.
- Puzzle Piece
Begin by jumping on the first Monstar and climbing up the ladder. Do not kill the second Monstar, jump over it and keep on going. After continuing forward and jumping on the next two, jump down and aim for the Monstar to give you a higher jump to the next platform. Defeat the next two and get the puzzle piece.
2-4 Leap of Faith
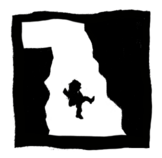
Use the platform to move the first monstar to the left. This lets you reach the first puzzle piece
To reach the second, jump on the monstar as it shoots out of the cannon. If done right, you should reach the upper platform
The third requires falling down the left-side, and turning away.
The fourth piece is in plain sight, while climbing the long ladder.
