Fake Shemp (talk | contribs) m (→80px 3-2 There and Back Again: emphasis) |
Fake Shemp (talk | contribs) m (→80px 3-2 There and Back Again: flow) |
||
| Line 15: | Line 15: | ||
{{sidebar|float=right|width=200px|title=Stuck?|contents= | {{sidebar|float=right|width=200px|title=Stuck?|contents= | ||
<div align=center>If you get stuck behind the metal door, simply rewind time until you're not stuck behind it anymore.</div>}} | <div align=center>If you get stuck behind the metal door, simply rewind time until you're not stuck behind it anymore.</div>}} | ||
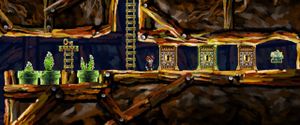
At this level you'll spot a '''green-glowing key''' at the top of the screen and a locked '''gate''' with a puzzle piece behind it on the right hand side. Climb to the top while dodging the monstars and grab the key. You'll notice that a big metal block has sealed off the path to the locked gate. As green-glowing objects are ''not'' affected by any time manipulation, rewinding time will ''not'' make Tim drop the key he's picked up. So | At this level you'll spot a '''green-glowing key''' at the top of the screen and a locked '''gate''' with a puzzle piece behind it on the right hand side. Climb to the top while dodging the monstars and grab the key. You'll notice that a big metal block has sealed off the path to the locked gate. As green-glowing objects are ''not'' affected by any time manipulation, rewinding time will ''not'' make Tim drop the key he's picked up. So rewind time until the path is open again. Go and open the gate and grab {{im|Braid Puzzle-3-2-1.png|x16px}}'''Puzzle Piece 3-2-1'''. You're done with this level so continue through the door. | ||
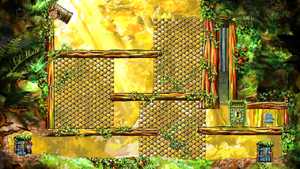
[[File:Braid World 3-2 screenshot.png|thumb|center|Green-glowing objects are not affected by time manipulation.]] | [[File:Braid World 3-2 screenshot.png|thumb|center|Green-glowing objects are not affected by time manipulation.]] | ||
{{-}} | {{-}} | ||
Revision as of 18:24, 19 July 2015

Putting together puzzle pieces from this world will cause a collectible to be lost forever.
See the Stars section for more information.
 3-1 The Pit
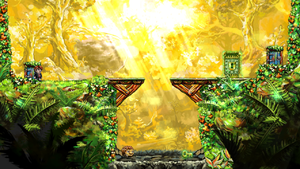
This is an introduction level to the new green glow feature. It contains no puzzle pieces.
Jump into the pit and get the green-glowing key from the monstar. Rewind time, jump over the pit and open the gate. Continue through the door to the next level.
 3-2 There and Back Again
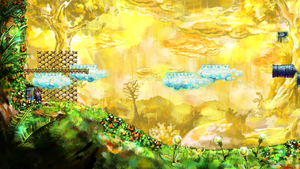
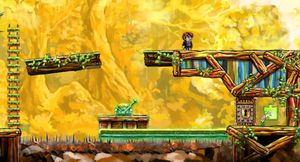
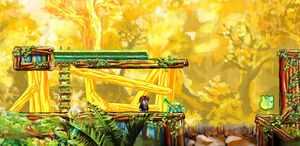
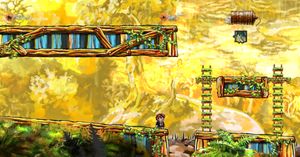
At this level you'll spot a green-glowing key at the top of the screen and a locked gate with a puzzle piece behind it on the right hand side. Climb to the top while dodging the monstars and grab the key. You'll notice that a big metal block has sealed off the path to the locked gate. As green-glowing objects are not affected by any time manipulation, rewinding time will not make Tim drop the key he's picked up. So rewind time until the path is open again. Go and open the gate and grab ![]() Puzzle Piece 3-2-1. You're done with this level so continue through the door.
Puzzle Piece 3-2-1. You're done with this level so continue through the door.
 3-3 Phase
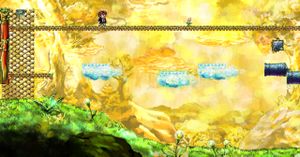
Begin the level by going up the ladder and bringing the two cloud levels in phase by rewinding time, jump along them to reach the puzzle piece on the other side. Jump down and continue right. Repeat the same pattern as before on the lower platform of the next part. Only this time you will have to pause the flow of time and wait for the glowing clouds to catch up.
There are a total of 2 pieces on this level.
 3-4 The Ground Beneath Her Feet
Starting this level you'll watch a Monstar fall to his death. Move up the ladder and jump down to the glowing lever. Rewind time and let the resurrected Monstar land on the platform and get the key and use it to get the piece.
Moving on, you'll find a ladder blocked off by a metal platform. Move the platform by using the lever and climb up on top of it. Wait for a second above the puzzle piece and go back and operate the lever again. Rewind time to the point you are mid-air above the piece. Stop the rewind and get the piece. Rewind back again, use the lever and continue onward.
There are 2 puzzle pieces on this level.
 3-5 Tight Channels
When you enter this level there won't be much to do other than to move right, so do just that. You'll soon encounter a bunny-like creature; the Mimic. It will attack when you're getting close to it, so be ready to jump upon it. Continue your way right until you reach a ladder, disposing of any more Mimics you find popping up from the ground. Climb up the ladder. You'll not be able to reach the puzzle piece above you, but you'll see a cannon firing fireballs. Jump down the left side of the platform and make your way back. See the Monstar being fired into the path of fireballs? Guide him along the balls by rewinding time. When he falls to the platform under the piece, use him to reach the puzzle piece and continue on right.
You'll soon get attacked by a whole nest of Mimics. Jump over the Claw and hopefully it'll snatch most of them. Kill of any stragglers and move on. A new nest will pop up, dispose of them if you want or move on. Drop down in front of the cannon and continue on, jumping over any fireball that might hit you. When you get to the next fireball cannon, rewind time and try to get the fireballs from the two cannons to hit each other mid-air. Go right and climb up the ladder and grab the next piece and exit the level.
Two puzzle pieces are placed on this level.
 3-6 Irreversible
As the name of this level implies, you might end up deadlocking your road to some of the pieces on this level. If you find yourself in such a situation, simply exit the level through any of its doors and go back again, or exit the world via the pause menu and enter the level again.
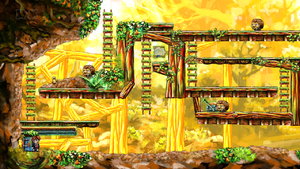
The first piece which you should spot as soon as you enter this level requires you to not use rewind for more than a very short period of time, as a green-glowing barrier will block a platform you need to use if you do. Simply deal with the Monstars and the Mimic as soon as you enter the level and wait for the platform to move past the barrier, then go grab your piece.
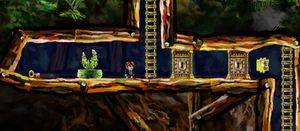
Further into the level you will find a ladder leading down into a cavern underground. Climb down and you'll see the second puzzle piece. Get the key to your left, use it to unlock the green gate, rewind, and unlock the second gate. The piece is yours.
Continue down the ladder found next to the second piece. To your far right you'll catch a glimpse of the third and final piece of this level. The third piece is a bit more complex to get at, as the initial key found should be skipped. Instead, continue past the Claws and jump down the long shaft. Get the green-glowing key and rewind past the Claws. Open the first gate. Next, get the non-glowing key and use it to unlock the green-glowing gate, rewind, and use the non-glowing key to unlock the third gate. Grab the final piece and climb up the ladders again.
Whence up above ground again, move to the right exterminating all the Mimics attacking you. After a bit you will find a puzzle wall in which to connect the puzzle pieces you've collected into full painting. Remember that if you want to collect that secret, hidden collectible, you may not connect any pieces just yet. If you do, the secret will be irreversibly lost forever. So continue onward through the exit door.
There are 3 puzzle pieces on this level. In some cases, if you make an error while trying to get to the puzzle pieces, you will be irreversibly locked out from them until you restart the level. But you can always come back to the level again later and pick them up.
 3-7 Lair
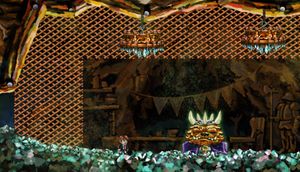
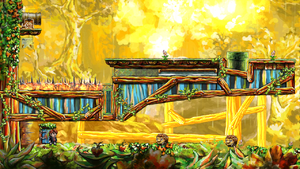
As soon as you enter the level you will see a Monstar with a key fall down a pit on some spikes. Follow him down the pit and land on the key. Rewind time and you'll bring the key back up with you. Jump over the pit and open the gate. Move along and you'll find the very first boss of the game – sleeping. Wake him up by climbing up to the ceiling and dropping down a chandelier. Now when he's awake, rewind time and try to drop the chandelier on his head. You need to hit him five times for him to be out cold and drop the key around his neck. You only have two chandeliers to spare, so rewind time when you've scored a hit or if you missed him.
When he's down for the count, grab the key from him and make your way through the gate on the right. There are no puzzle pieces on this level, so continue through the exit door.
 3-8 A Tingling
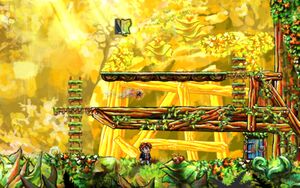
Starting this level, you will probably notice the first puzzle piece right away. Go climb up the only ladder you have access to and continue all the way to the top of the Monstar-ridden structure. Make your way to the platform right above the green glowing platform, dealing with the Monstars along the way. Having reached the edge to jump back down to the ground, go back the same way you came and continue down to the glowing lever. Flip it and rewind Tim back to the edge, jump onto the platform and scale the ladder to the piece.
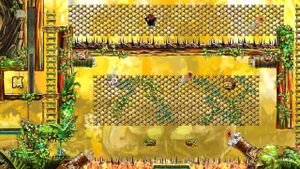
If you haven't yet taken the key from the Monstar, do so now and continue to open the gate. The second puzzle piece will be locked behind a barrier, which triggered the moment the level started. There's no getting to it now, so continue right to via the climbable mesh. Be careful of the spikes and fireballs. Move inside the inferno of dangers again via a climbable mesh and avoid all the projectiles. When on the other side there will be a lever, slightly hard to see behind the vegetation. Flip it and watch a platform arise from the fiery pit. Get on it and you'll be introduced to a new mechanic – the green glow of this platform will surround Tim as well. Now Tim is unaffected by time manipulation as long as he's glowing. Rewind time to the point the barrier closing off the piece is all up, and rush toward it. Having grabbed it move along to the right and reach the end of the level.
On this level you will find a total of 2 jigsaw puzzle pieces.
Back at the house
There is a star on this level.
If you didn't put the pieces you found in world 3 together, you can now use them to get yourself a star.
