- Note: Putting puzzle pieces together will cause a collectable to be lost forever. See the Stars page for more information.
3-1 The Pit
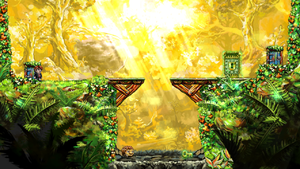
This is an introduction level to the new Green Glow feature. It contains no puzzle pieces.
Jump into the pit and get the green-glowing key from the Monstar. Rewind time, and jump over the pit and open the gate.
3-2 There and Back Again
At this level you'll spot a glowing green key at the top of the screen and a locked gate with a puzzle piece behind it on the right hand side. Climb to the top while dodging the Monstars and grab the key. Rewind time, open the gate and grab the piece. You're done with this level so continue through the door.
There's only the one puzzle piece on this level.
- Puzzle Piece
Green-glowing objects are not affected by rewinding time. So when Tim has grabbed the key, rewinding will not make him drop it. Use this feature to your advantage by climbing all the way to the top and grabbing the key. You'll notice that a big metal block has sealed off the path to the locked gate. Rewind time to the point where the metal block is at its highest point, stop rewinding time and run for the gate. Tim will still have the key in his hand and will unlock the gate. Grab the piece and continue on.
3-3 Phase
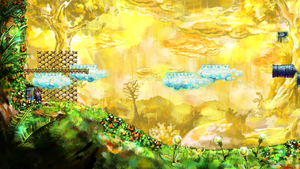
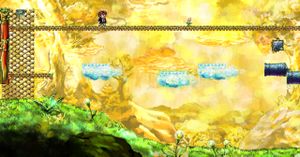
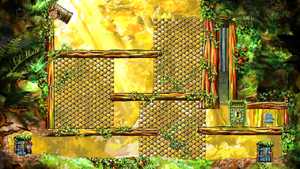
Begin the level by going up the ladder and bringing the two cloud levels in phase by rewinding time, jump along them to reach the puzzle piece on the other side. Jump down and continue right. Repeat the same pattern as before on the lower platform of the next part. Only this time you will have to pause the flow of time and wait for the glowing clouds to catch up.
There are a total of 2 pieces on this level.
3-4 The Ground Beneath Her Feet

Starting this level you'll watch a Monstar fall to his death. Move up the ladder and jump down to the glowing lever. Rewind time and let the resurrected Monstar land on the platform and get the key and use it to get the piece.
Moving on, you'll find a ladder blocked off by a metal platform. Move the platform by using the lever and climb up on top of it. Wait for a second above the puzzle piece and go back and operate the lever again. Rewind time to the point you are mid-air above the piece. Stop the rewind and get the piece. Rewind back again, use the lever and continue onward.
There are 2 puzzle pieces on this level.
3-5 Tight Channels
The first piece is located underneath a fireball cannon, which is covering an approach a monstar needs to use to help you. First, stand at the right ladder under that cannon, then walk to the left. Rewind (slowly) and adjust the rewind to make sure the monstar can get to the platform. When it's there, quickly jump on it to reach the puzzle piece.
The second piece is covered by a cannon shooter. As there's not enough time to cross, you will need to adjust the phase of the green diagonal cannon so that it intercepts some of the shots. This gives enough time to reach the piece.
3-6 Irreversible
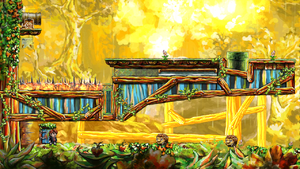
The first piece requires you to not use rewind for more than a short period of time, as a green-glowing barrier will block a bridge you need to use. The safest way to do this is do wait near the entrance, and eliminate the Monstar and Mimic as necessary.
The second piece is in the cavern below. Get the key, use it to unlock the green door, rewind, and unlock the second door.
The third piece is a bit more complex, as the initial key should be skipped. Instead, continue past the claws and jump down the long shaft. Get the green key and rewind past the claws. Open the first door. Next, get the key and use it to unlock the green door, rewind, and unlock the third door.
3-7 Lair
Get the key from the Monstar (or from the pit), rewind, and open the door.
The boss is defeated by dropping the chandelier on its head. As it's glowing green, you can rewind as necessary as soon as you make a hit. Additionally, quick reflexes and timing allows you to hit the boss multiple times from the same chandelier.
When the boss is defeated, collect the key and reach the exit.
3-8 A Tingling
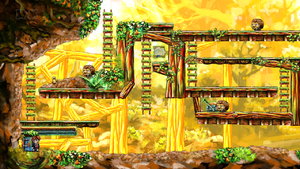
The first puzzle piece requires jumping on the platform. To do so, you'll have to approach the jump point, backtrack to the switch, and quickly rewind when you flip the switch. As the green platform moves, you should be able to jump and reach the piece.
The second piece is behind a closing door, which is timed from the level start. However, you can enter the cannon area and flip the switch, then stand on the glowing white platform to rewind (with you remaining in the position.) Once you finished the rewind, you can rush towards the puzzle piece before the door closes.
