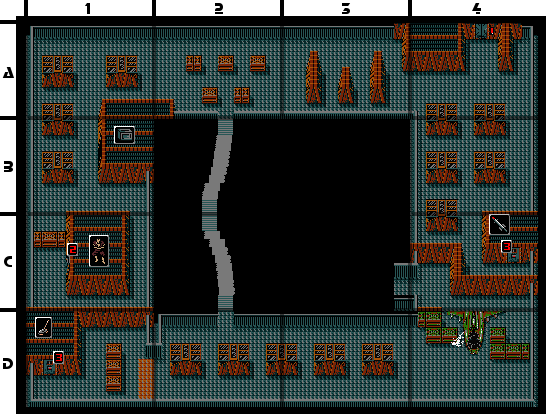
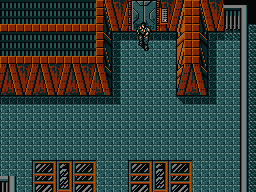
A4: You will arrive on the roof through the elevator in this room, but you won't make it very far without the bomb blast suit. Big Boss will call you on the transceiver and inform you that you need to suit in order to explore the roof. If you attempt to step on to the roof without one, and sheer wall of wind will shove you back to the elevator doors. If you don't have the suit, you'll need to explore the basement a little more thoroughly. If you have the suit, put it on to step out onto the roof. Once you pass through the small alcove by the elevator, you can safely remove the suit. From here, you can go west or south. If you are in need of remote controlled missiles, you should head south first. Otherwise, go west. Assuming you need missiles, head south to room B4.
B4: You can dispatch the two guards here by passing through the center of the room, approaching each of them, and punching them out as they pass. Then continue south to reach room C4.
C4: Take out the guard that starts by heading south, and approach the door. Open it up with card 3, and you'll find remote controlled missiles waiting for you on the desk. Exit and enter the room as many times as you need until you have the maximum supply for your class. When you're done, exit the room, and rush to the left to intercept the guard that is on his way south.
A large wall blocks you from proceeding any lower, so you must return north to room A4, and then head west to room A3.
A3: Three guards patrol the north section of this room. It's actually very easy (and highly advisable) to avoid detection simply by staying below the three walls, and only venturing to cross the room when the guards are crossing the room as well, and not looking down the corridors. Continue heading west to room A2.
A2: Two guards patrol a complex path around the five blocks that occupy this room. You should be able to avoid detection by staying along the bottom of the room. From here, you can head south across a suspension bridge, or head west. There is still some things of interest to find before you cross the bridge, so head west to room A1, but do so through the middle of the room. If you are too low or two high, you may be detected by the guards when you arrive.
A1: Two guards patrol the room. They circle around the large blocks, passing each other in the middle. Approach the center from the bottom and wait for the right guard to walk south. Knock him out and proceed south to room B1.
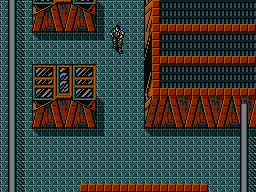
B1: Surprisingly, you won't find any guards here, or any threat of any kind for that matter, just an open door. Through the door is a room with ammo inside. Exit and enter the room as many times as necessary to obtain a full supply of ammunition. Then continue south to room C1 through the right passage (the left one dead-ends).
C1: Once again, no guards will threaten you as you make your way down and around to the door on the other side of the room. Open it with card 2, and you'll find a prisoner to rescue. He will tell you to use the parachute when you dive between the two fences. Exit the room and return outside.
At this point, a wall prevents you from going any further south. You must backtrack to room A2 where you could access the suspension bridge by going south to B2.
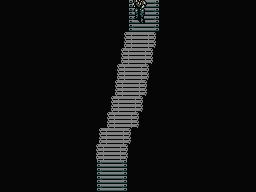
B2: When you enter this space, you will be presented with a narrow suspension bridge that crosses directly over the courtyard. If you mess up here and step over the sides of the bridge, you will fall to your death below. It is important to watch the movement of the bridge and step accordingly. From the top, favor the left side of the bridge and carefully move down when the bridge panels are in front of you. By the time you reach the middle, you should move Snake more to the left, this time favoring the right side of the bridge panels. From the middle, you can make your way down to the bottom portion of the bridge, and continue south to C2.
C2: This room is just the mirror image of the suspension bridge above. Favor the right side of the bridge from the top to the middle, edging right as you continue down, until you are about half way and can start favoring the left side of the bridge. Make sure your health is good, and proceed to room D2 below.
D2: Things will get difficult from this point on. The southern portion of the roof is patrolled by guards that wear jet packs. With their elevated view of the roof, even a cardboard box won't fool them. You will be noticed as soon as the guard flies up, and he will summon more guards to attack you. You may be tempted to stick around and fight by shooting the guards out of the air, but the same thing is going to happen in the rooms to the west or east, so it's best to simply ignore the commotion and proceed. You're going to need an item from the room to the west, so head to D1 first.
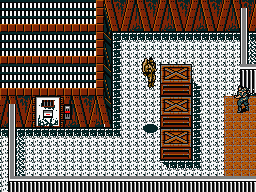
D1: Once again, this room is patrolled by a guard with a jet pack who will notice you immediately. The first thing he will do is float down to energize the electric grid on the floor. You will then have to prioritize whether you wish to defend yourself and attack the guards on the limited section of floor that is safe, or blown up the control panel with a remote control missile, leaving yourself vulnerable to attack. Whichever you decide, your goal is to reach the door in the lower left corner. It opens with card 3, and inside you will find the land mine detector, an item which will become very useful in the near future. Because the enemy knows you're there, several jet-pack guards will follow you into the room, but they can't fly around, so they will be easy to knock out as they enter the room. When the threat is over, collect the detector, and step back outside. Return east to D2 and run straight across to D3.
D3: If the guards didn't notice you running through D2, they will assuredly notice you now and sound the alarm. Once again, you may be tempted to fight them, but it's not necessary. You're approaching a boss fight which will interrupt the alarm, so rush straight ahead to D4.
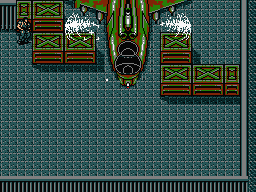
D4: When you arrive in this room, you will be confronted with a large helicopter known as a Hind-D blocking your progress to the room above.
With the Hind-D destroyed, proceed north through the opening above to room C4.
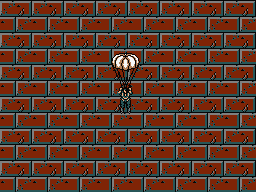
C4: You will now occupy the southern portion of the room from which you collected remote controlled missiles earlier. There's nothing else to do but head west through the small passage to C3.
C3: As soon as you arrive here, stop moving. Assuming that you successfully collected the parachute from the second floor, activate it now in your inventory. Then jump over the side of the ledge to arrive in the courtyard below.
