Jump to navigation
Jump to search
| Type of Map | Deathmatch/Team Deathmatch |
|---|---|
| Size | Medium |
| All Normal Weapons | Yes |
| Redeemer | No |
| Superhealth | No |
| U-Damage | Yes |
| Shield Belt | Yes |
| Armor | Chest, Thigh, Helmet |
| Jump Boots | No |
| Berzerk | No |
| Special Features | No |
Theme[edit]
Abandoned city block near a river, in broad daylight.
Description[edit]
Mixed zones consisting of inside and outside areas. Lots of scaffoldings, bridges, and ramps that run overhead in some areas.
Environmental Hazards[edit]
None.
Special Features[edit]
None.
Important Item Locations[edit]
-
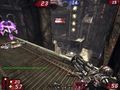
U-Damage: Spawns at the end of a raised scaffolding, in a little covered alcove looking out over an open area where the shock cannon is.
-
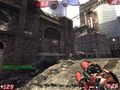
Shield Belt: Spawns at the end of an open area, at the top of a slope of broken concrete.
-

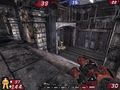
Chest Armor: In the middle of a long covered tunnel that leads out the river view area.
-
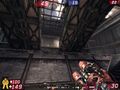
Thigh Armor: At the top of a series of ramps where the rocket launcher is.
-
Helmet: In a little alcove down some stairs near the open area that looks out over the river.


Strategies & Tactics[edit]
- There aren't many tight corridors here, so the stinger (for long range) and rocket launcher (for medium range) should be your staple weapons
- The shock rifle is good to have for enemies that attack from above; run under their position and use shock combo
- All of the powerups are really easy to get, so set up a movement pattern that takes you past their locations often