Jump to navigation
Jump to search
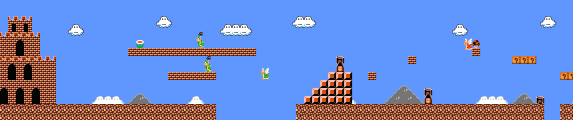
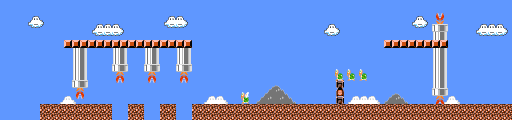


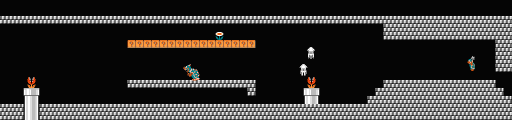
World D-1
Part A

- This level has two challenges. You must first pass a pair of Hammer Bros., then clear a long gap by bouncing off a Koopa.
- Hit the back of a Koopa Paratroopa to launch your hero to the top brick before the first triplet of "?" blocks. Then jump again to reveal a 1-Up Mushroom.
Part B

- Drop down the first pipe that you encounter to find coin room G.
- There's a Power-Up in the floating brick just before the last pipe in this section. Dash left from the right edge of the ground block and jump to pop it out.
Part C

- The wind will pick up by the end of this world. It should pose much of a danger, although it may interfere with your ability to hit the high point on the flagpole.
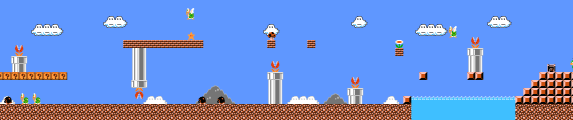
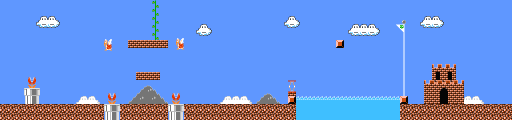
World D-2
Part A

- Once you flatten the Koopa at the top of the stairs, kick its shell and run with super speed to clear the narrow gap.
Part B

- Upside-down Piranha Plants cause trouble here. Hop across the gaps and avoid the plants.
- When you return from the coin heaven, you'll arrive in front of the tall pipe at the end of this section. Drop down for a visit to the exclusive coin room I.
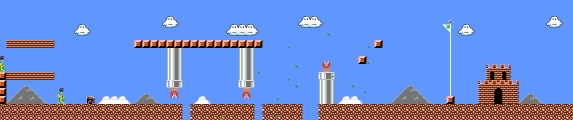
Part C

- When you bounce off of the Koopa in this section and climb the vine, you'll be on the path to a pair of bonus areas, starting with coin heaven C.
- The floating block at the end of this section is a narrow but crucial platform. Carefully jump to the block and hop to the flag.
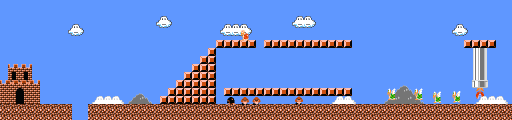
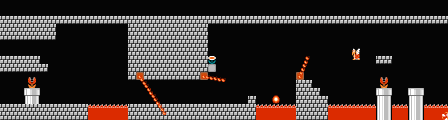
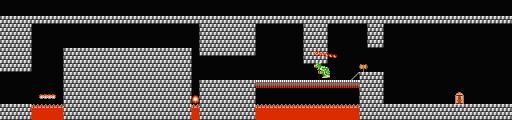
World D-3
Part A

- By standing next to the Bullet Bill Cannon, you can keep it from releasing shots as you wait to collect the Power-Up in the area.
- A Hammer Bros. duo causes trouble towards the end of this section. Dash and jump over the Bros. and between the hammers.
Part B

- Wait at the top of the tall stack of blocks for the Hammer Brother to close in. Then jump off of the blocks and stomp or pass.
Part C

- As you leap from one Cannon to the next at the end, make sure that a Bullet Bill isn't launching from the next Cannon up.
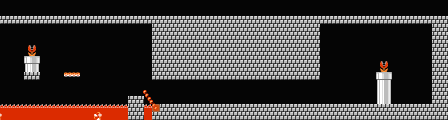
World D-4
Part A

- Jump across the first gap as soon as the Fire-Bar clears away. Then hit the ground dashing and run to safety.
Part B

- Drop down the pipe at the end to continue to the outdoor Part C.
Part C

- Wait for the Hammer Bros. on the left side, then stomp them.
- At the end of this section, move to the right until the Piranha Plant comes into view. Then jump when the pipe is clear.
Part D

- Run under Bowser's brick platform here, then jump up and double back to collect the Power-Up.
Part E

- You've met Bowser many times to get to this point. Now beat him once more to complete the last Lost Level.