Jump to navigation
Jump to search
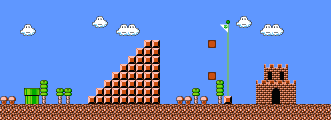
Standard Ending
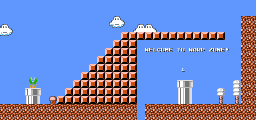
- The hidden blocks near the flagpole will give you a boost. Jump up to the top block, then grab the pole for 5,000 points.
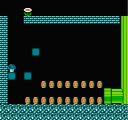
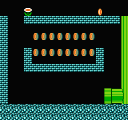
Coin Room A
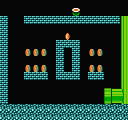
- A Poison Mushroom is easily accessible, and should be avoided. Create a platform to the real Power-Up in the ceiling by revealing two hidden Coin Blocks.
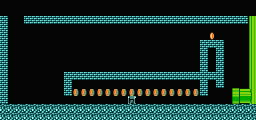
Coin Room B
- If you are big, you can reach the 10-Coin Block from the middle of the three high blocks just before the pipe.
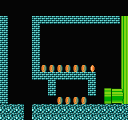
Coin Room C
- It's a tight squeeze in this room if you're super-sized. Don't miss the 10-Coin Block in the right most block near the pipe.
Coin Room D
- It's a real challenge to get the Power-Up Mushroom in this Coin Room. Dash right and jump left from the pipe. Then pop up the Mushroom and make it rebound by hitting the brick on the right.
Coin Room E
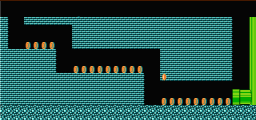
This coin room is basically a straightforward run. If you are big, you can break the bricks closest to the exit and unveil a 10 coin block.
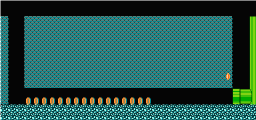
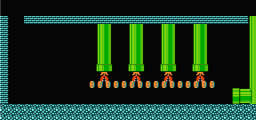
Coin Room F
Collect the coins here with good timing. If you aren't careful, you may end up being one of the Piranha Plant's midday snack!
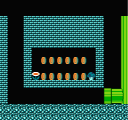
Coin Room G
- The Power-Up in this Coin Room is boxed in by bricks. If your hero is small, it is unreachable. Watch out for that Poison Mushroom on the right!
Coin Room H
Coin Room I
- After your pint-sized plumber pops the Power-Up, hit the brick to the right so that he can collect it.
Coin Heaven A
- You'll have to hop off the platform, or jump over the wall, in order to continue on with the platform on the other side.
