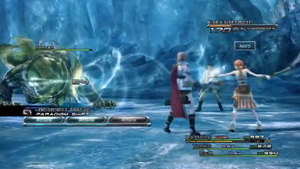
After the cutscene, you'll have to battle three Ghasts with a party of Lightning, Snow, and Vanille. Before the battle can start, you'll be given the option to view a Paradigm tutorial. View it or skip it and defeat the Ghasts. After the battle, another cutscene shows the party noticing their new l'Cie brands. After the cutscene, you'll have control over Lightning in a party with Vanille and Snow.
The Waters Stilled
Walk along the path to find Vanille and Hope, leading into another cutscene where the party discusses their Focus. After the cutscene, you'll be given a mandatory Crystarium tutorial. Continue to walk along the path afterward with the same party of Lightning, Snow, and Vanille. Go down the left path to see groups of Ghouls and Ghasts. Take the Pearlwing Staff from the item container at the end of the path and then turn around and take the path on the right. The first enemies you'll see are a Ghast and three Wights. After battling them, continue toward the gap and step on the blue circle to jump from debris to debris. When you get to the other end, you'll come across a cutscene.
After a small discussion between the l'Cie, PSICOM forces come to attack. Before the battle can start, you'll be given the option to view another tutorial on command execution. View it or skip it and defeat the PSICOM Wardens. After another cutscene, go to your party members and battle a group of three Ghasts and three Wights. Open the item container they were blocking for five Cie'th Tears. Go down the other path until you come across another battle with a group of Breshan Bass. Go down the path on the left first to face off against another group of Breshan Bass. Defeat them to be able to open an item container holding a Silver Bangle. Turn back and go to the path on the right, where you'll see a Save Point.
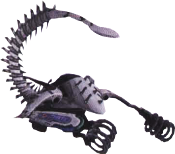
Continue down this path until you reach another short cutscene. Keep walking for a battle with four Pantherons. Open the item container for Phoenix Down. Then go down the other path for a battle with two more Pantherons. Another item container can be found here containing Strange Fluid. Continue and battle a group of two PSICOM Enforcers and one PSICOM Warden. Open the item container after the battle for a Magician's Mark. Keep walking along the main path to trigger another cutscene. The party finds a crystallized Serah, where tension rises between Lightning and Snow. Suddenly, the party is attacked by Manasvin Warmech. Lightning, Snow, and Vanille battle the machine.
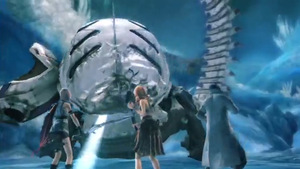 PSICOM once again sends Manasvin Warmech to take care of the trouble.
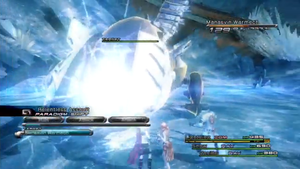 Use the Relentless Assault paradigm (Commando, Ravager, Ravager) to get the Stagger bar up until Warmech uses the Wave Cannon attack.
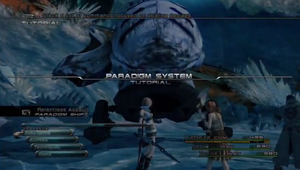 Before the battle can start, you'll get the chance to view another tutorial on Paradigms.
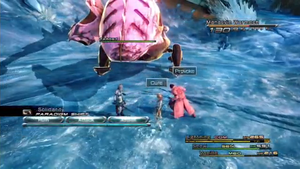 Switch to the Solidarity paradigm (Commando, Sentinel, Medic) to recover from the Wave Cannon. Eventually, you'll be able to go back to Relentless Assualt to stagger it.
| Manasvin Warmech 2 | |||||||||
|---|---|---|---|---|---|---|---|---|---|
| CP | |||||||||
| – | – | ×2 | ×2 | – | – | – | – | 64 | |
|
70% | 70% | |||||||
| 70% | 70% | ||||||||
| 70% | 0% | ||||||||
| 0% | 100% | ||||||||
| 70% | 0% | ||||||||
| 70% | – | ||||||||
| Level | Normal Drop | Rare Drop | |||||||
| 60 | Digital Circuit (100%) | None | |||||||
| HP | Strength | Magic | Chain | Stagger | |||||
| 32,400 | 44 | 0 | 50 | 160% | |||||
| Lake Bresha | |||||||||
| |||||||||
After another cutscene following the battle, Snow is switched out of the party and replaced by Sazh. Follow the path to reach a group of Breshan Bass. Go right on the next fork for an item container holding Strange Fluid, then go left or jump down from the end of this path to go into battle with four Pantherons. At the next fork, go down the left path for two item containers and then the right. A group of Bloodfang Bass will jump onto the path. Battle them and continue on until you see an airship on the side of the path. Examine it to open a new path, then battle the group of Bloodfang and Breshan Bass to clear the way to the path you opened with the airship. Continue down the path past the Save Point to come across your next boss: the Alpha Behemoth.
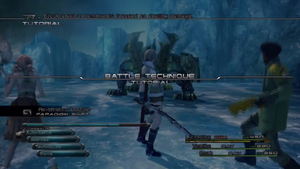 Before the battle can start, you'll be given the option to view another tutorial on Battle Technique.
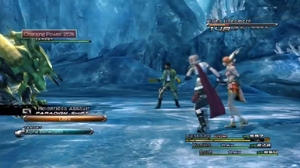 Eventually, Alpha Behemoth will have to charge (this is when "Charging Power" is shown as its current action).
| Alpha Behemoth | |||||||||
|---|---|---|---|---|---|---|---|---|---|
| CP | |||||||||
| ×2 | – | – | ×2 | – | – | – | ×.5 | 36 | |
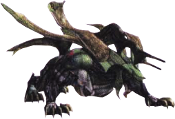
|
70% | 70% | |||||||
| 70% | 0% | ||||||||
| 70% | 70% | ||||||||
| 70% | 100% | ||||||||
| 70% | 70% | ||||||||
| 0% | – | ||||||||
| Level | Normal Drop | Rare Drop | |||||||
| 6 | Begrimed Claw (25%) | Bestial Claw (5%) | |||||||
| HP | Strength | Magic | Chain | Stagger | |||||
| 20,250 | 125 | 0 | 0 | 500% | |||||
| Lake Bresha · The Gapra Whitewood | |||||||||
| |||||||||

