Jump to navigation
Jump to search


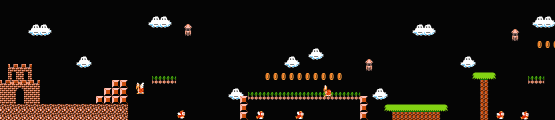
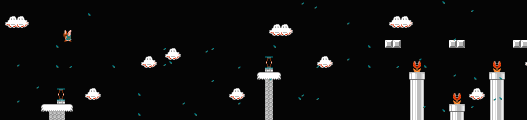

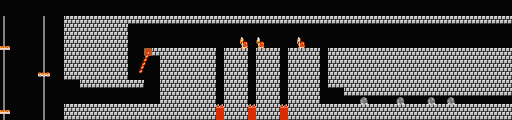
World C-1
Part A

- Position your plumber to the left of the first ground pipe. Then, when the Piranha Plant sinks and the Koopa walks to the left edge of the bricks, jump and bounce off of the Koopa to the top of the next pipe.
- If your character is small by the end of this section, dash and jump between the pipe and the row of bricks to reach a Power-Up.
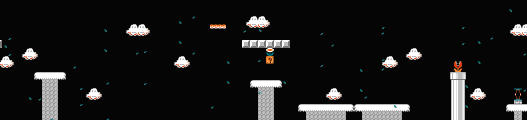
Part B

- Drop down the second pipe, which leads to coin room H.
- You've perfected the Koopa Paratroopa Bounce by now. Jump to the right over the long gap, and target the Koopa to bounce off its back and land on the bricks.
Part C

- Altitude is more important than distance in the middle of this section. When you bounce off of the Koopa, take advantage of the extra air time and land on the bricks above.
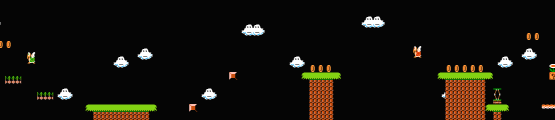
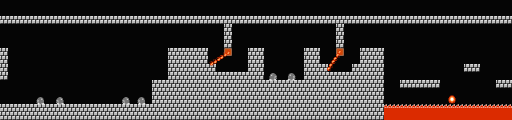
World C-2
Part A

- The Blooper on the first bridge will close in on you if you wait too long. Move quickly and cautiously with your eye on the enemies.
Part B

- You might remember a section of World 4-3 that was very much like this long open gap. Run with super speed and hop onto the blocks with all of the expert-jumping skill that you can muster.
- The Koopa Paratroopa towards the end of this section hovers near the right edge of the gap, leaving a big space between the left edge and itself. Walk to the right until you see the Koopa, then back up, dash and jump. With luck, you'll hit it.
Part C

- Jump up when the sliding platform is positioned under the "?" at the very edge of the previous section. Then jump again and collect the Mushroom.
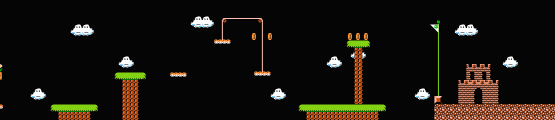
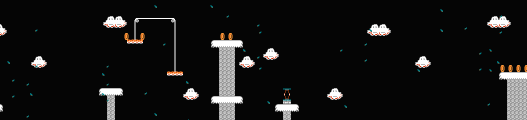
World C-3
Part A

- A Lakitu hovers near the second Spring. Make sure the air is clear before you jump.
Part B

- Be careful! There's very little room too get away from Lakitu on the high tree top in the middle.
Part C

- Position your hero between the row of blocks and the bluff in the middle of this section. Then jump up to pop a hidden Power-Up block and get your character into fighting shape.
Part D

- You'll want to ignore the coins on the left side of the pulley if it means staying alive.
Part E

- The wind stops blowing when you reach this area. Don't let it affect the way that you jump.
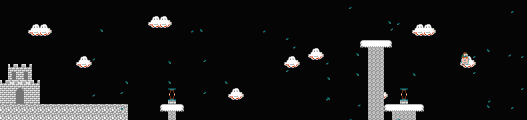
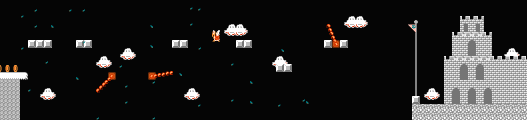
World C-4
Part A

- World C-4 is much like World 7-4, only this level opens with an additional Fire-Bar. Dash past the extra obstacle and move on.
- The end of this section, and the beginning of the next includes five lifts. Power-Up by popping up the hidden block first, then leap from the block first, then leap from the block to the closest lift. If you're light on your feet, you should be able to hop across the gap with ease.
Part B

- Remember the safe spot in the lower corner of the "S" passage.
Part C

- The bricks in the corners of the boxed-in area will keep you from hiding from the Fire-Bar.
- At the first fire bar, you will be able to duck once until the path is clear.
- At the second fire bar, you can't hide. You'll have to move very quickly, leaping from the left edge to the center to the right edge without stopping. This will be much more difficult if your hero is super sized.
Part D

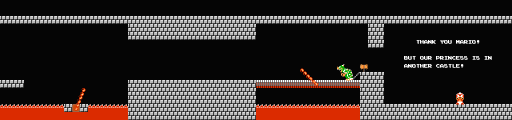
- This is your second to last fight with Bowser. Defeat him and prepare for the final world.