Room 1
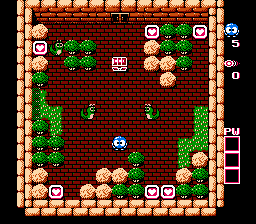
This one is very easy, all you do is collect all of the hearts. The one in the left corner can be collected last, when you have to the magic shots. Turn the Snakey into an egg, then hit him again to blow him away. Collect the last heart, then the Jewel and then go to the door. The Snakey are not dangerous, and after collecting the last heart, will go into panic mode and will move quicker.
Room 2
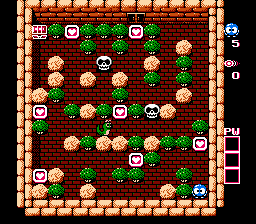
The Skulls in this room will come alive and come after you when you grab the last heart. The trick is speed.
Collect the heart above you. Follow the path and collect the other three hears. Hit the Snakey twice to blow him away, then collect the forth heart. Continue following the path to get the next heart. Then hit the Skull with 2 magic shots to blow him away. Quickly grab the last heart and get the jewel.
Room 3
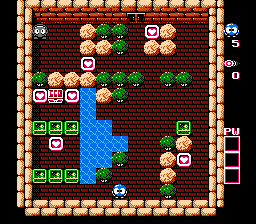
The mole in this room will kill you if it touches you, so be careful. However, when you release him, he will go down a preplanned path, making it easy to trap him.
Collect the lower right heart first, then go up and collect the top heart. Go to the third heart and wait for the mole to pass you. when he does, quickly collect the heart and move out of the way, going down as son as you are able. The mole will move all the way to the right and down. Go to the emerald Framer, and move it over right as soon as the mole passes it, trapping him in the lower right corner.
Now go to the lower left corner. Move the left and right emerald framers up one. then the middle one one space to the right. Get the heart.
Repeat the same pattern for the second row of emerald framers. Then move up to the jewel box and get the last two hearts. get the jewel and leave the level.
Room 4
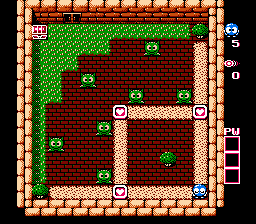
Watch Rocky. The trick in this room is to not let the Leepers trap you. As soon as they touch you, they fall asleep and can not be moved. Move straight up from your position and grab the heart, then turn and walk left. The Leepers will catch you as you walk and fall asleep. Grab the other two hearts, then the jewel.
Room 5
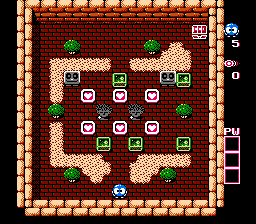
This is the first one to introduce Medusa and Rocky. Rockys will freeze if you are within three spaces of him, and will rush you to push you into danger. As soon as you step into Medusa's sight, they will shot an unavoidable spike at you. The trick is to block them with eggs, emerald framers, or boulders. Trees will not block them. Move up and get the first heart, then move both of the emerald blocks up one space.
Get the two hearts on either side, being careful not to get trapped or rushed into danger by blockheads.
Move the right block up against the right side of the right Medusa. Then move the one on the upper right above the same Medusa. Collect the heart and move the last emerald framer above the left Medusa. Grab the final heart, and then the jewel. Climb the stairs to Floor two.

